
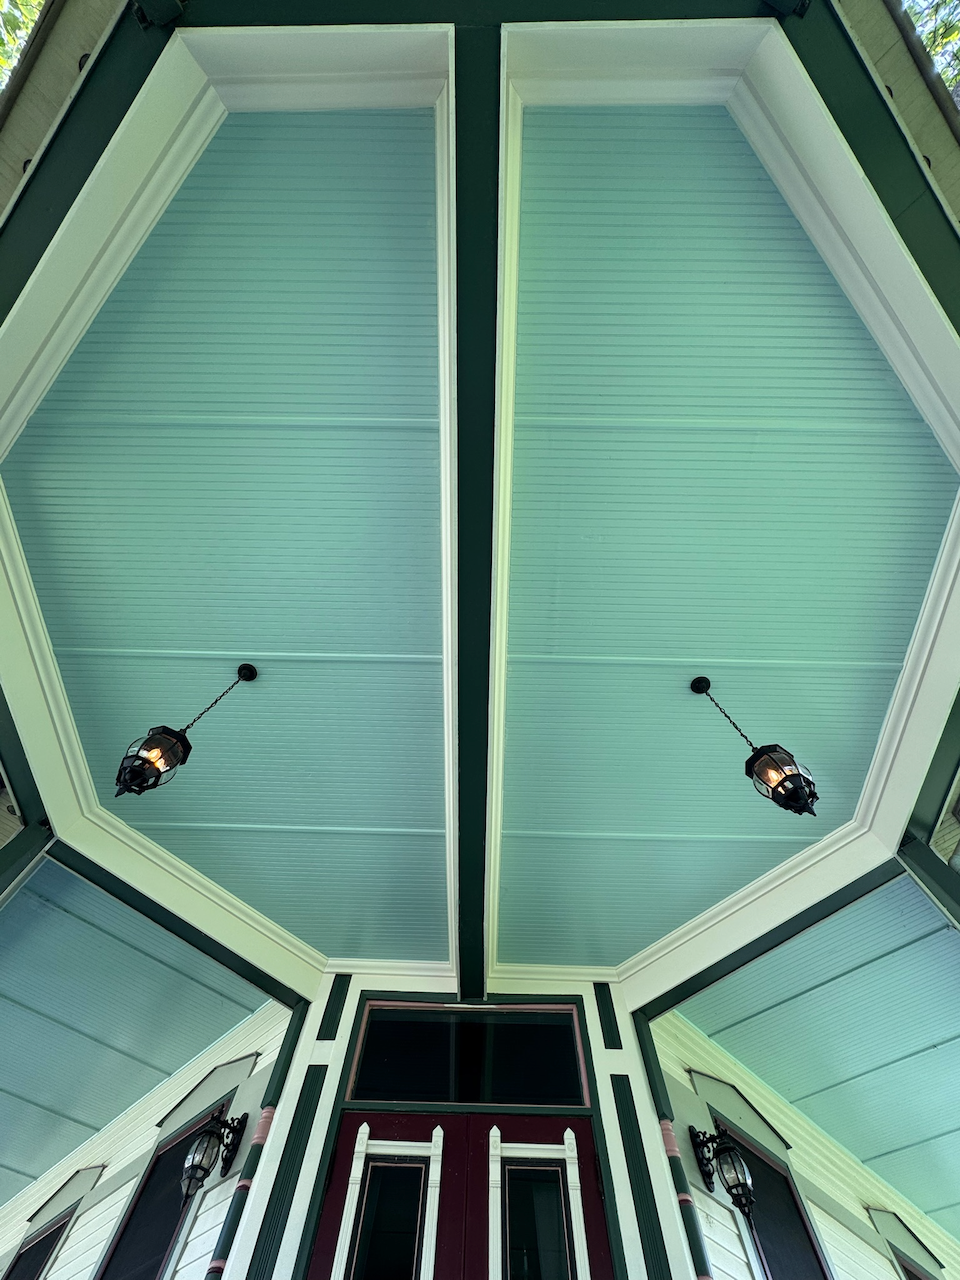
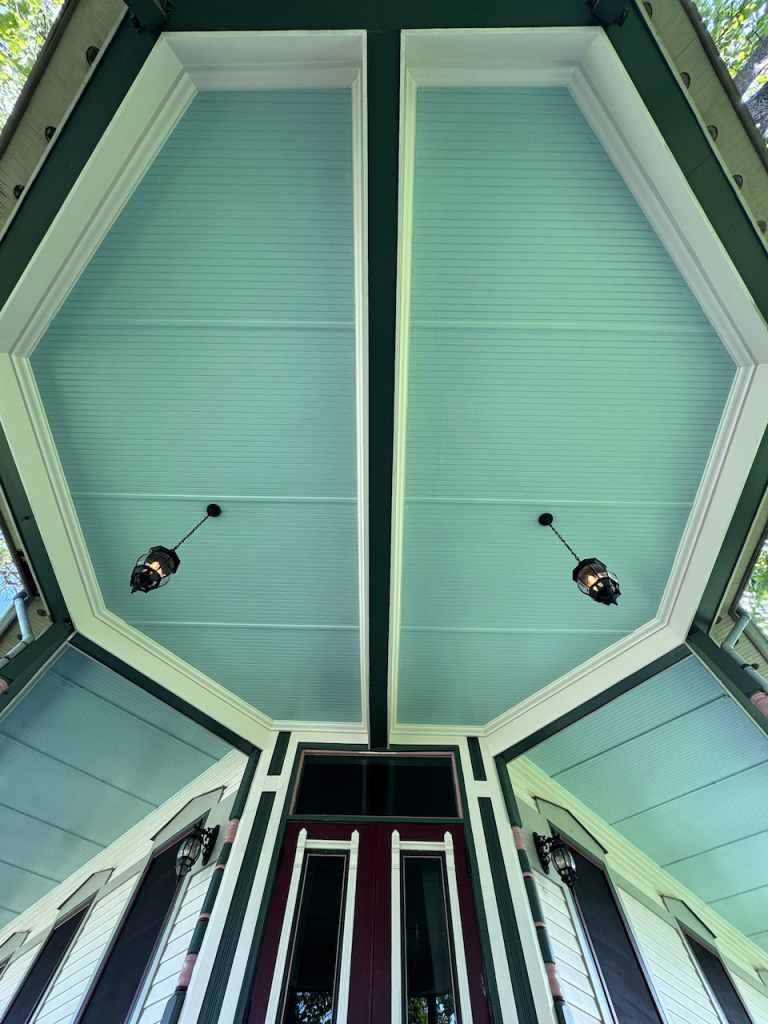
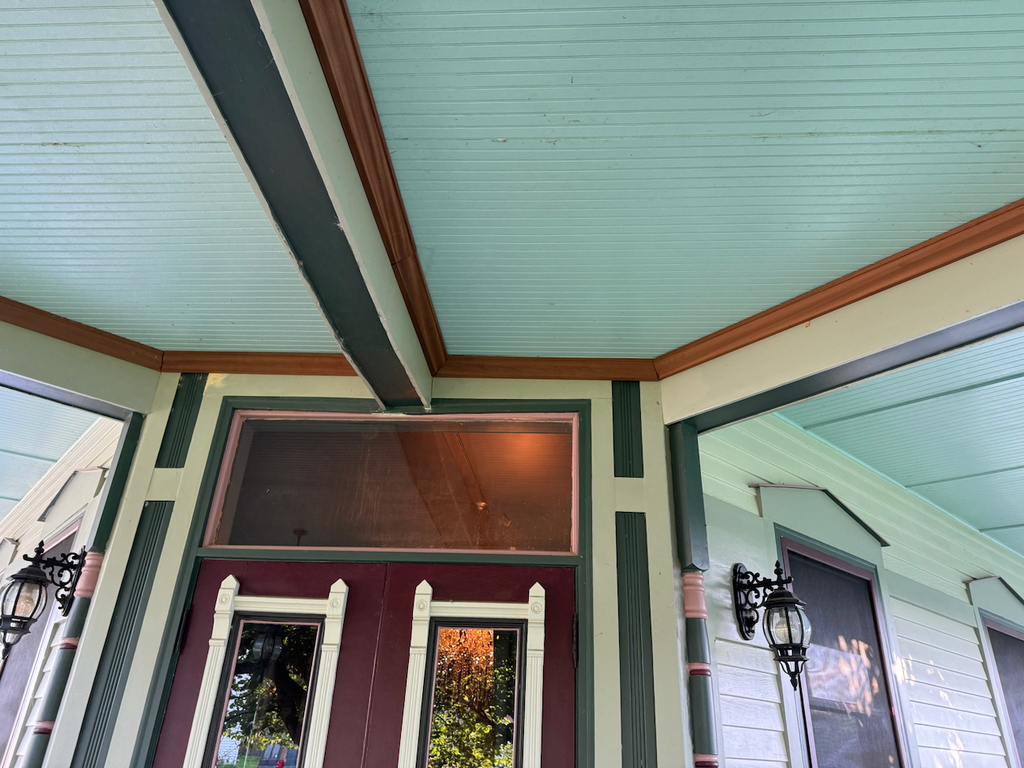
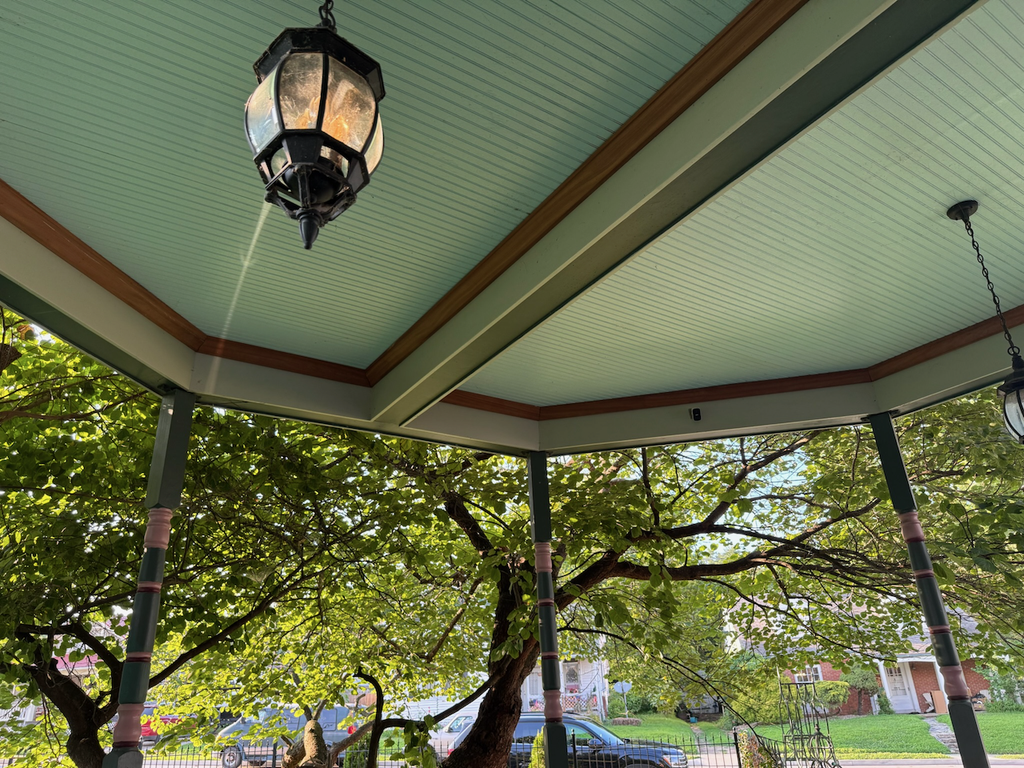
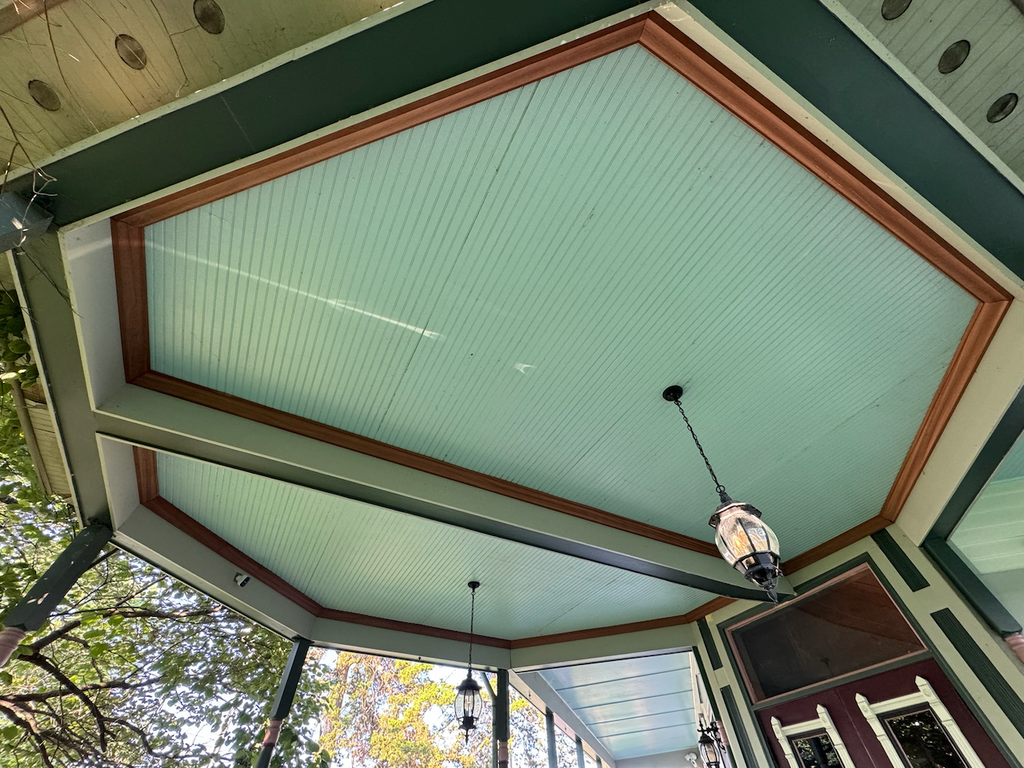
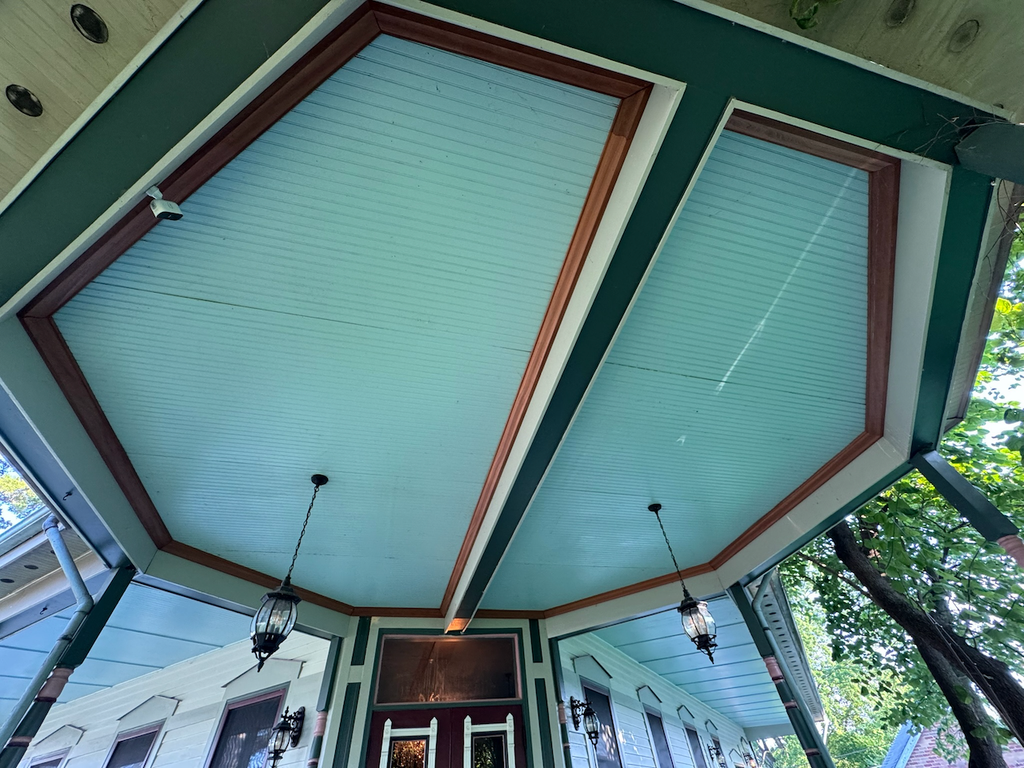
We recently finished the porch bay ceiling, including crown molding, batten strips, and fresh Haint Blue paint. We’ve been documenting our progress on our Facebook page, but we wanted to provide a more detailed write-up here on the blog.
This is a particularly meaningful project to close out, since it was one of the first trouble areas we tackled when we made the Herzog our home in late 2019. We replaced the flat roof above and the ceiling below, but the finish work took a back seat.
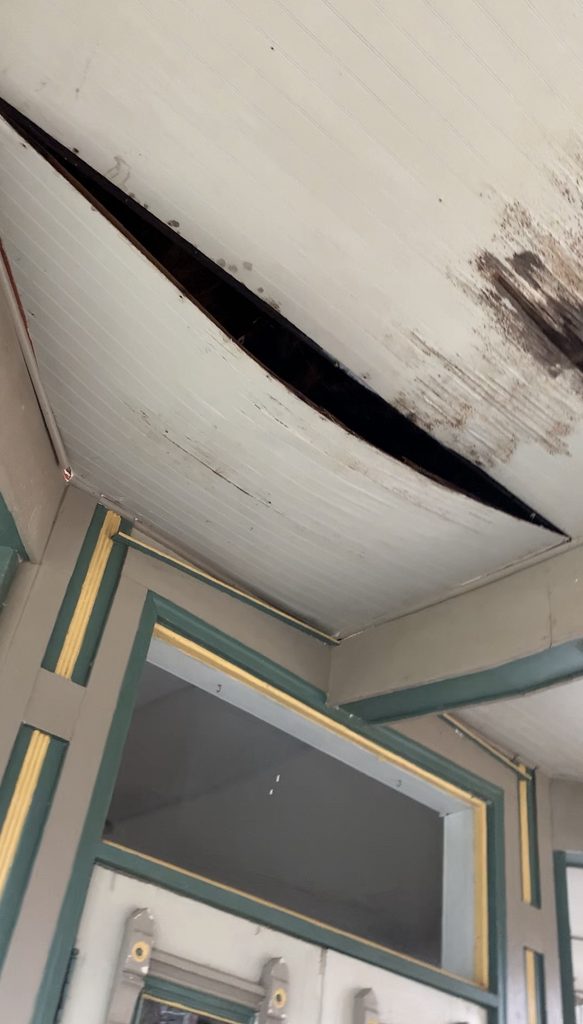
Before digging in, a quick before and after:
Roof
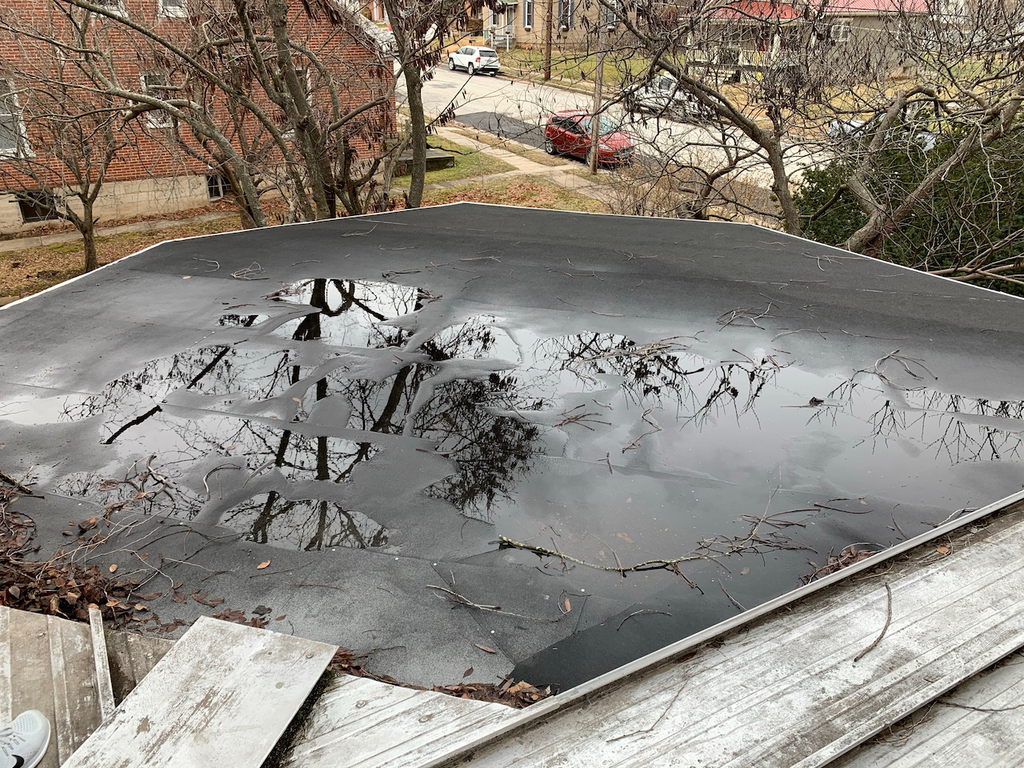
The first step was replacing the flat roof over this bay. The existing flat roof appeared to consist of an older, basic asphalt or rolled-roofing membrane that had reached the end of its useful life and had failed. Our roofing contractor removed the old roofing and decking, sistered the existing roof joists with new lumber to reinforce the framing and improve the slope for better drainage, and then installed the new roof assembly. The replacement was a CertainTeed Flintlastic self-adhered modified-bitumen system using Flintlastic SA PlyBase and SA Cap materials. Purpose-built for flat and low-slope roofs, the new assembly provides a much more durable, weather-resistant waterproofing system.
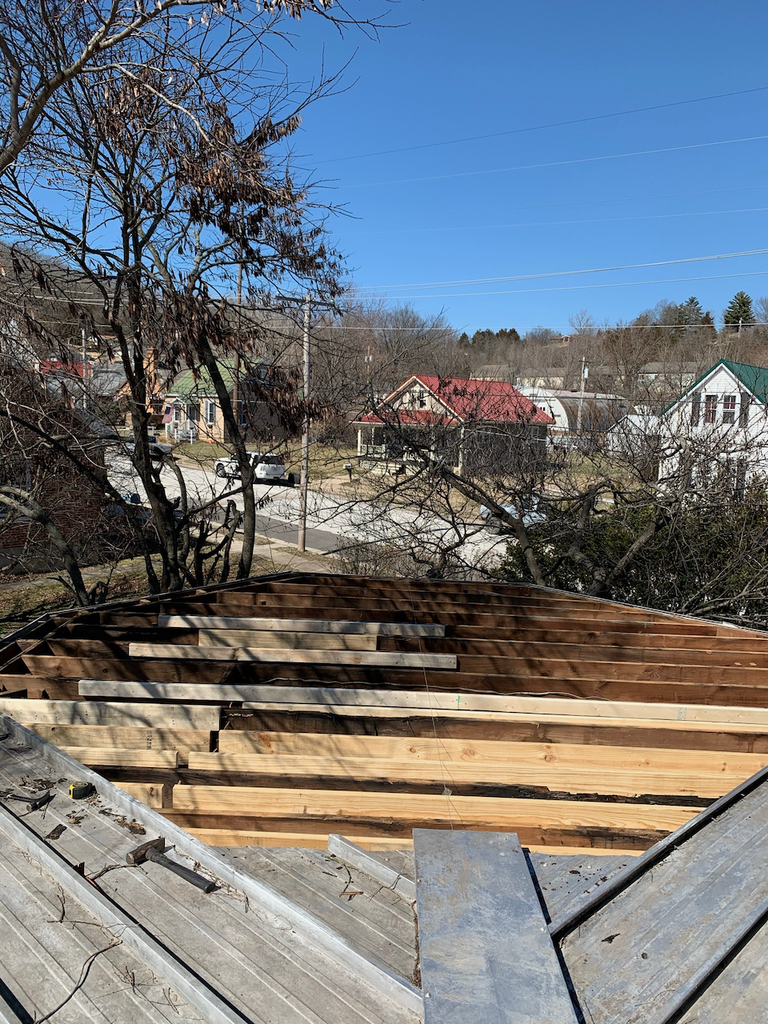
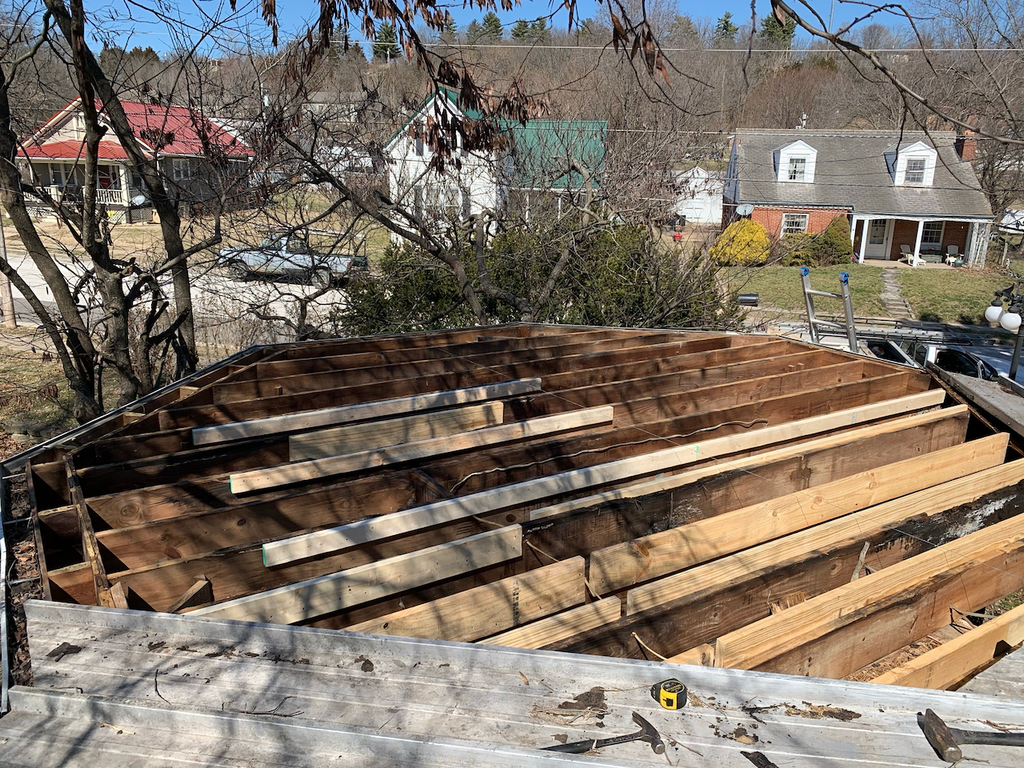
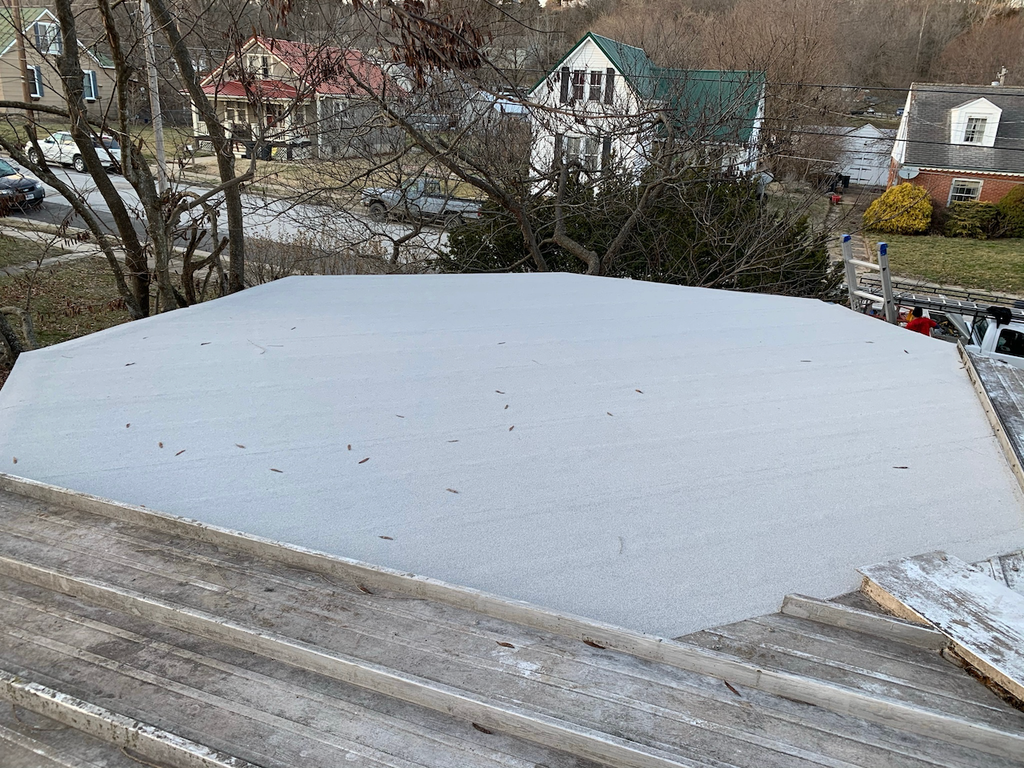
Ceiling
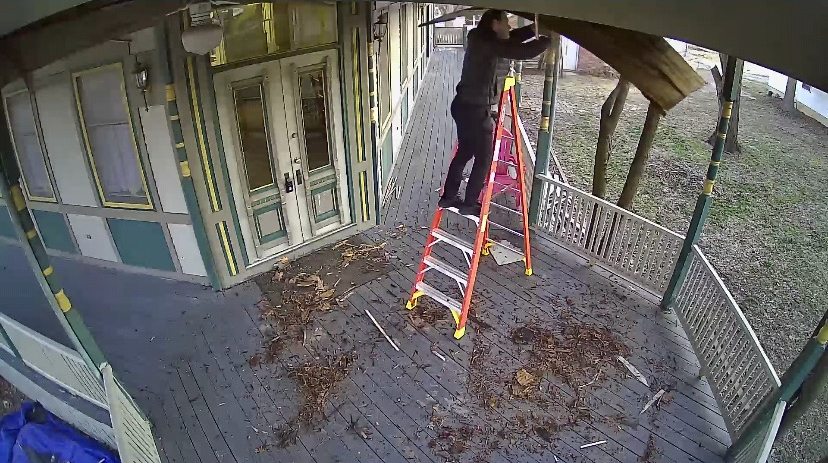
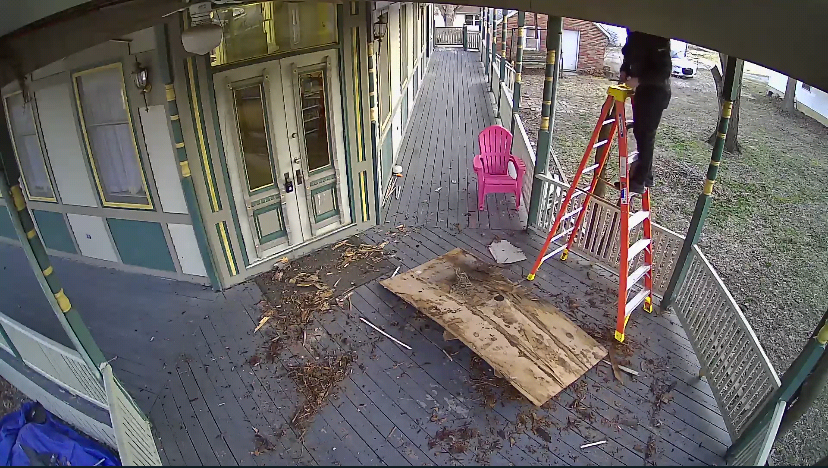
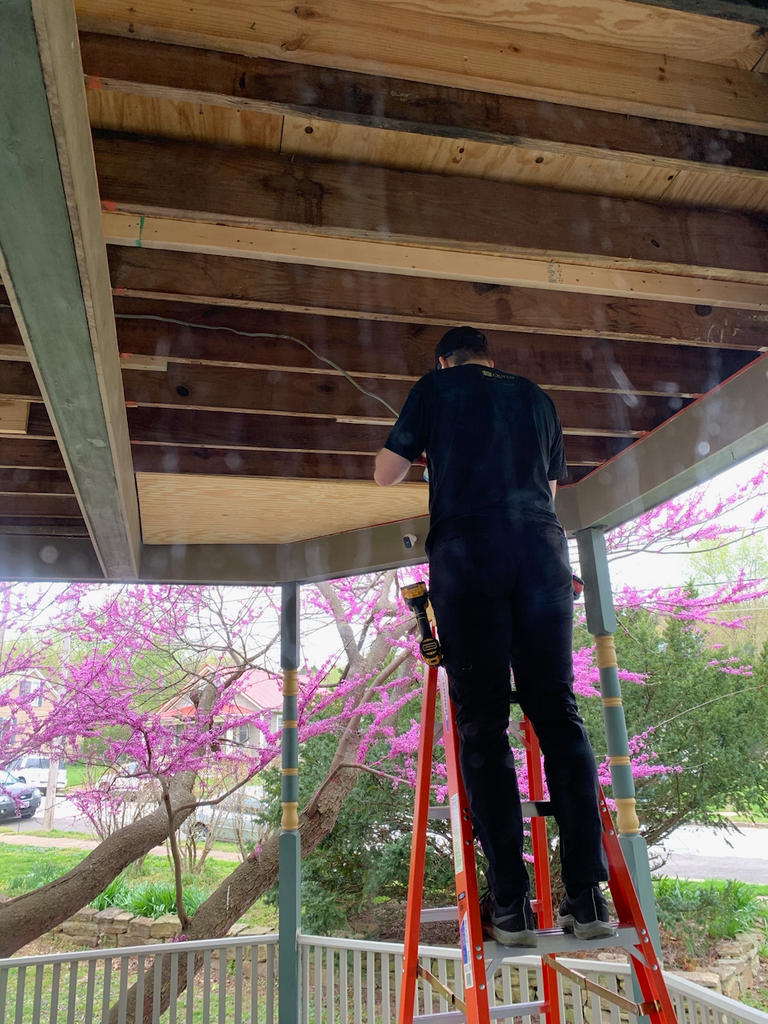
Next up was replacing the old ceiling. We’ve gotten much better at capturing progress photos over the years. The photos below came from our security camera and show me pulling down the old ceiling.
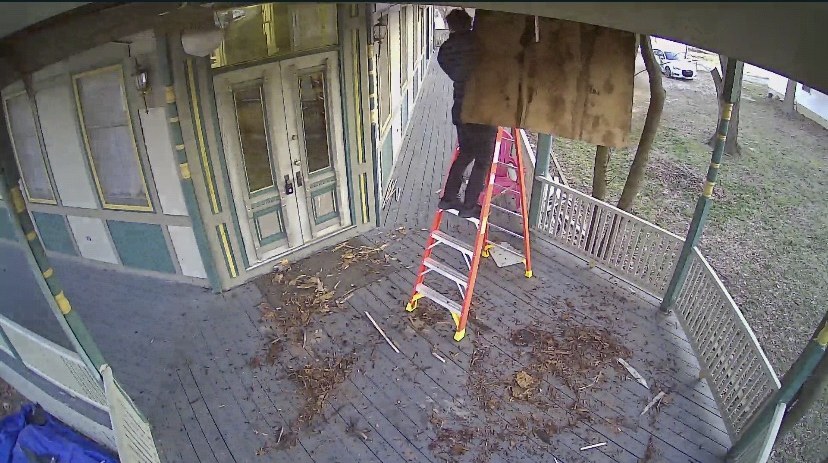
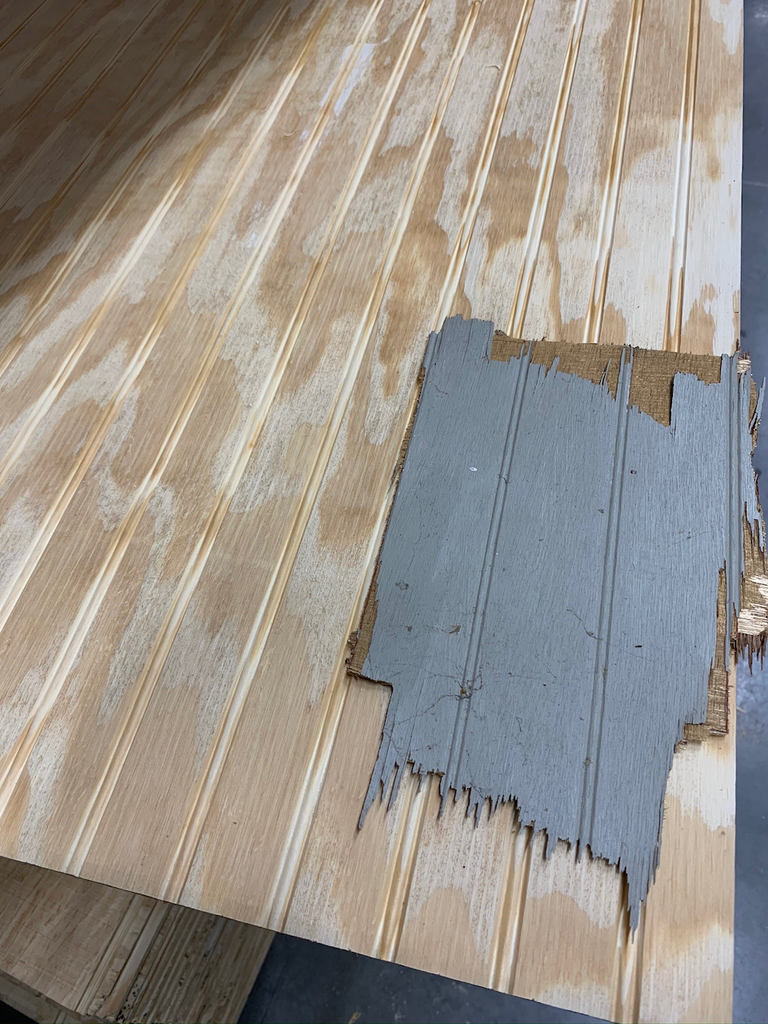
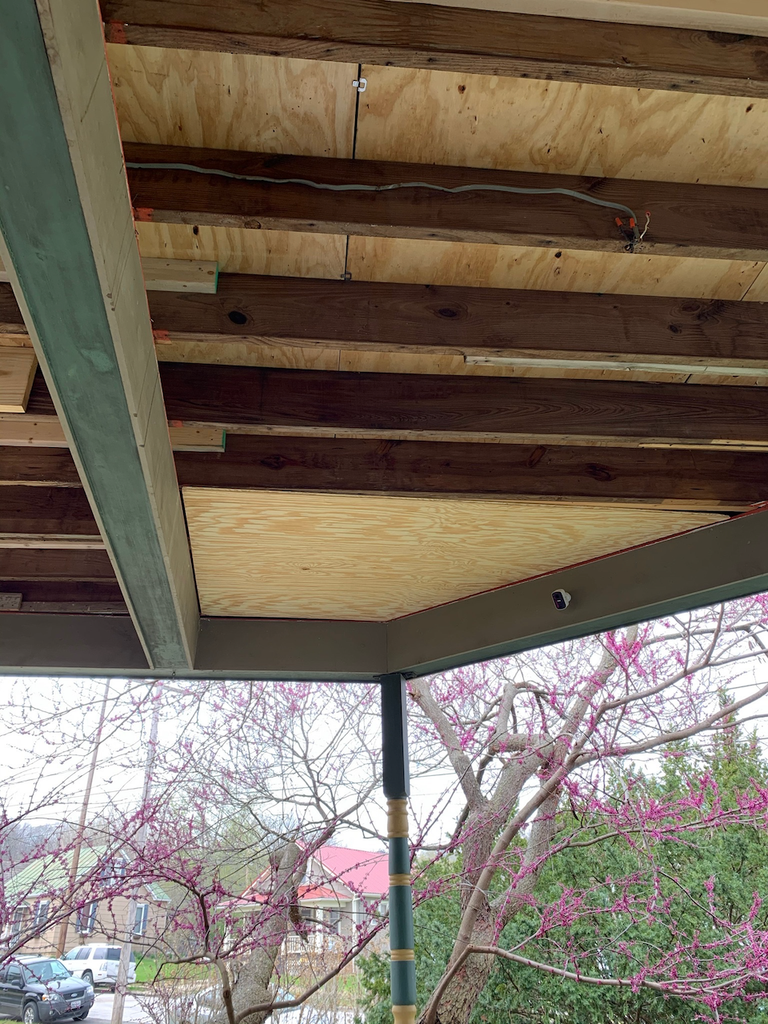
Here’s a photo showing a sample of the old ceiling against the new wood replacement.
Next came the electrical prep, followed by hanging the new ceiling.
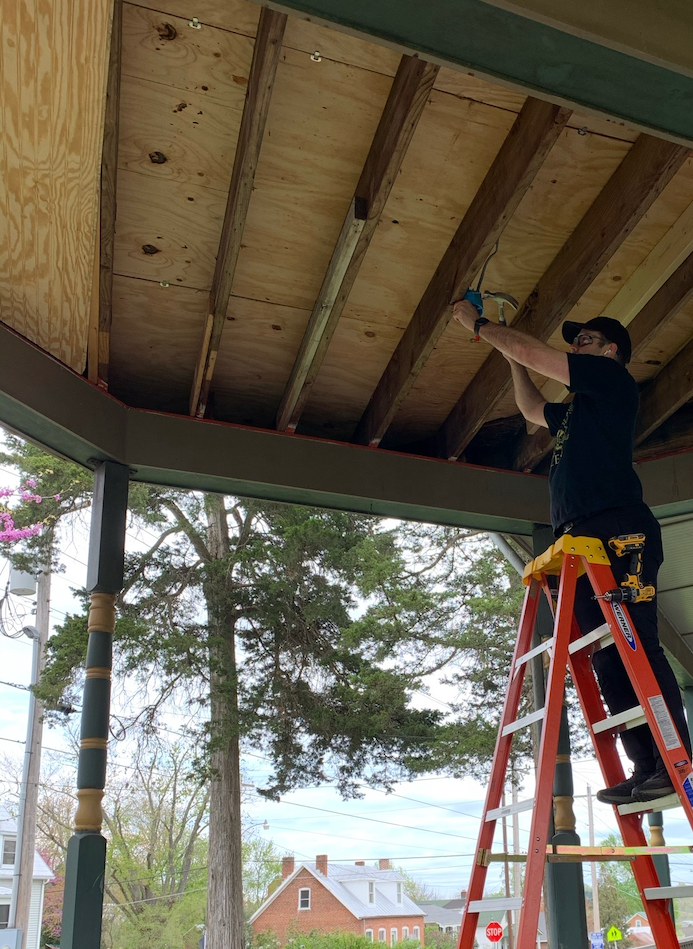
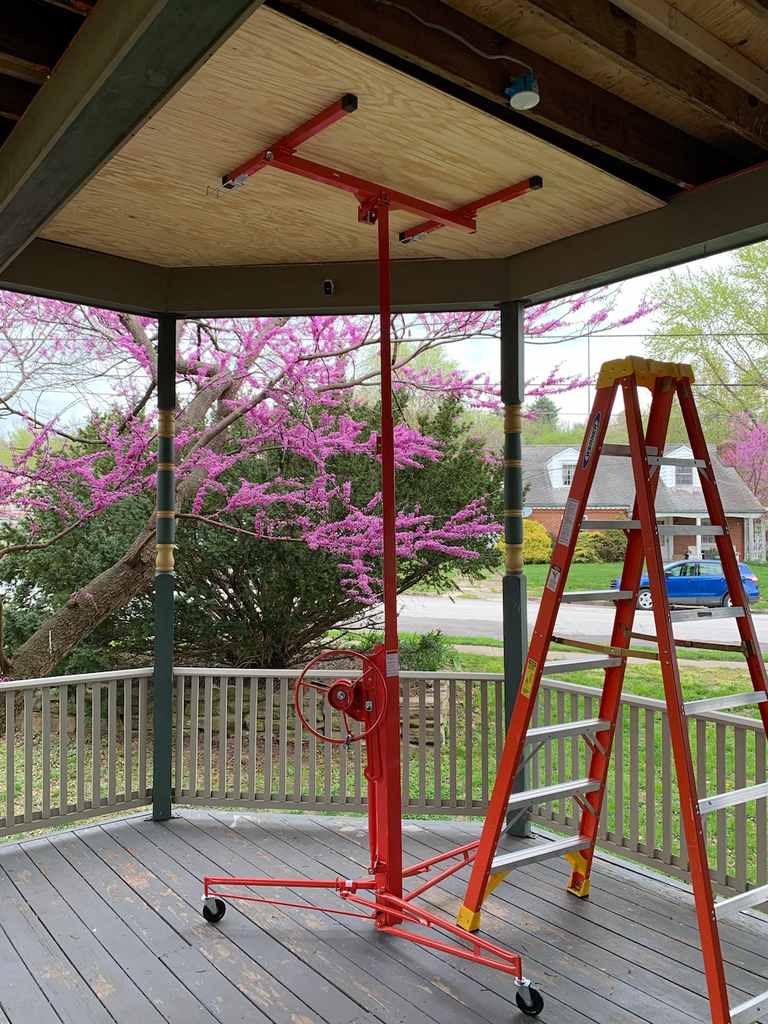
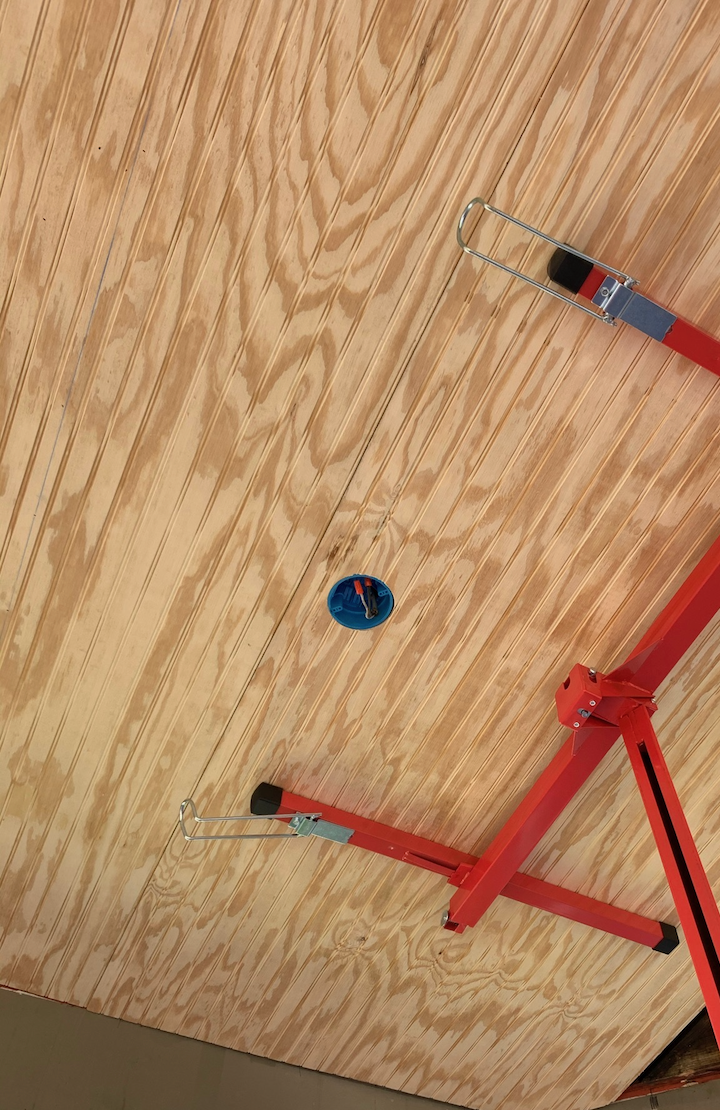
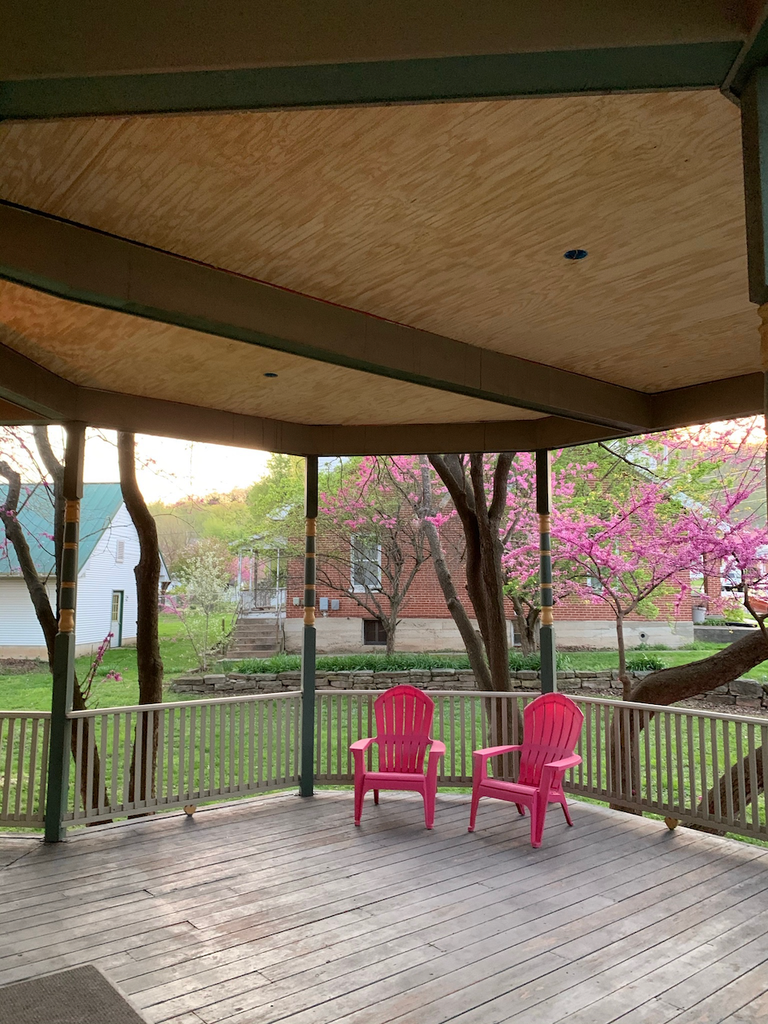
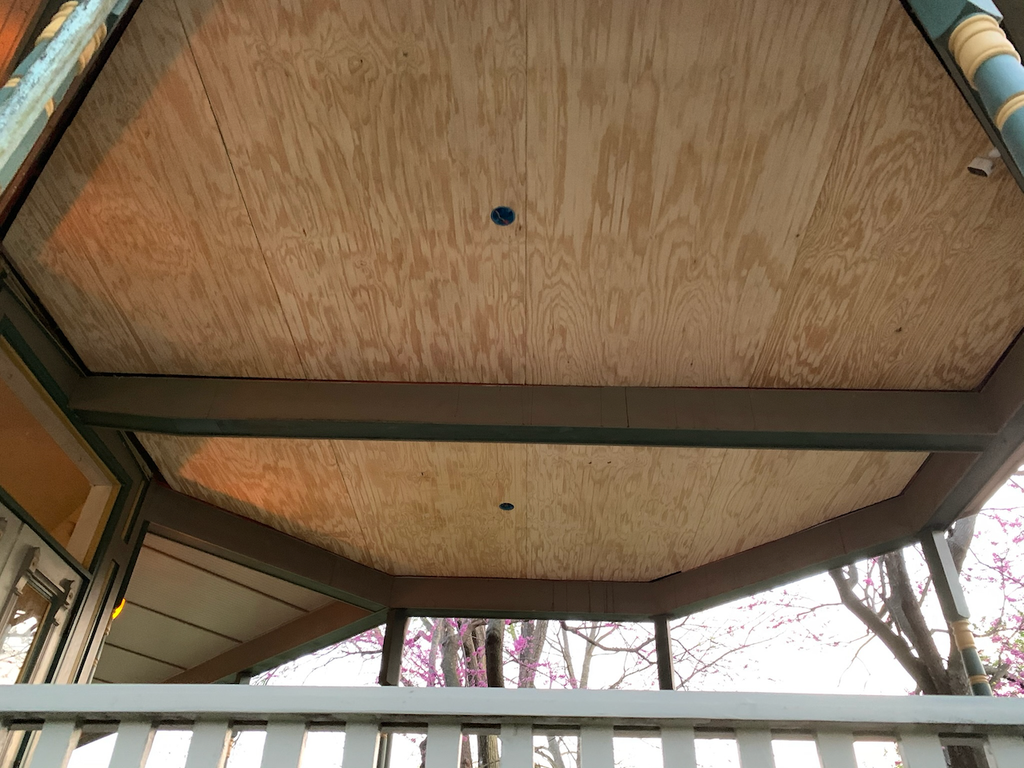
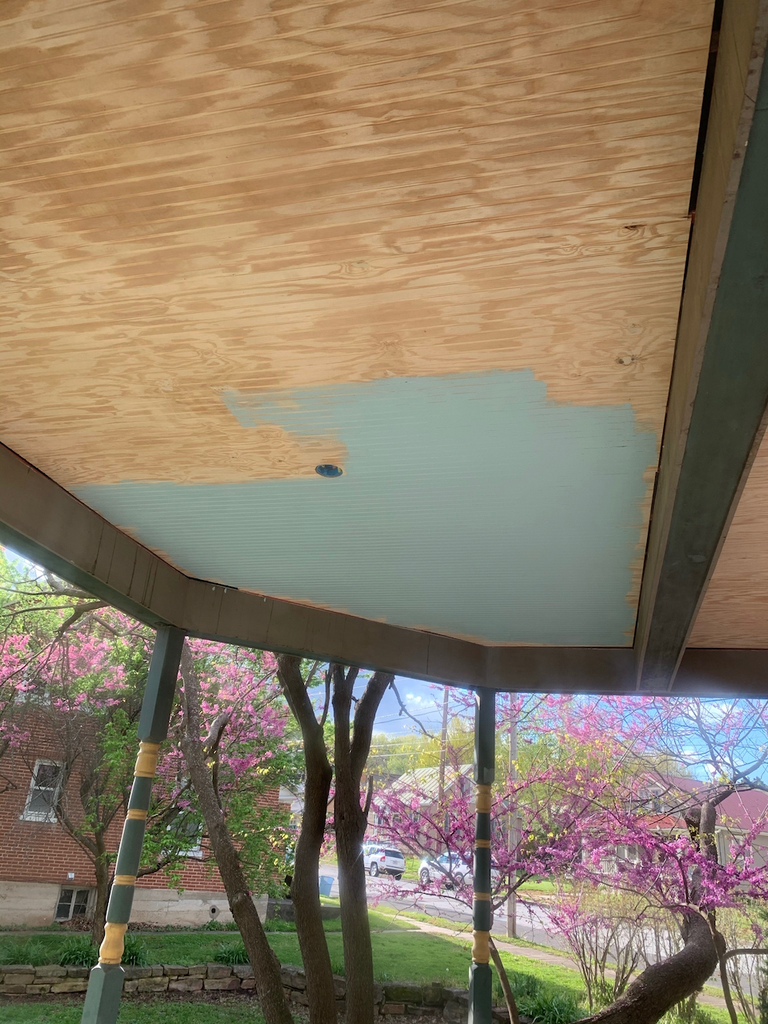
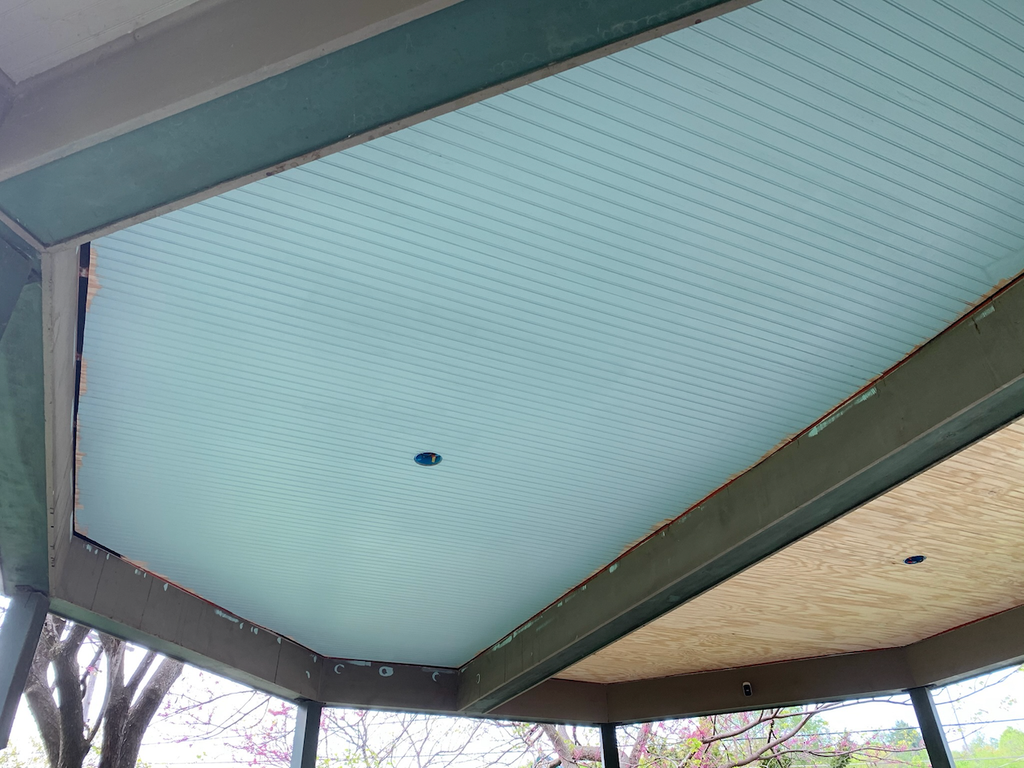
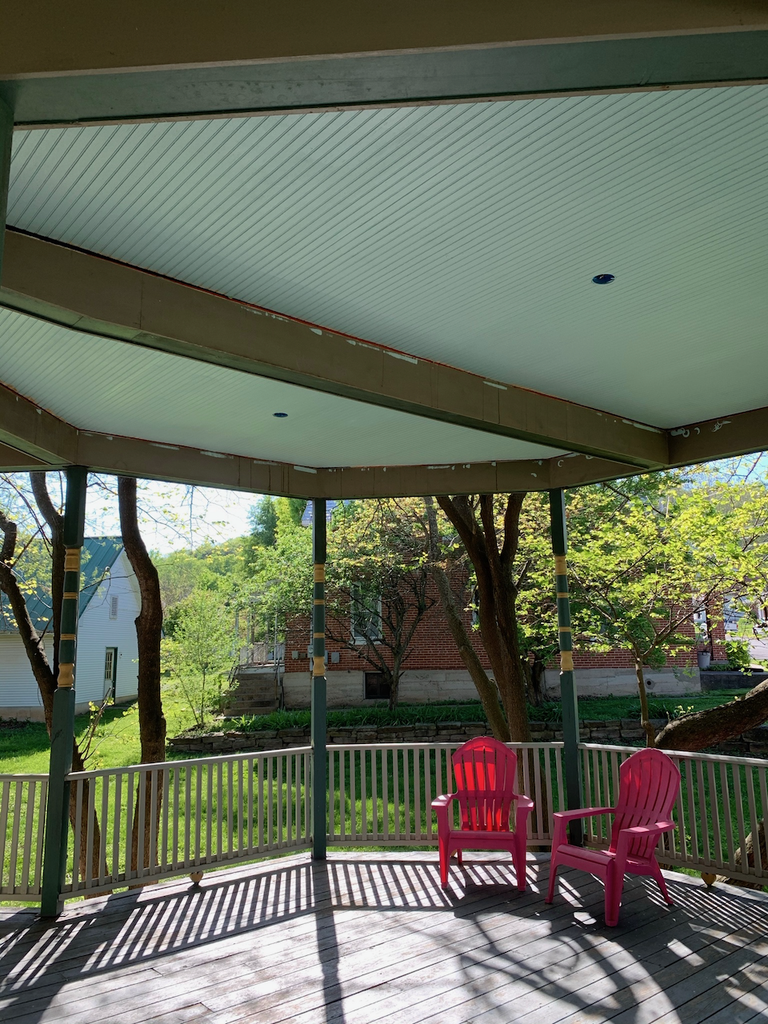
The light fixtures were installed, and we painted the remainder of the porch. The finish work took a back seat. Let’s hop into the time machine and leap from 2020 to 2026. Here’s where we’re starting today:
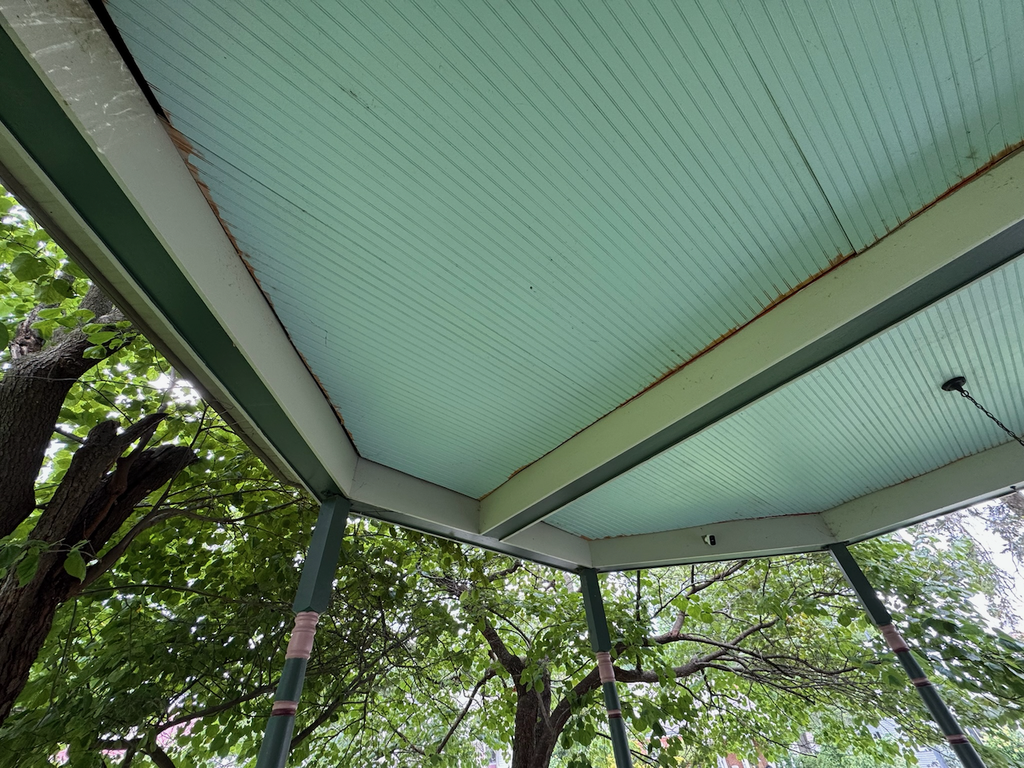
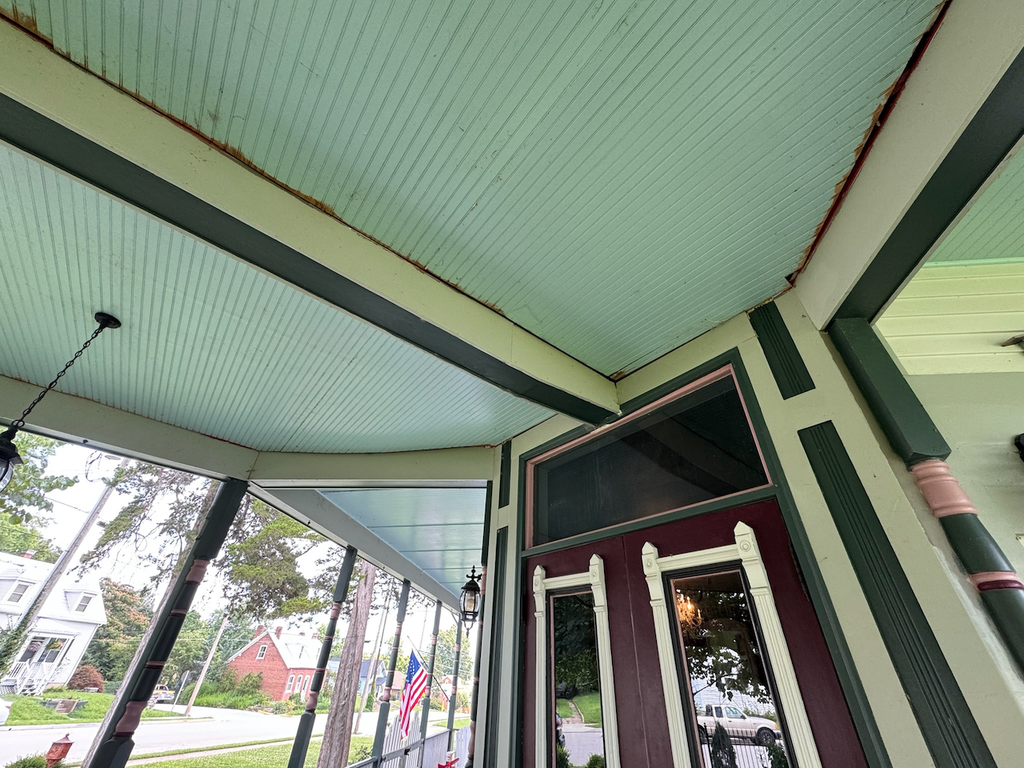
The goal is to cover up all of the gaps, which calls for crown molding for the perimeter and batten strips for the seams.
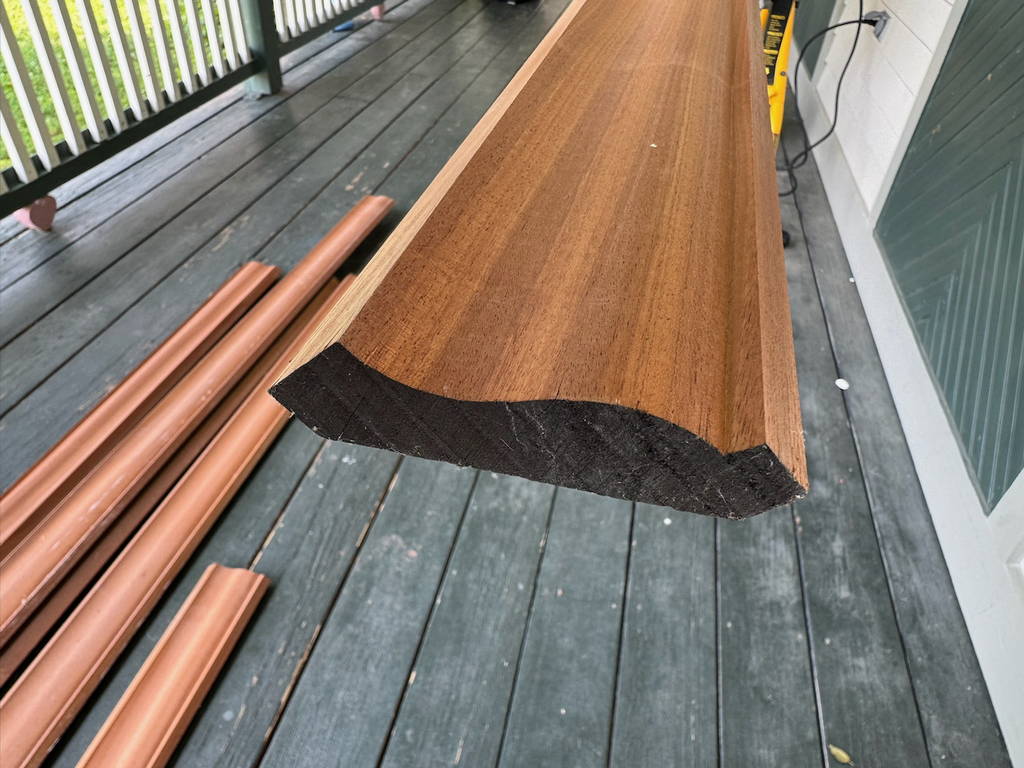
When we were having the millwork produced in 2022 for the historic upper cornice, we decided to have enough produced to install as a crown in the porch bay area. This is a hardwood called Sapele and it’s an absolute joy to work with:
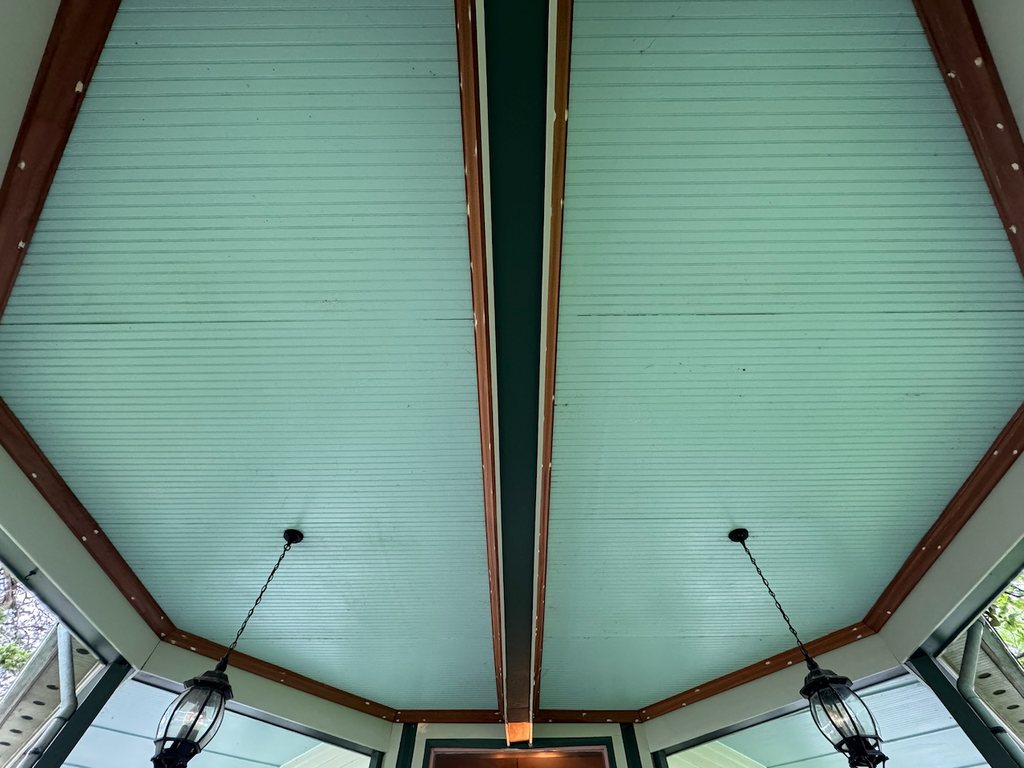
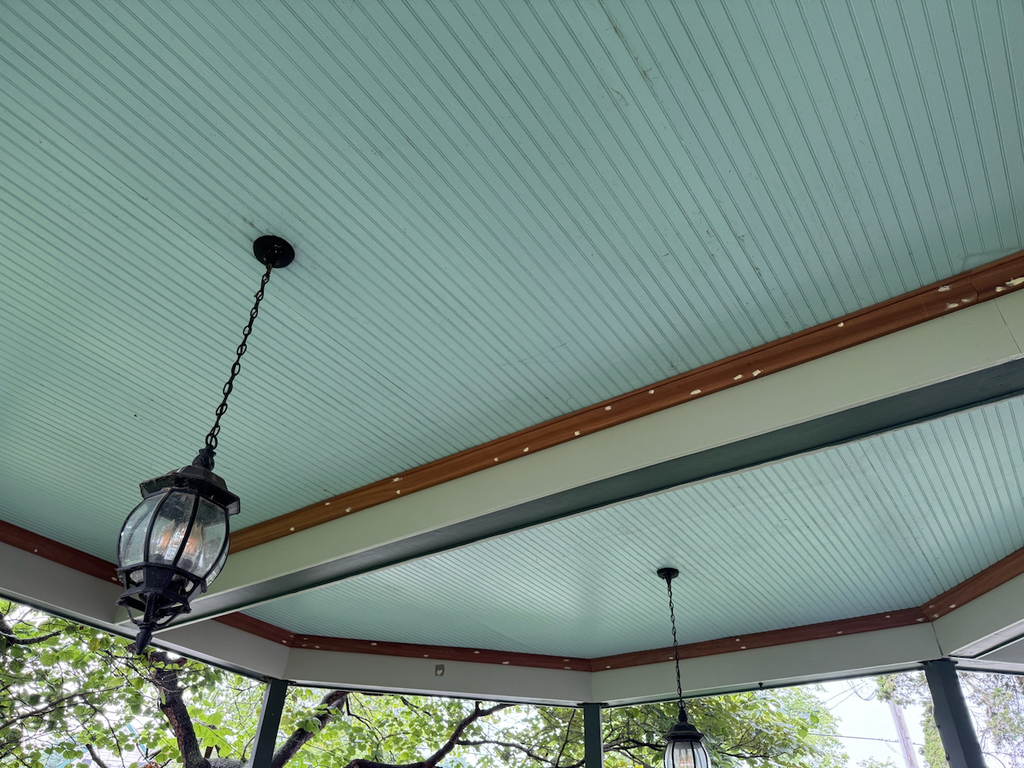
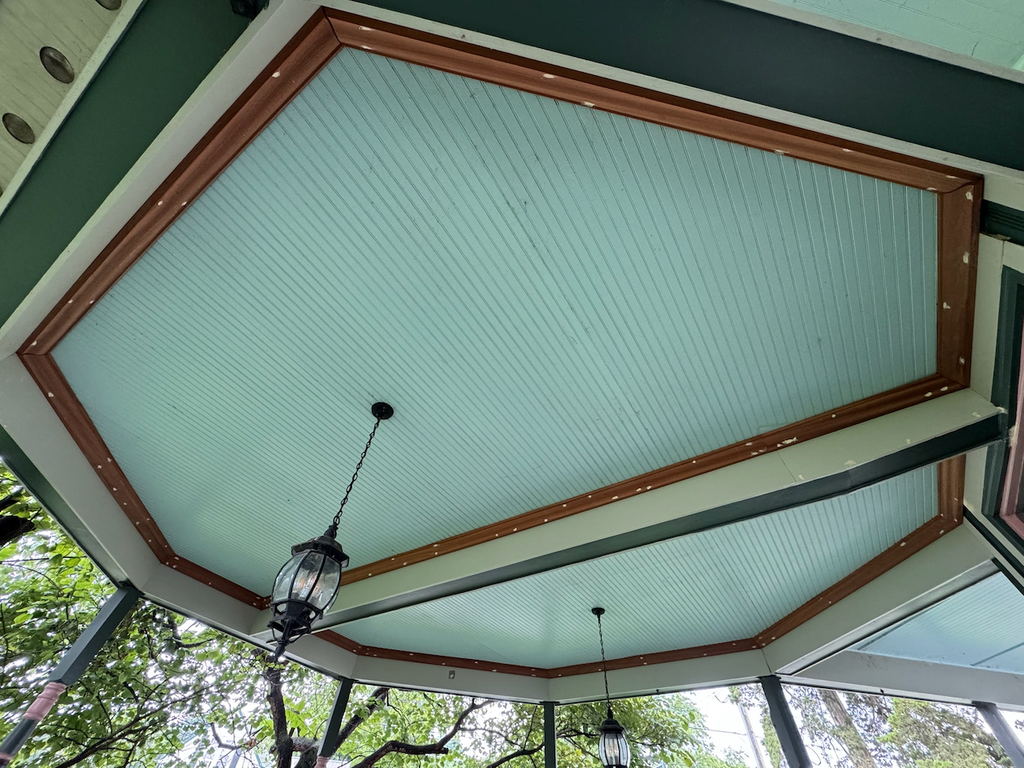
Crown
The first step is to cut and dry-fit the crown. When we saw that beautiful Sapele in place, it was tough to paint it. We did wrestle with the idea of trying to keep the natural wood but it simply didn’t work.
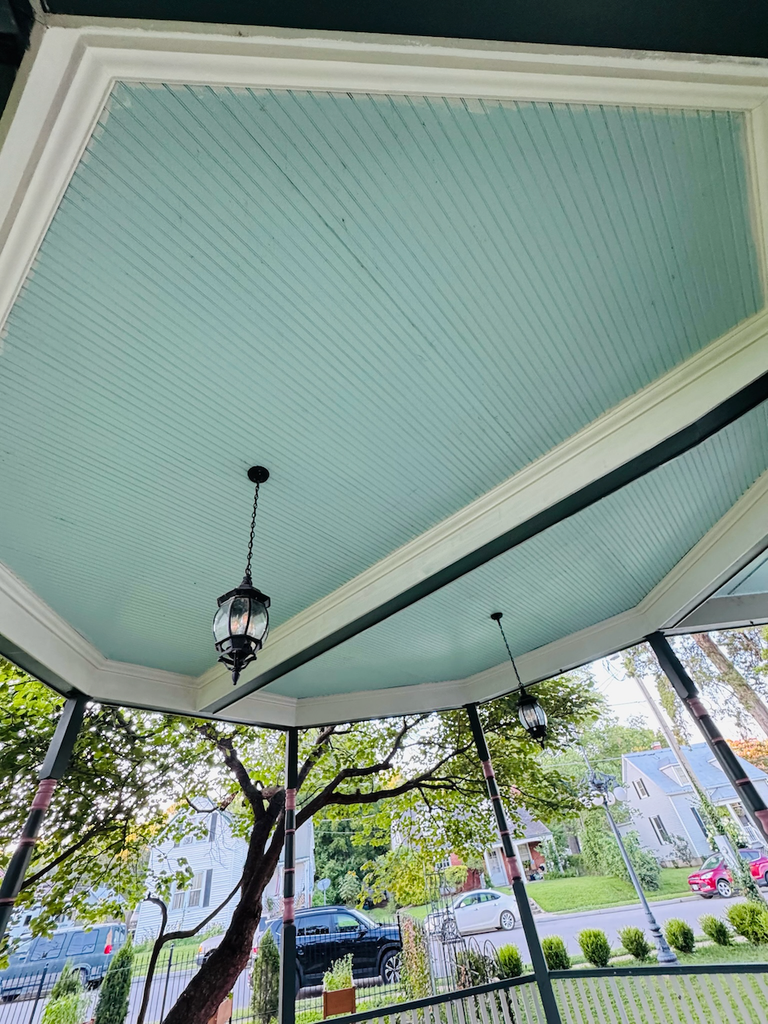
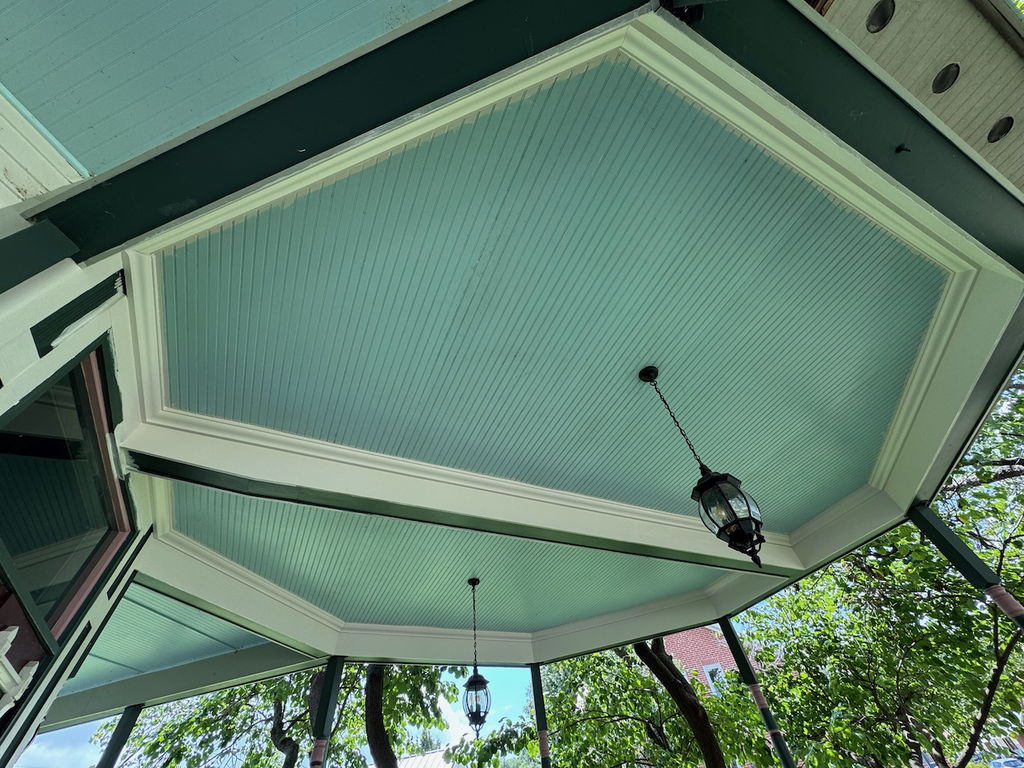
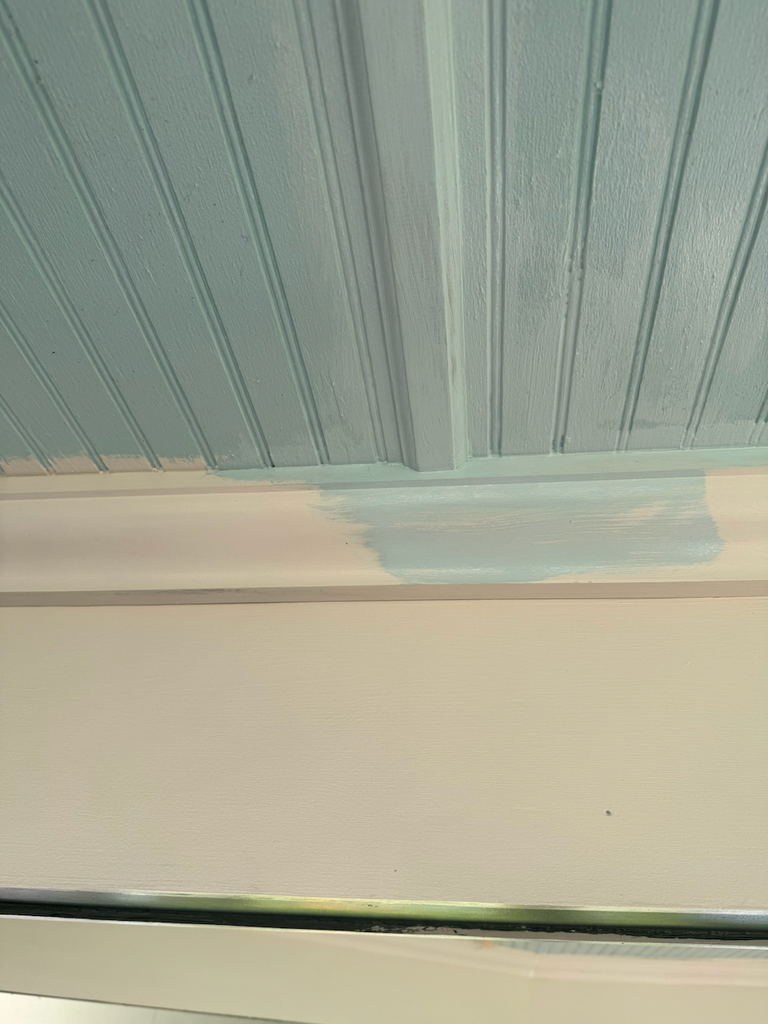
Once the crown was dry-fitted, the nail holes were filled. Then the crown was primed, caulked, and painted with two coats.
Batten Strips
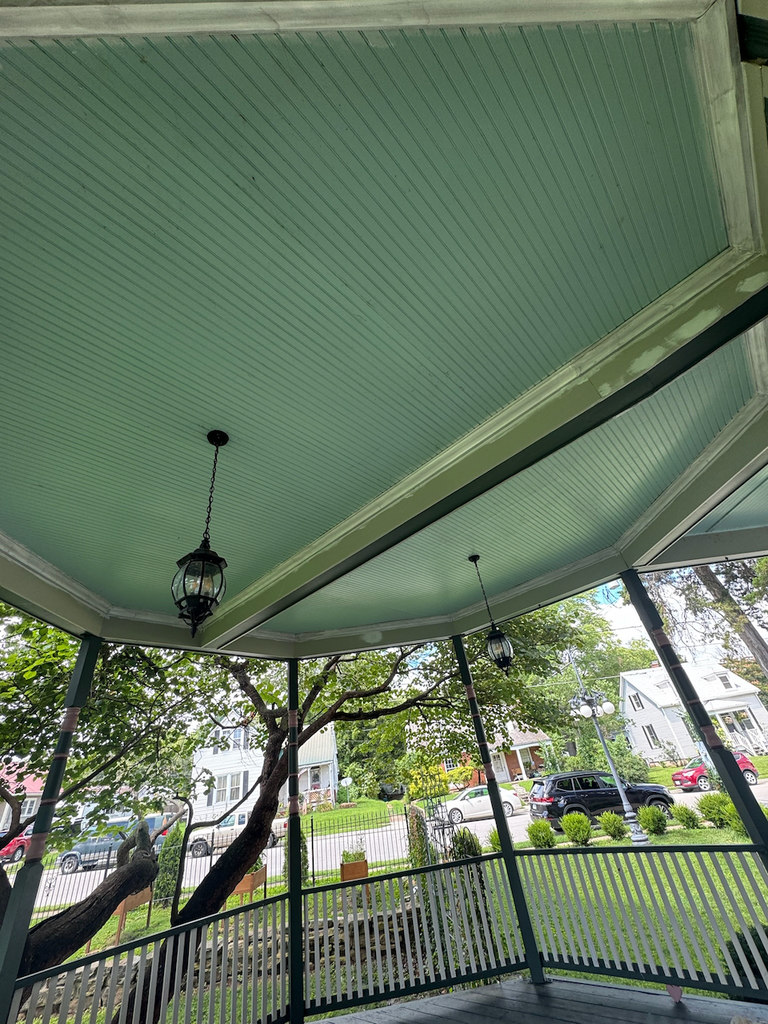
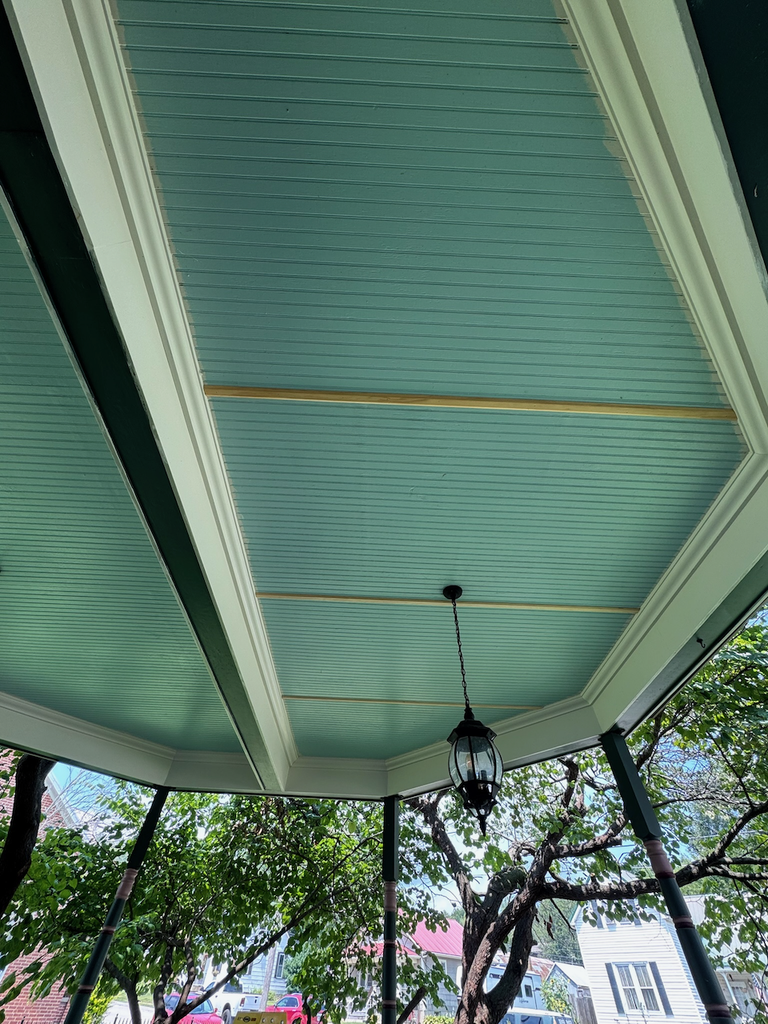
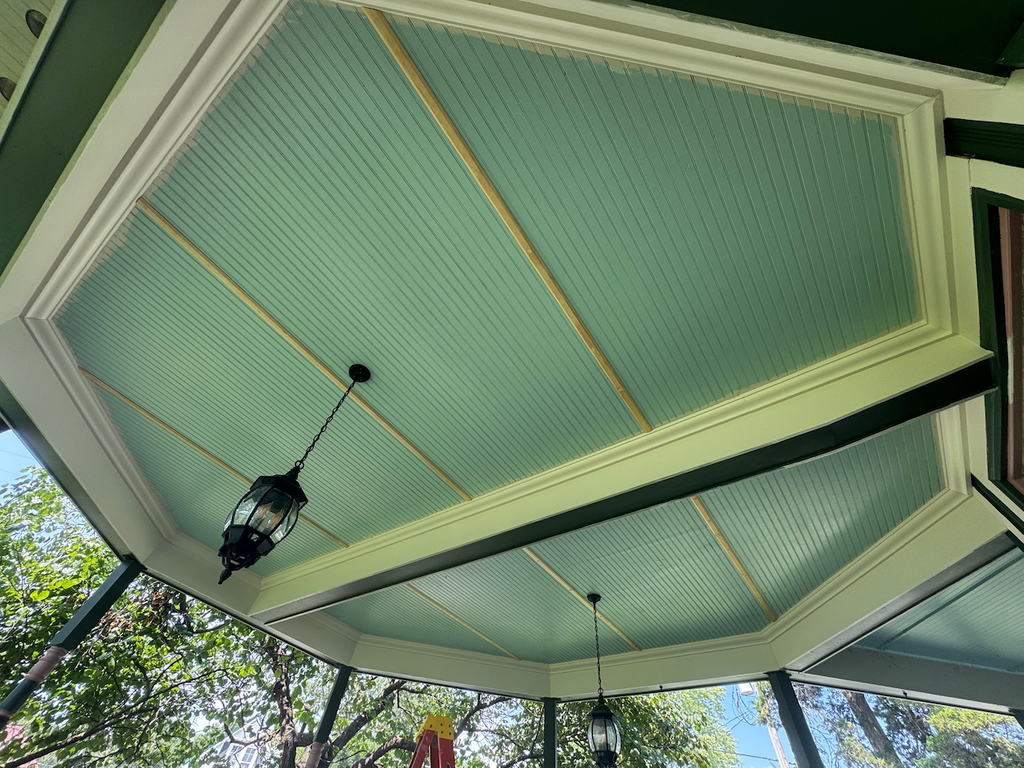
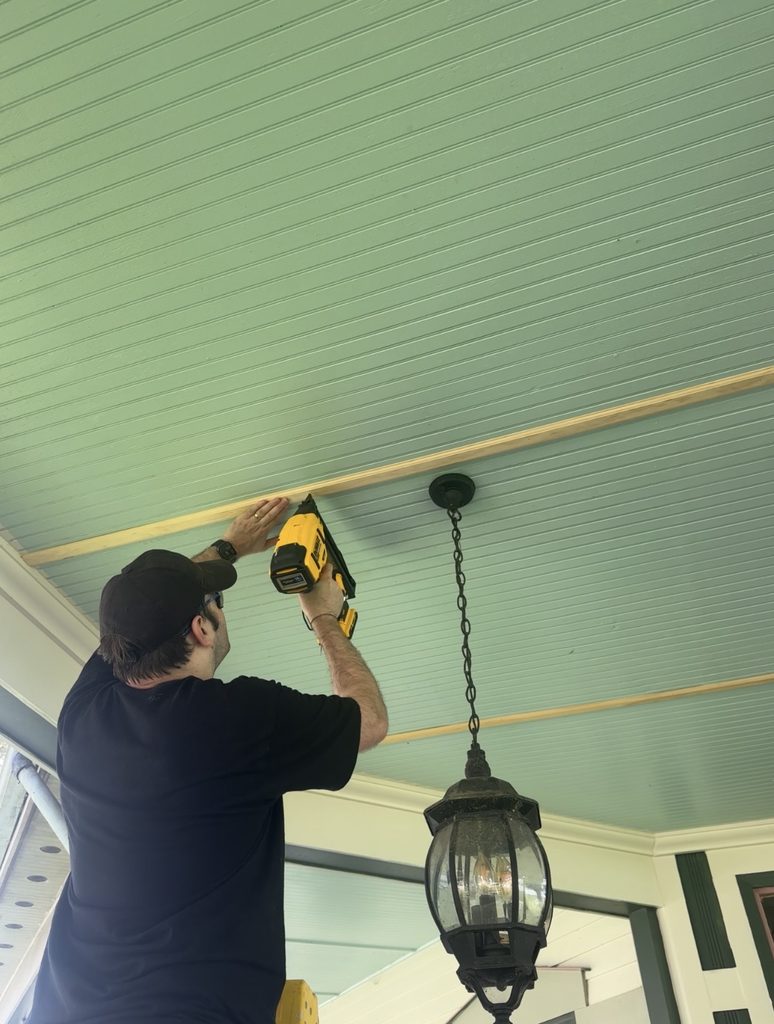
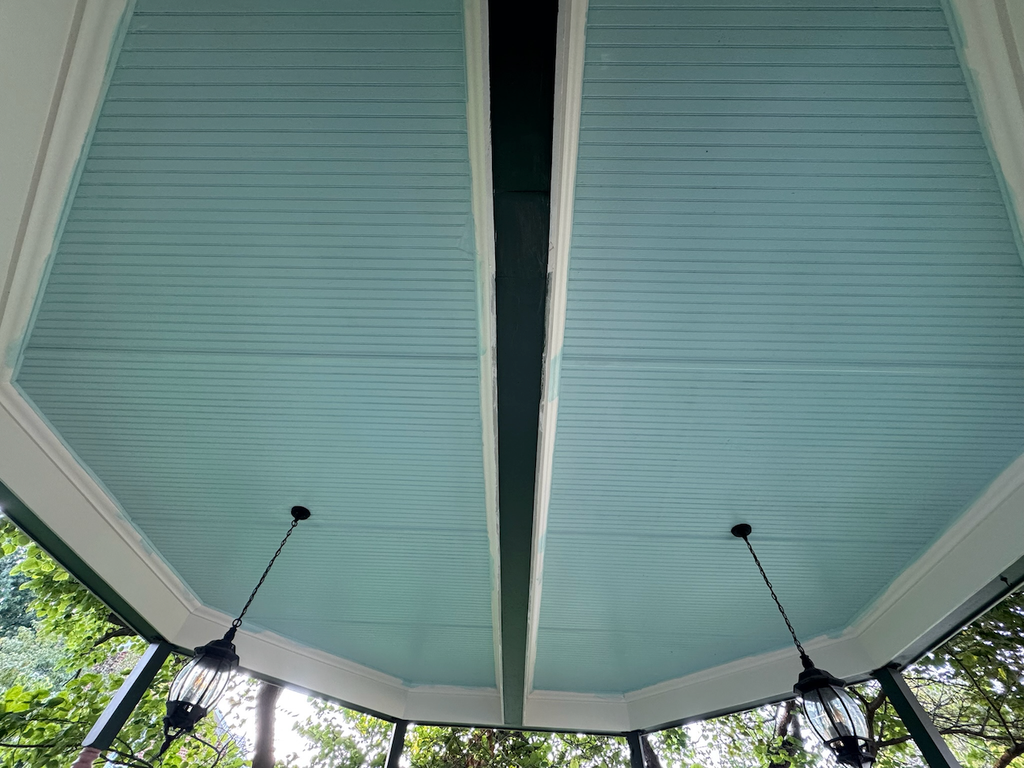
Now that the crown is mostly done, the final task is installing the batten strips for the ceiling seams. Similar process to the crown: dry fit, fill holes, sand, caulk, and paint. While we were at it, we cleaned and gave the ceiling a fresh coat of Haint Blue.
Finishing
With everything sealed and painted, the last step was truly satisfying: the final coat of paint.
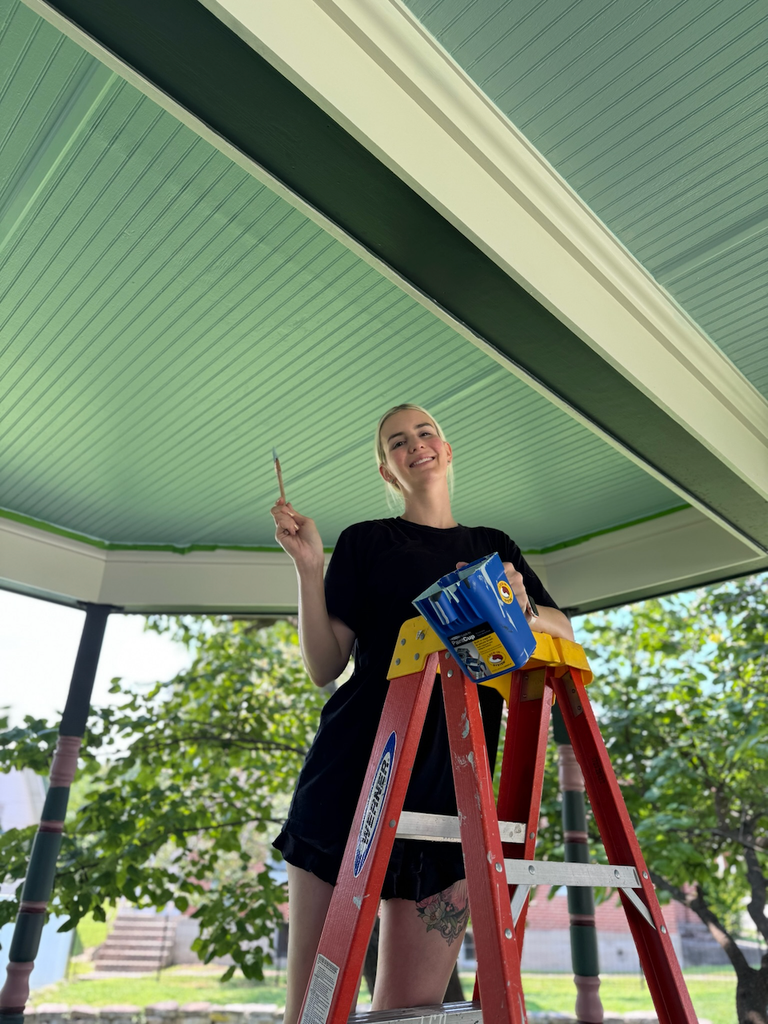
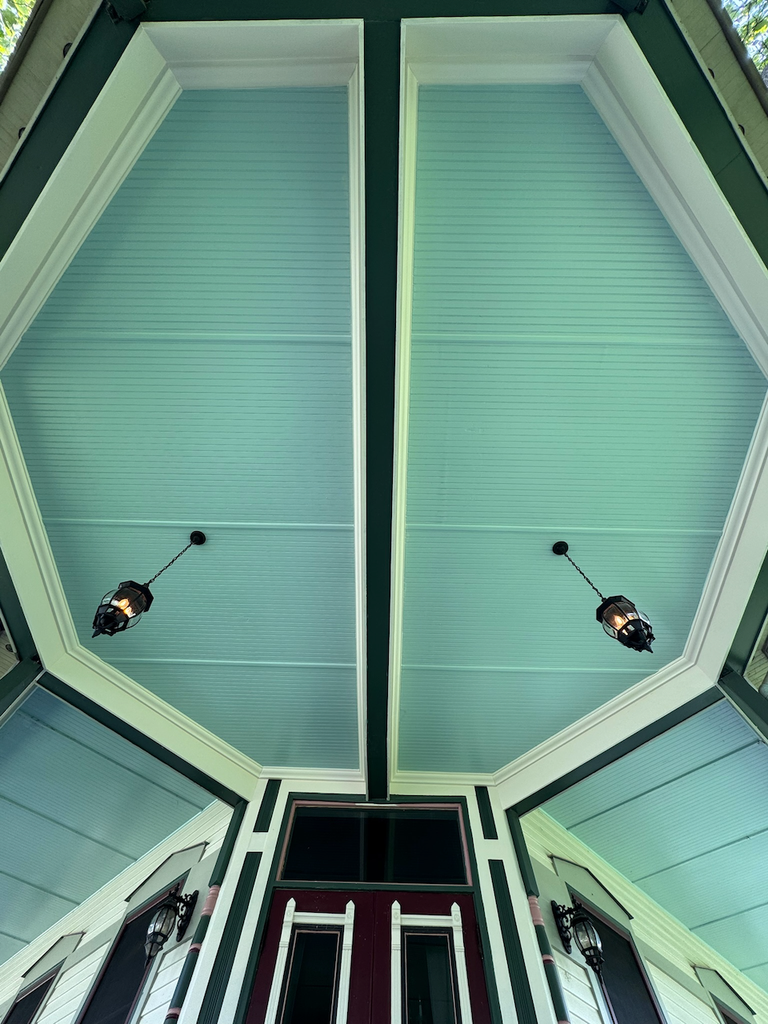
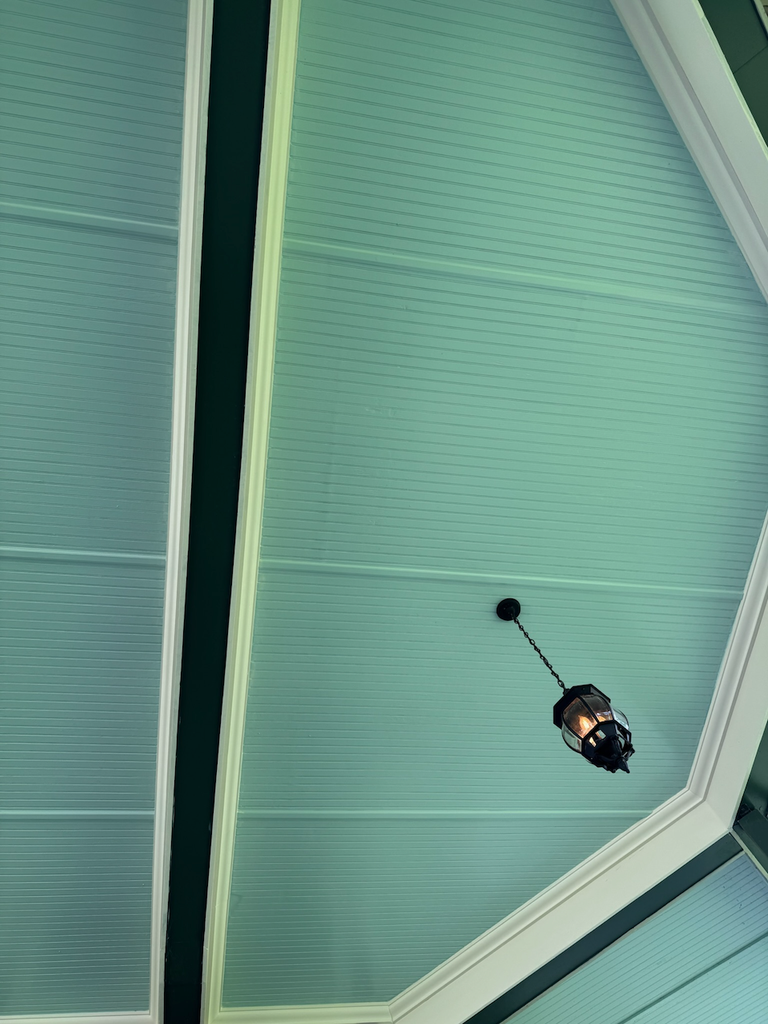
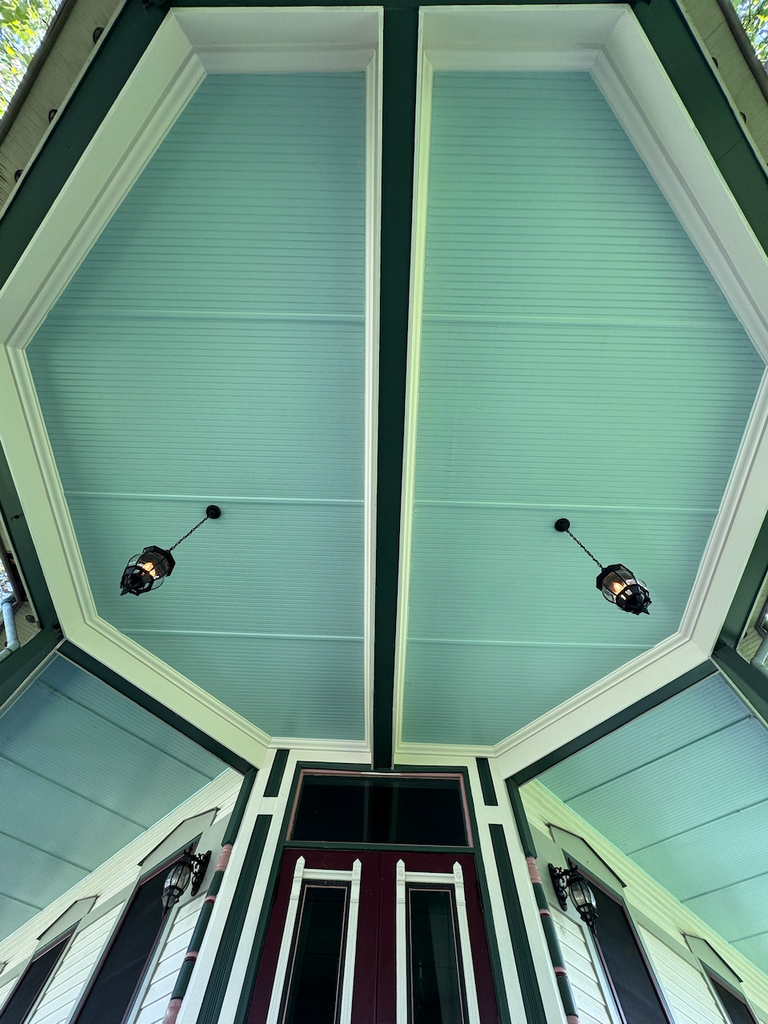
There we have it. A finished project. Now, just 9,999 more to go!