We remodeled the main guest bathroom off the family room. By far, the toughest interior space we have tackled. As with many bathroom remodels, this project was plagued by surprises and difficult challenges. Let’s get into it.
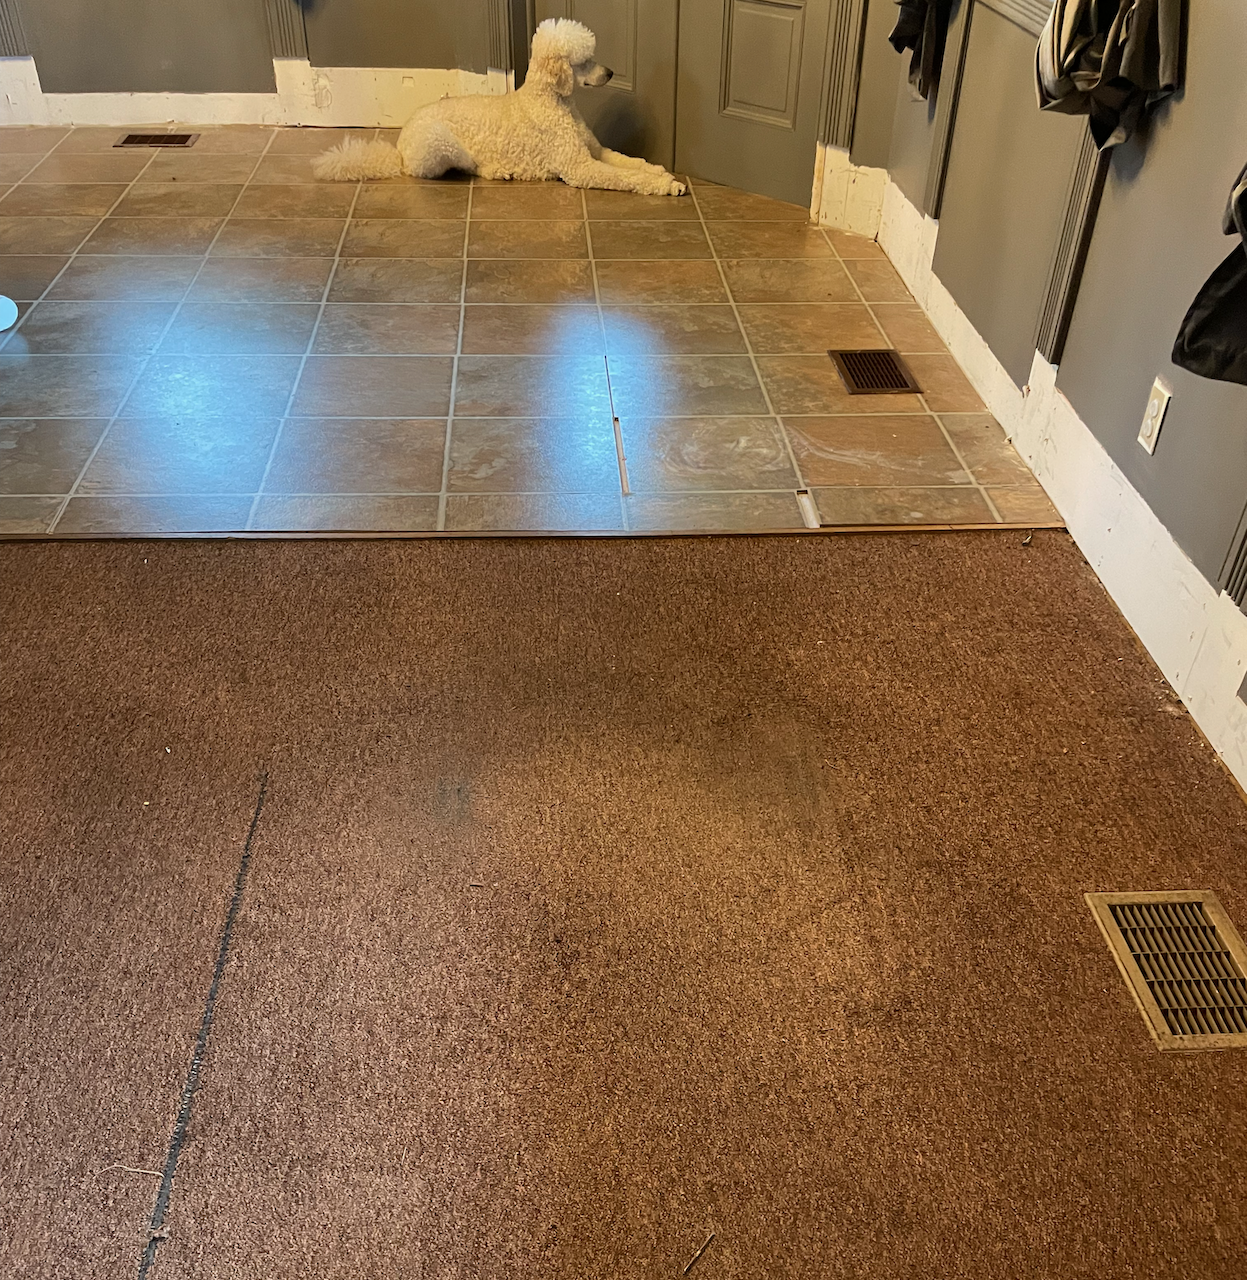
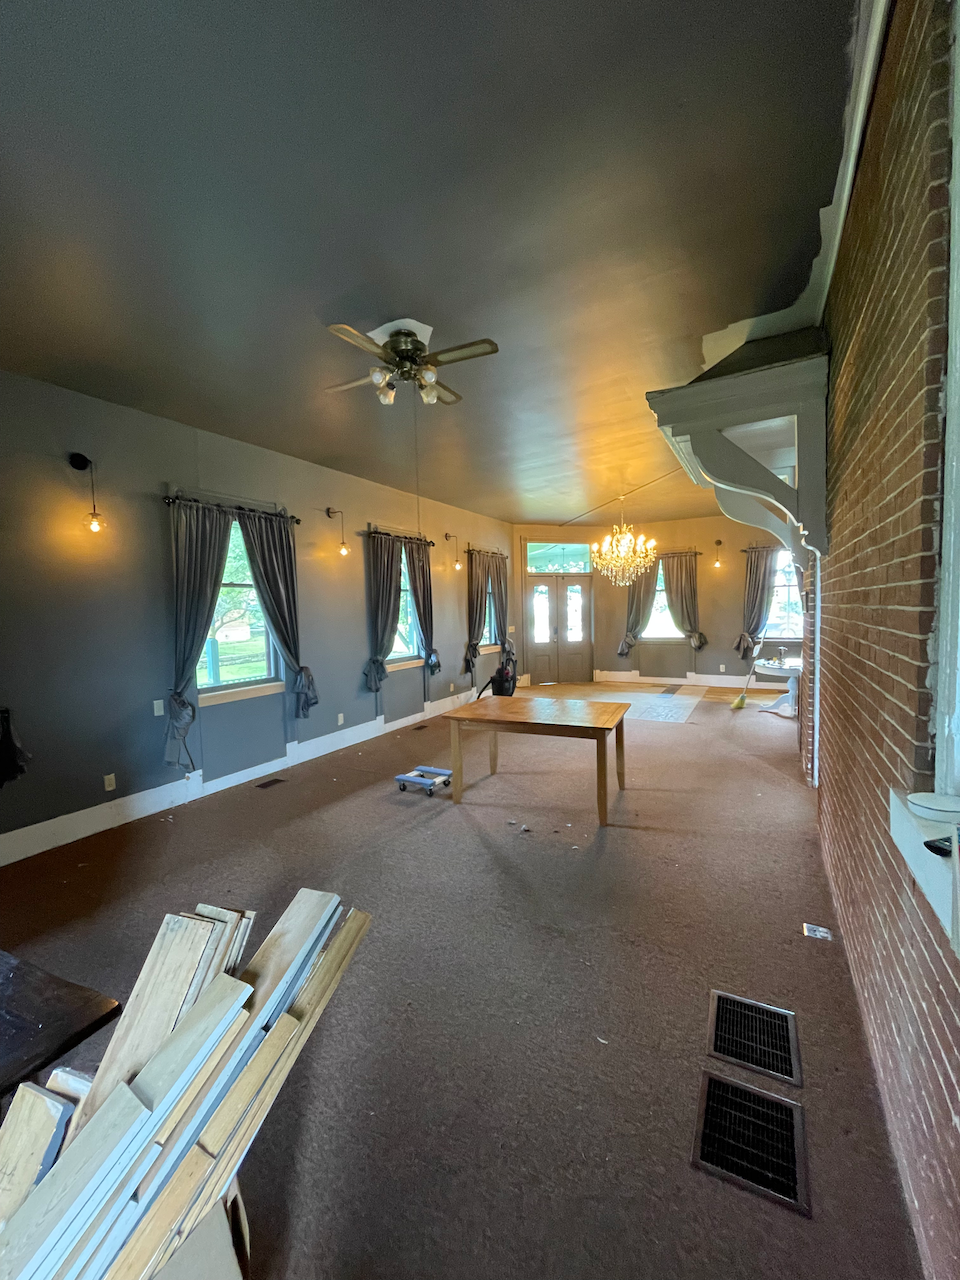
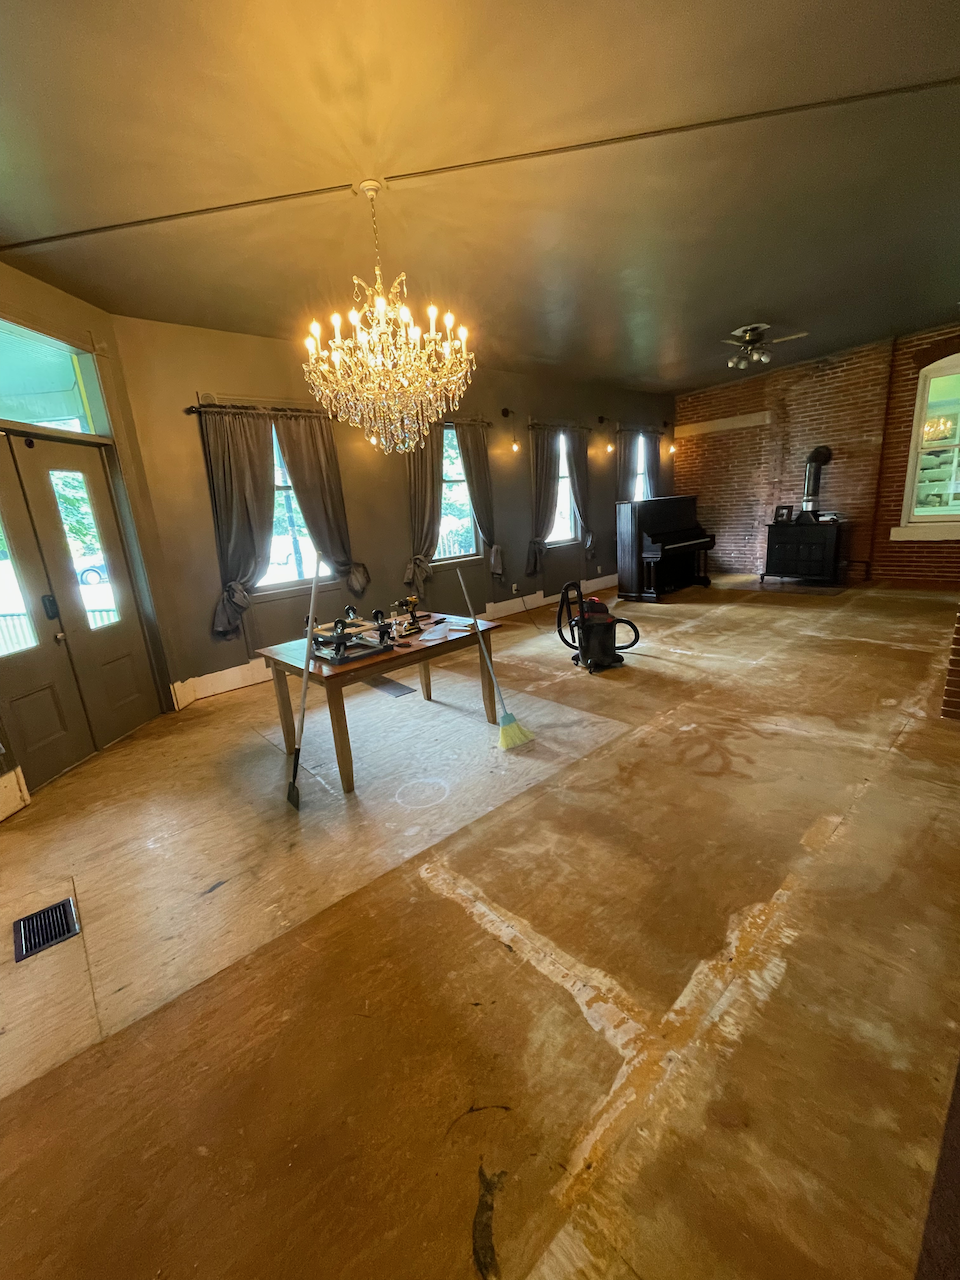
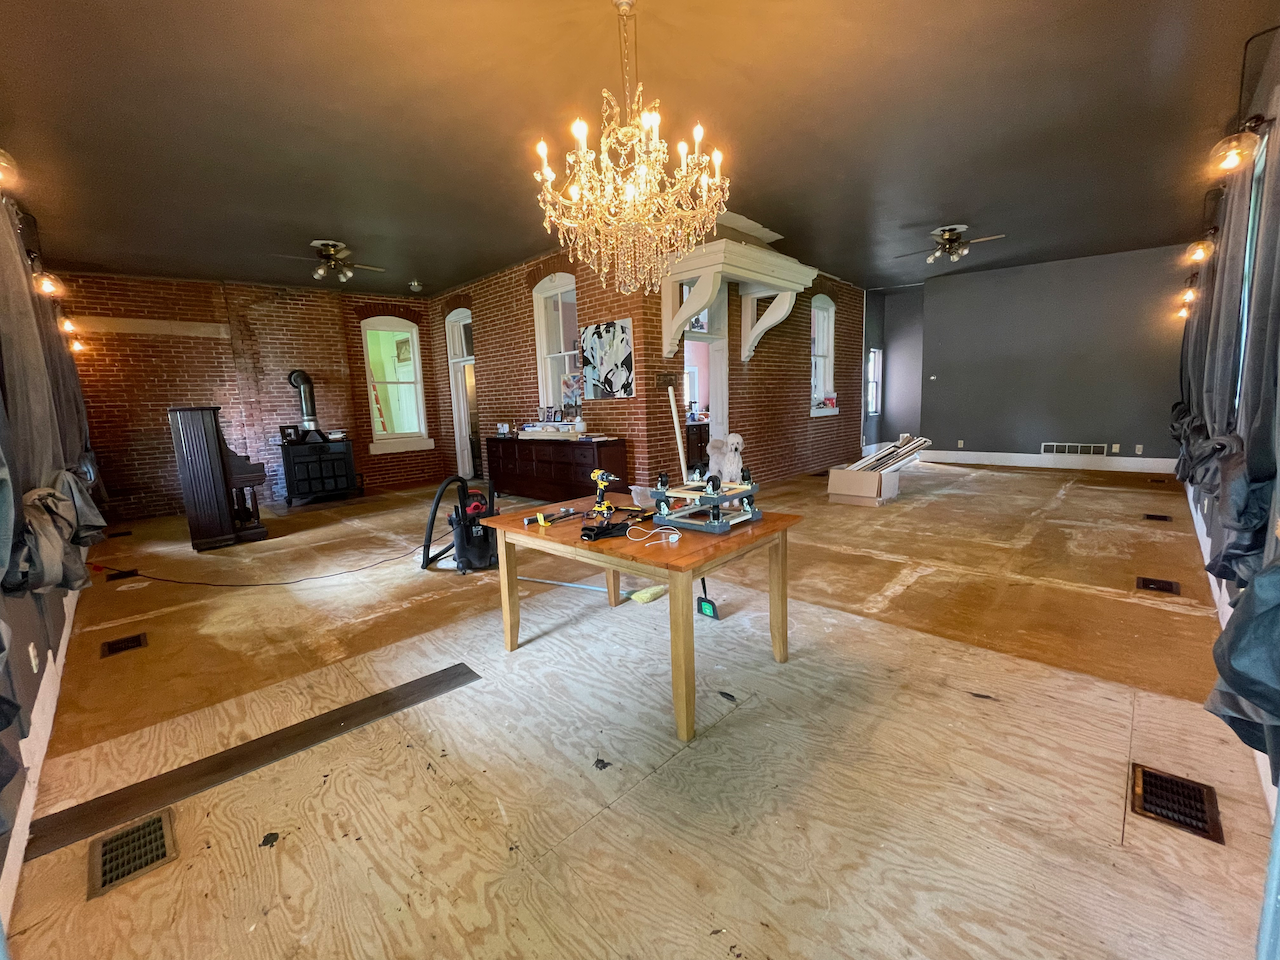
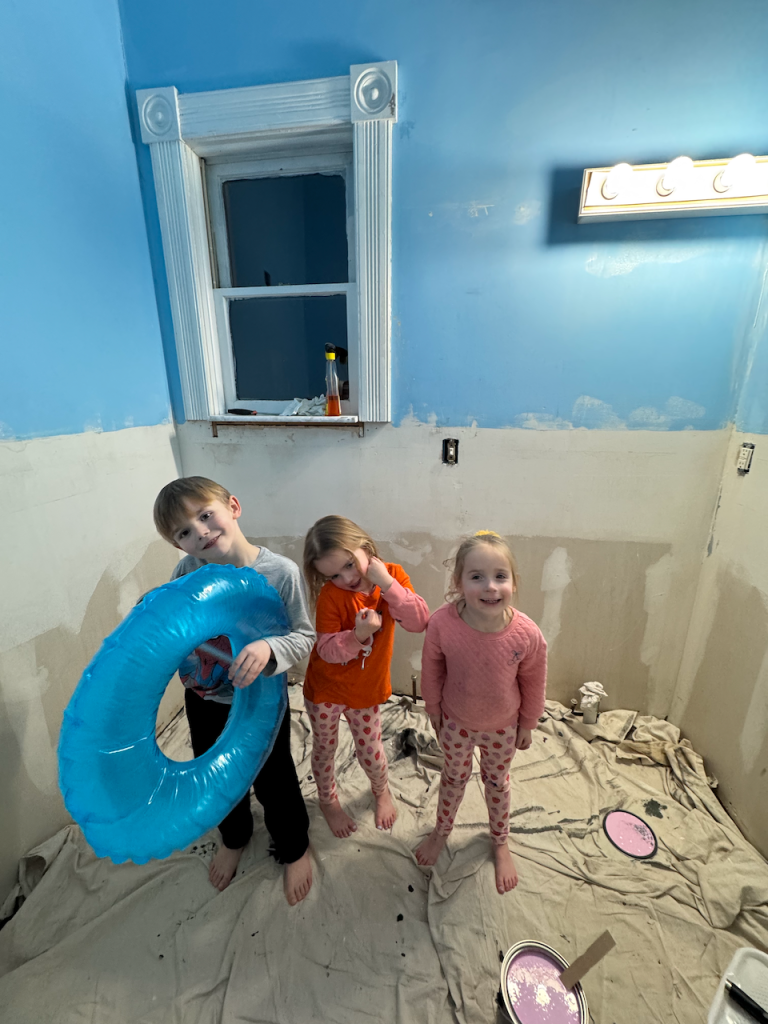
Here’s a quick snapshot at the before and progress:
Background & Before Photos
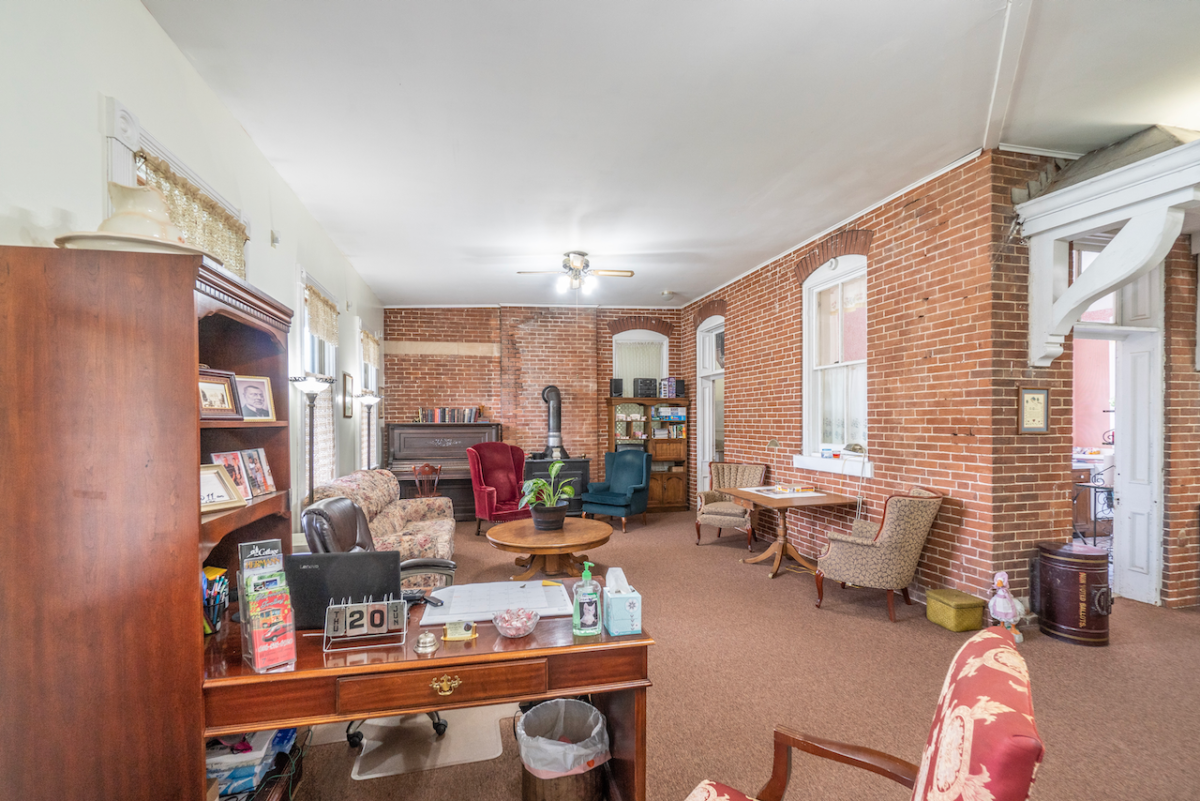
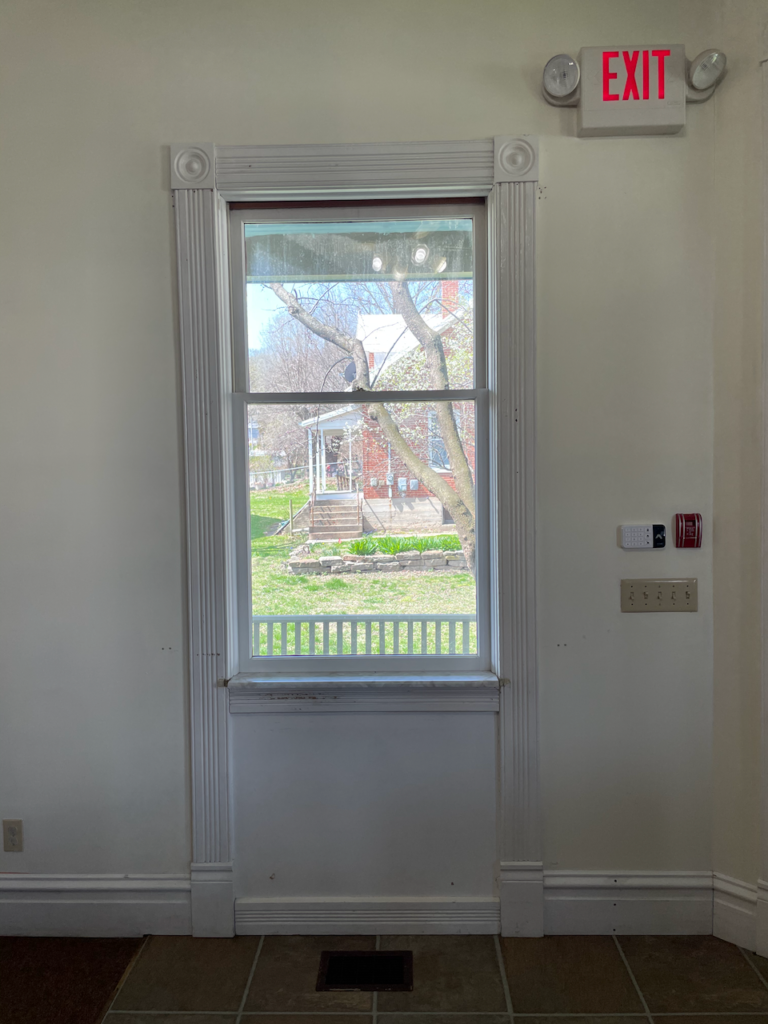
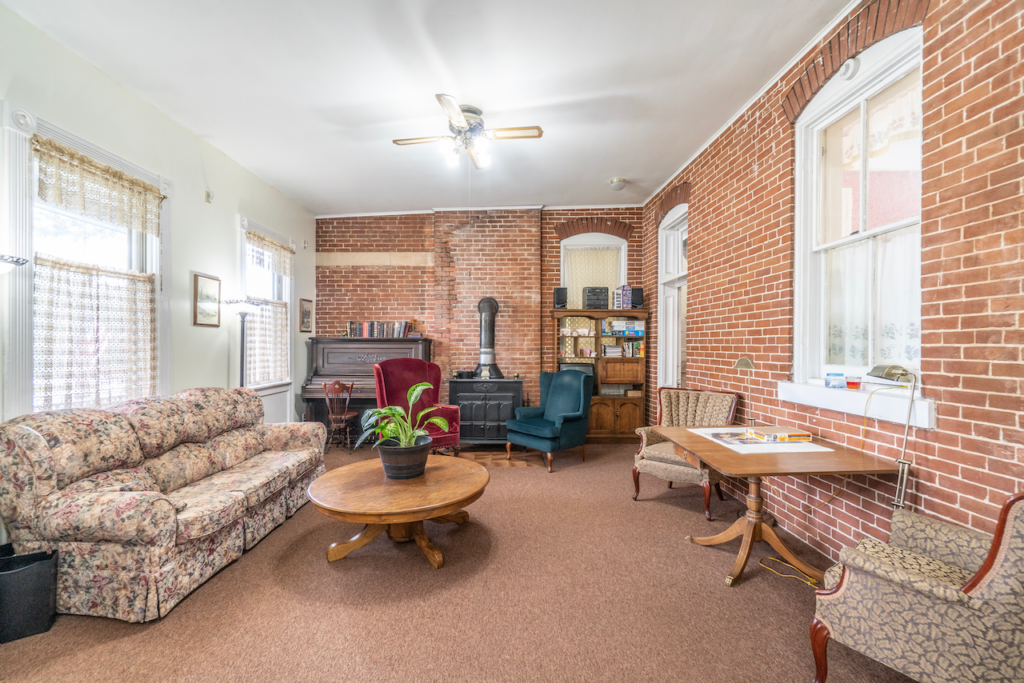
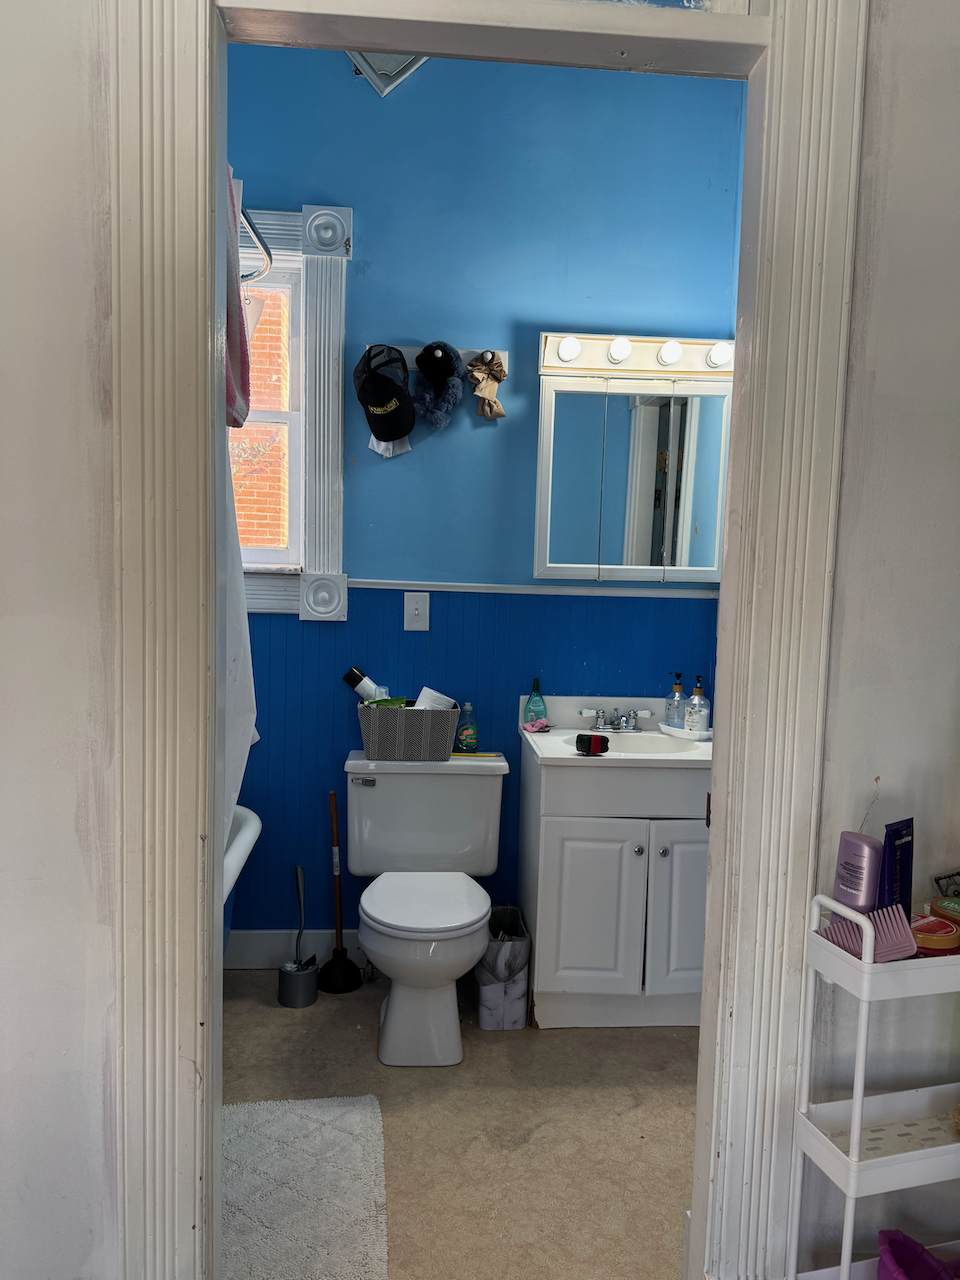
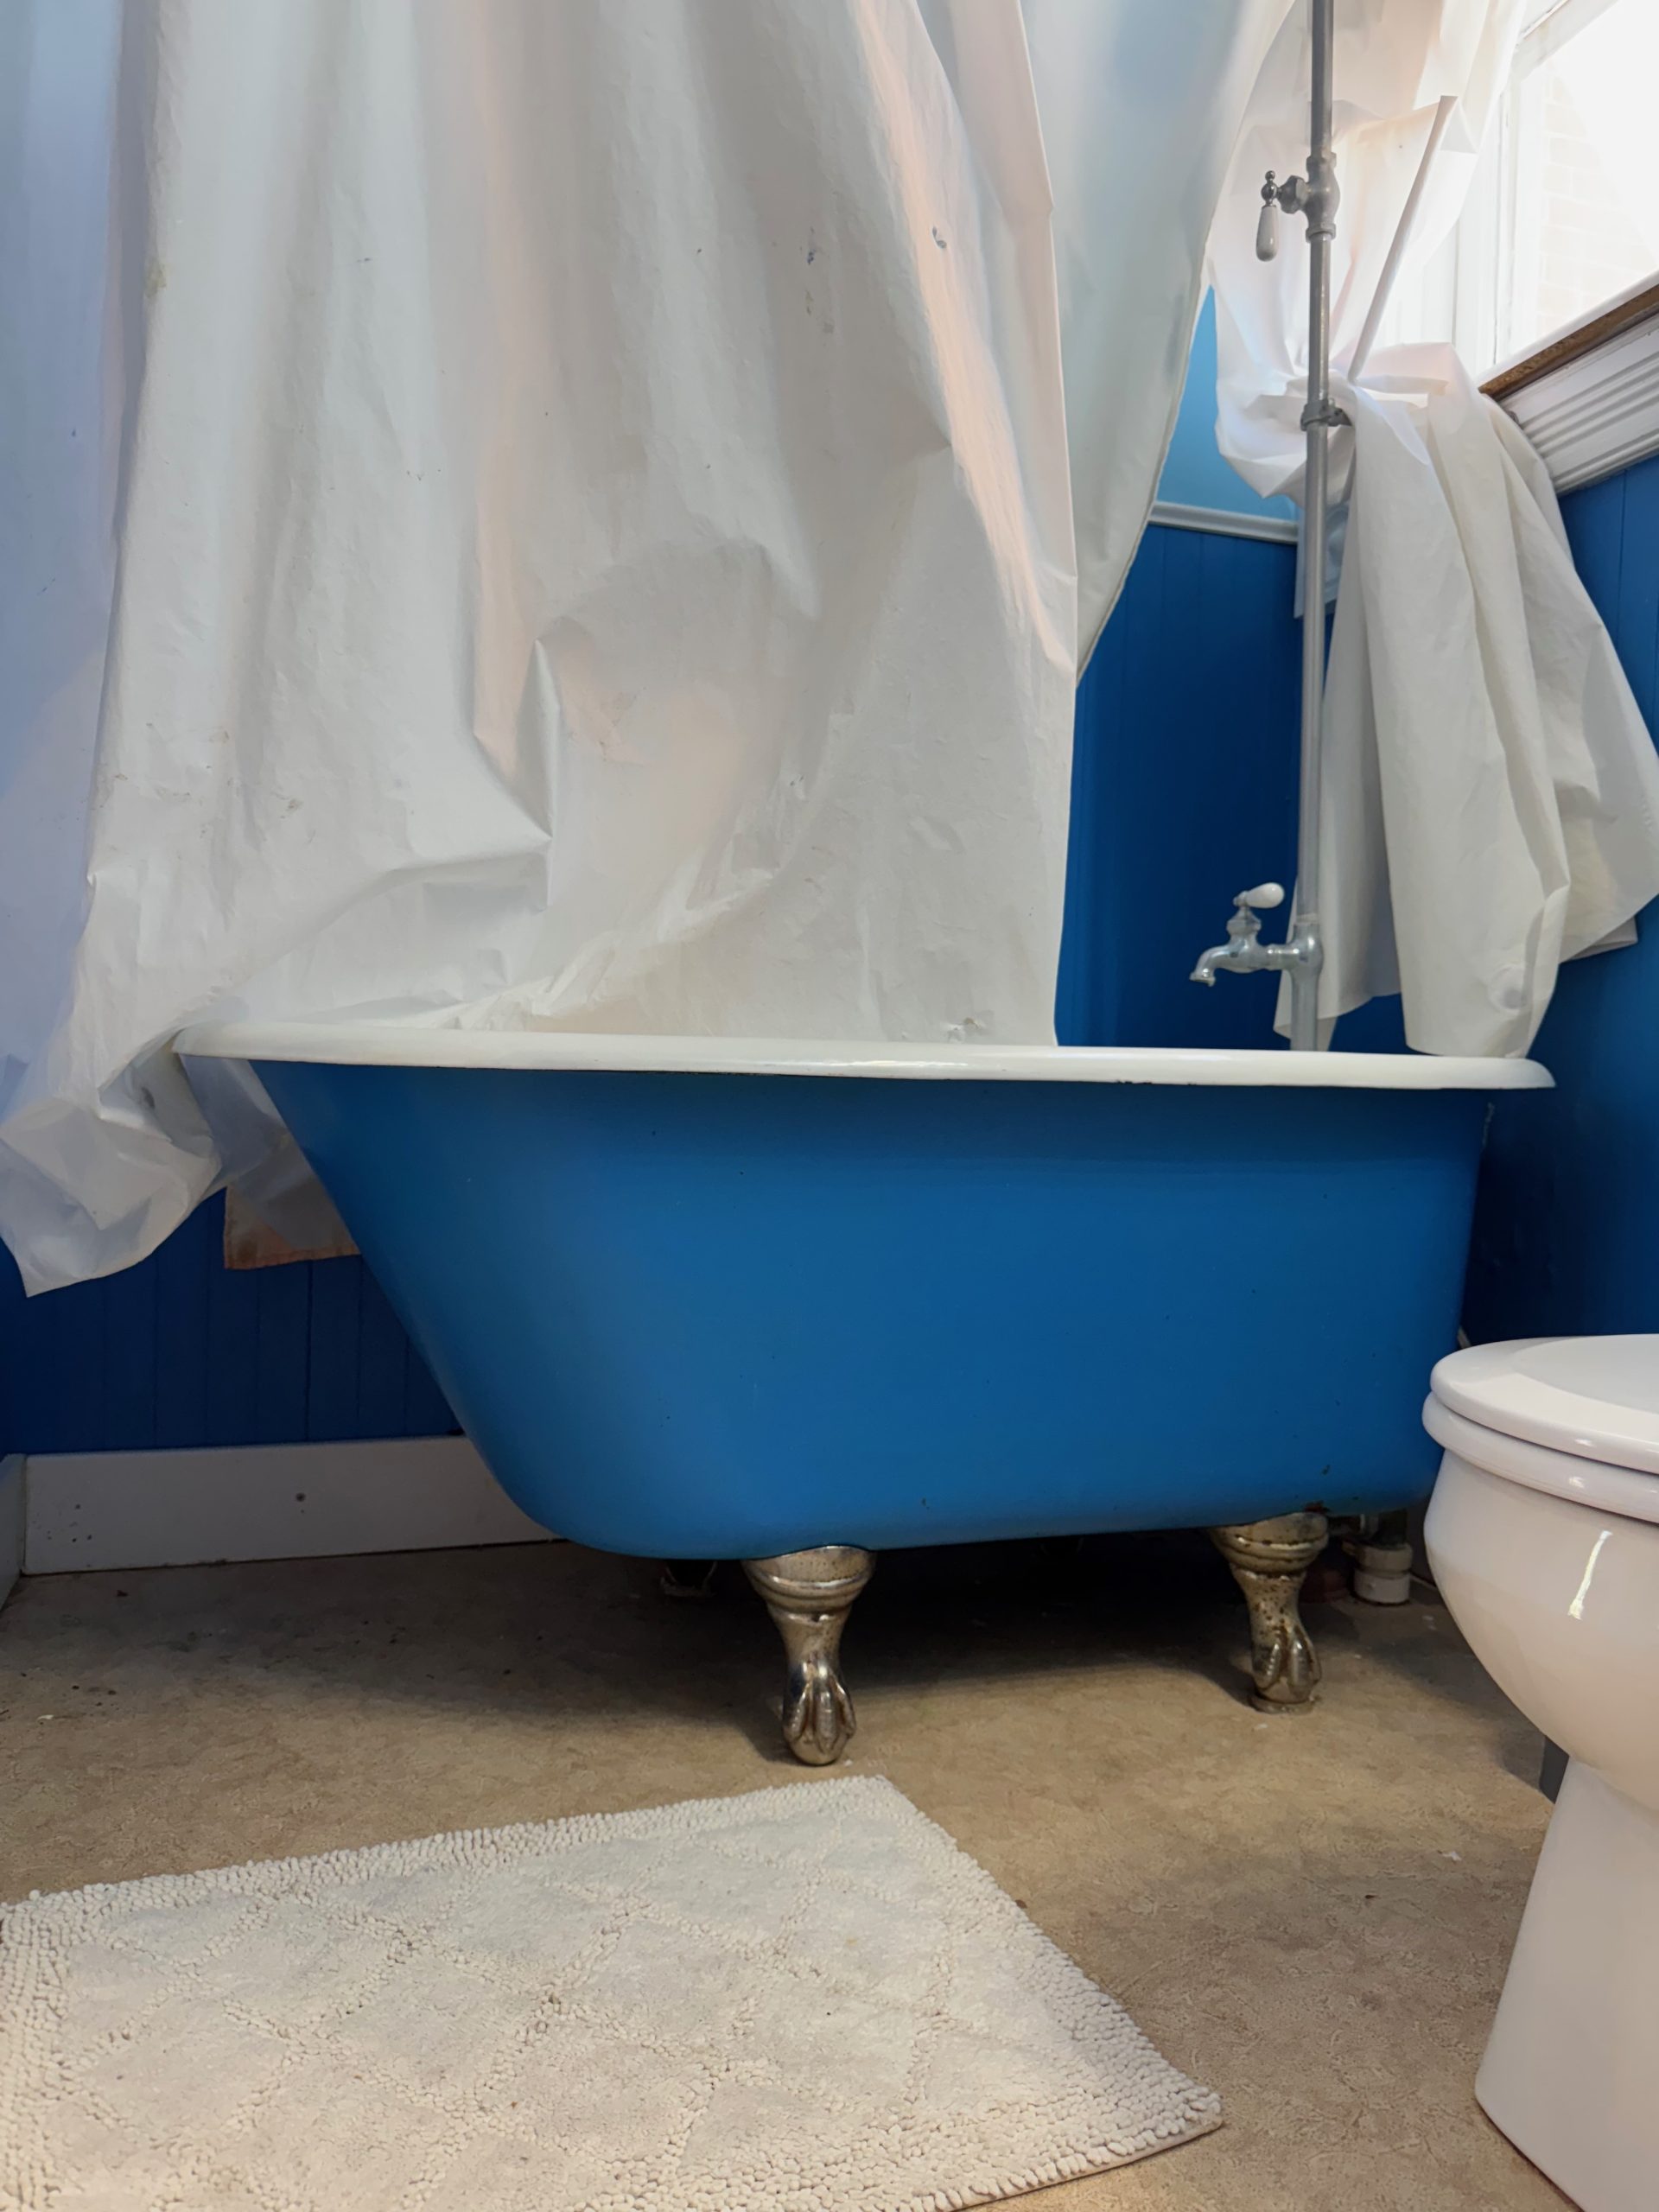
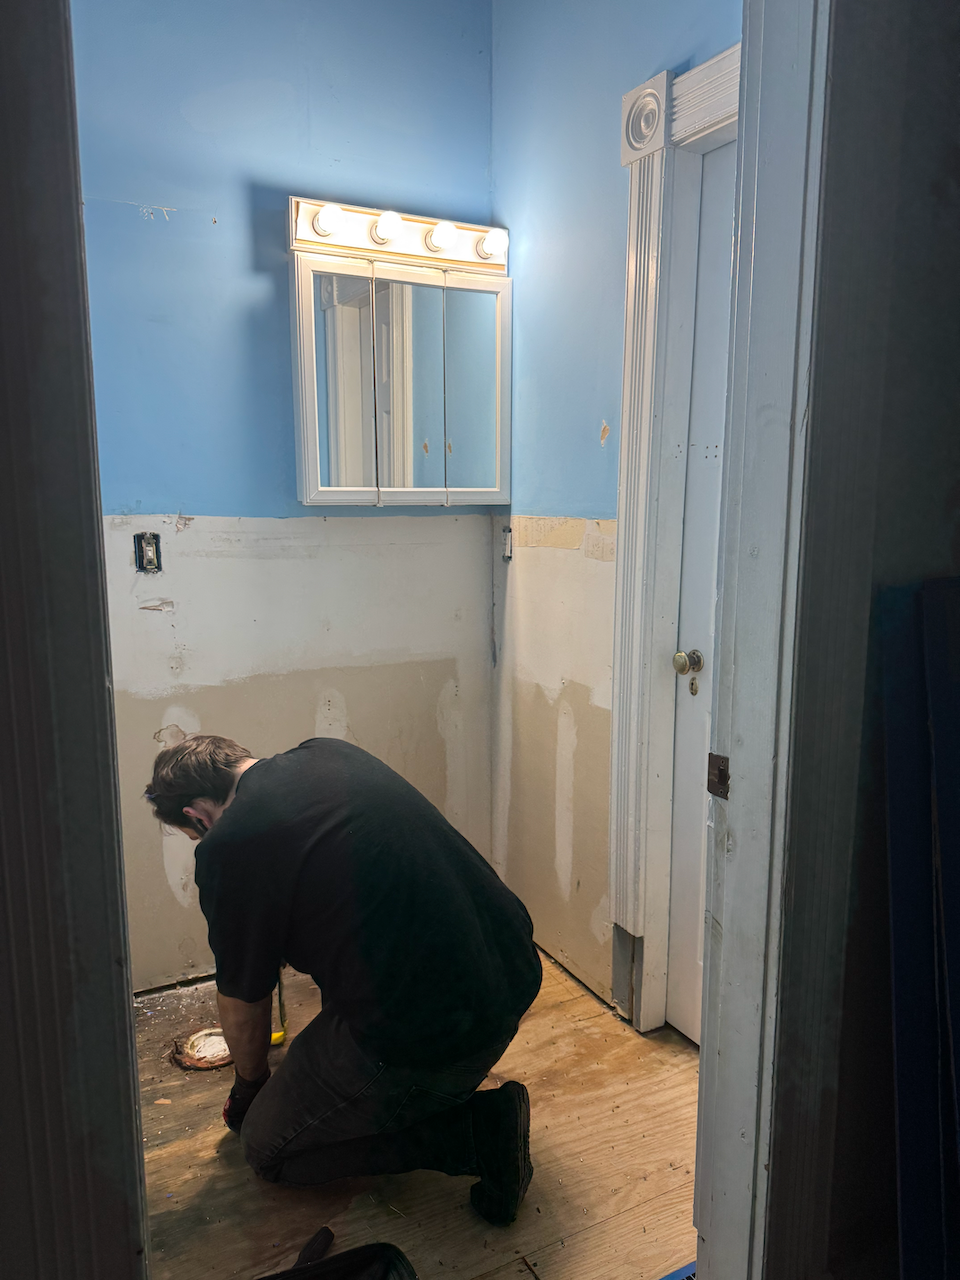
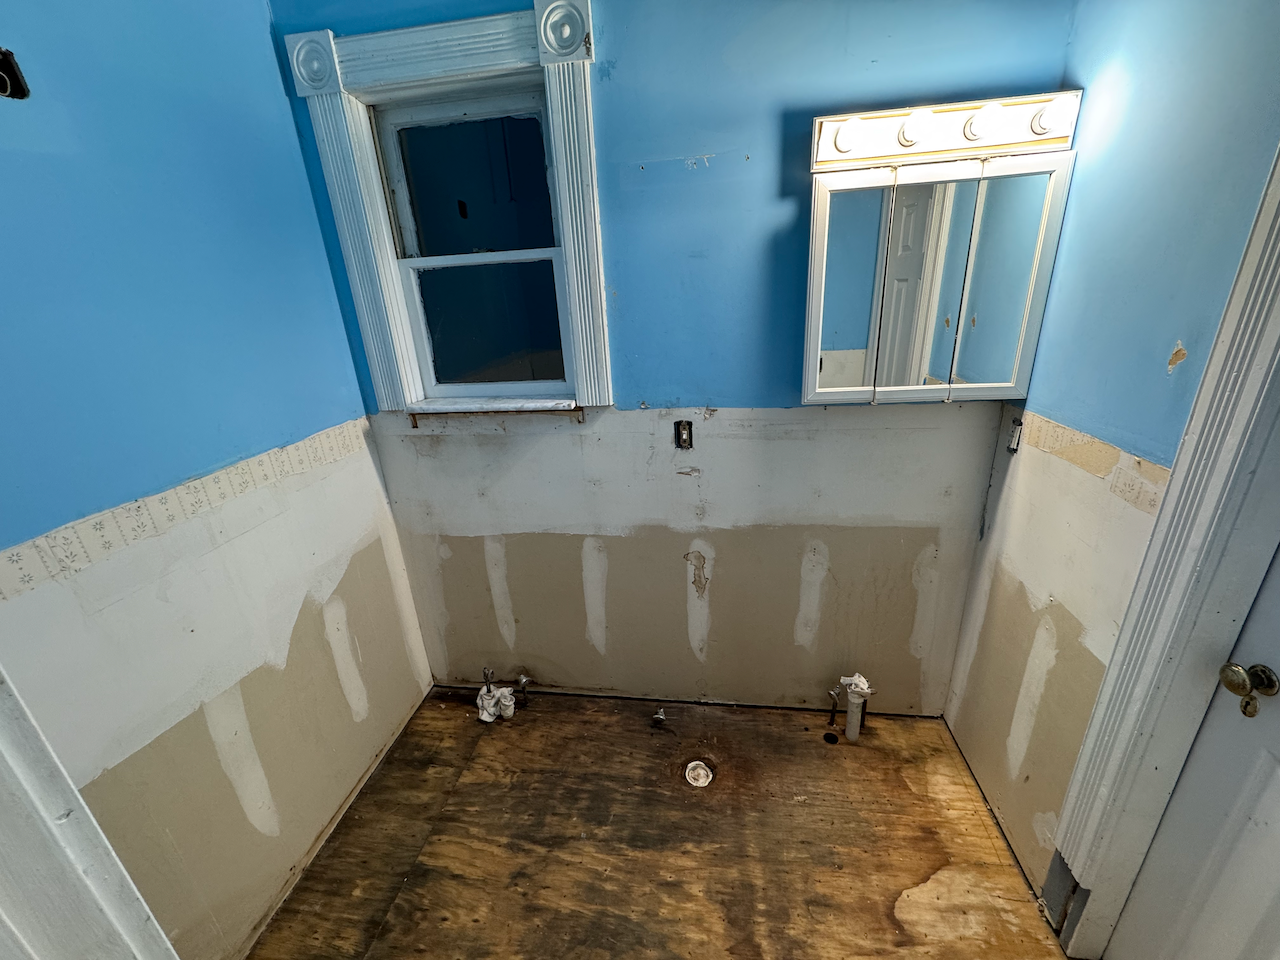
This is one of the two first-floor bathrooms. It’s part of the 1980s addition, which, when the house was a B&B, was used by the inkeeper. Today, the bathroom and connected bedroom are part of our primary family living area, right off the family room we remodeled a few years back. Prior to the remodel, definitely the most used bathroom in the entire house.
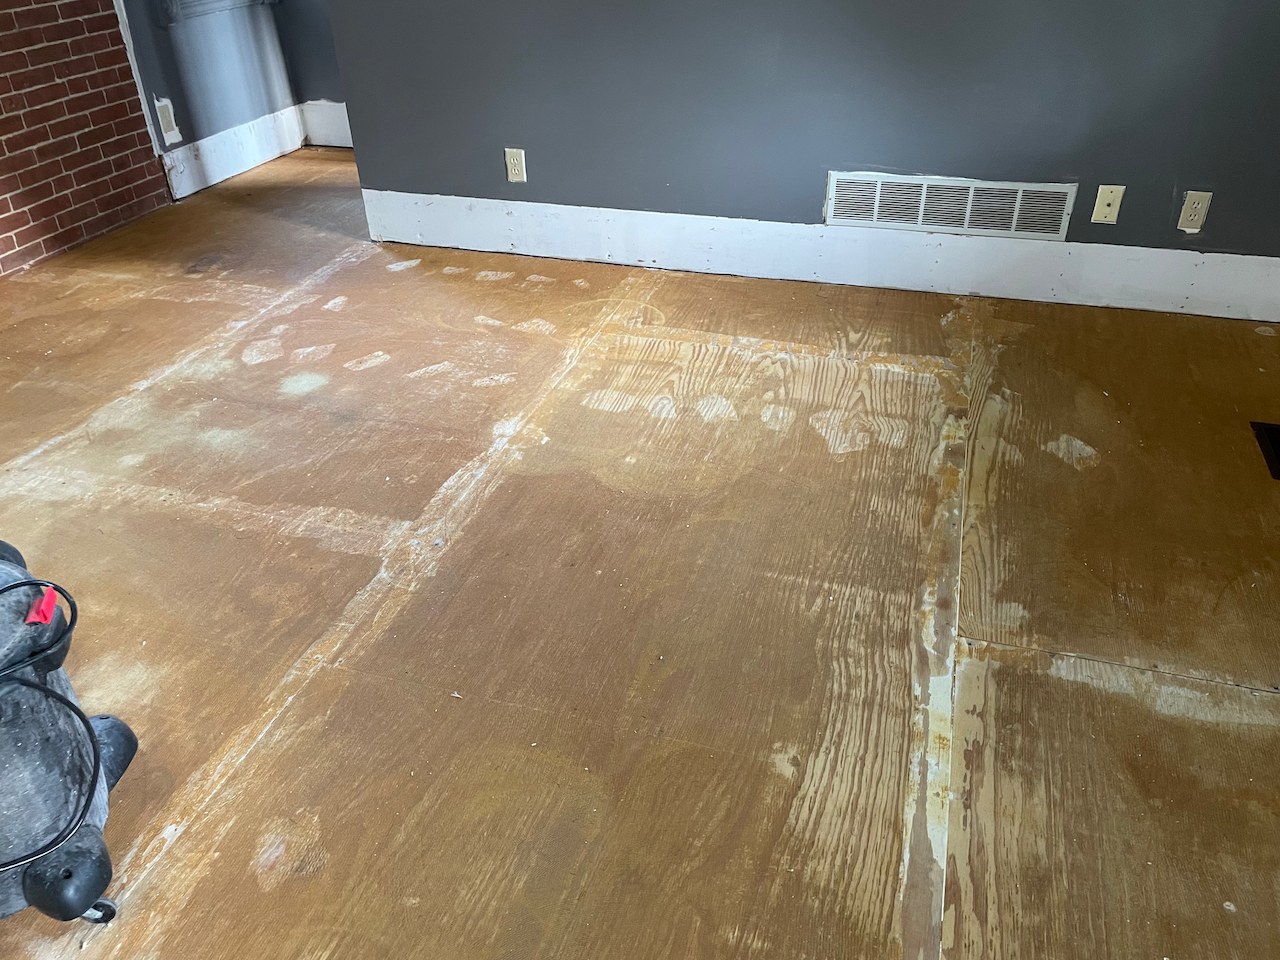
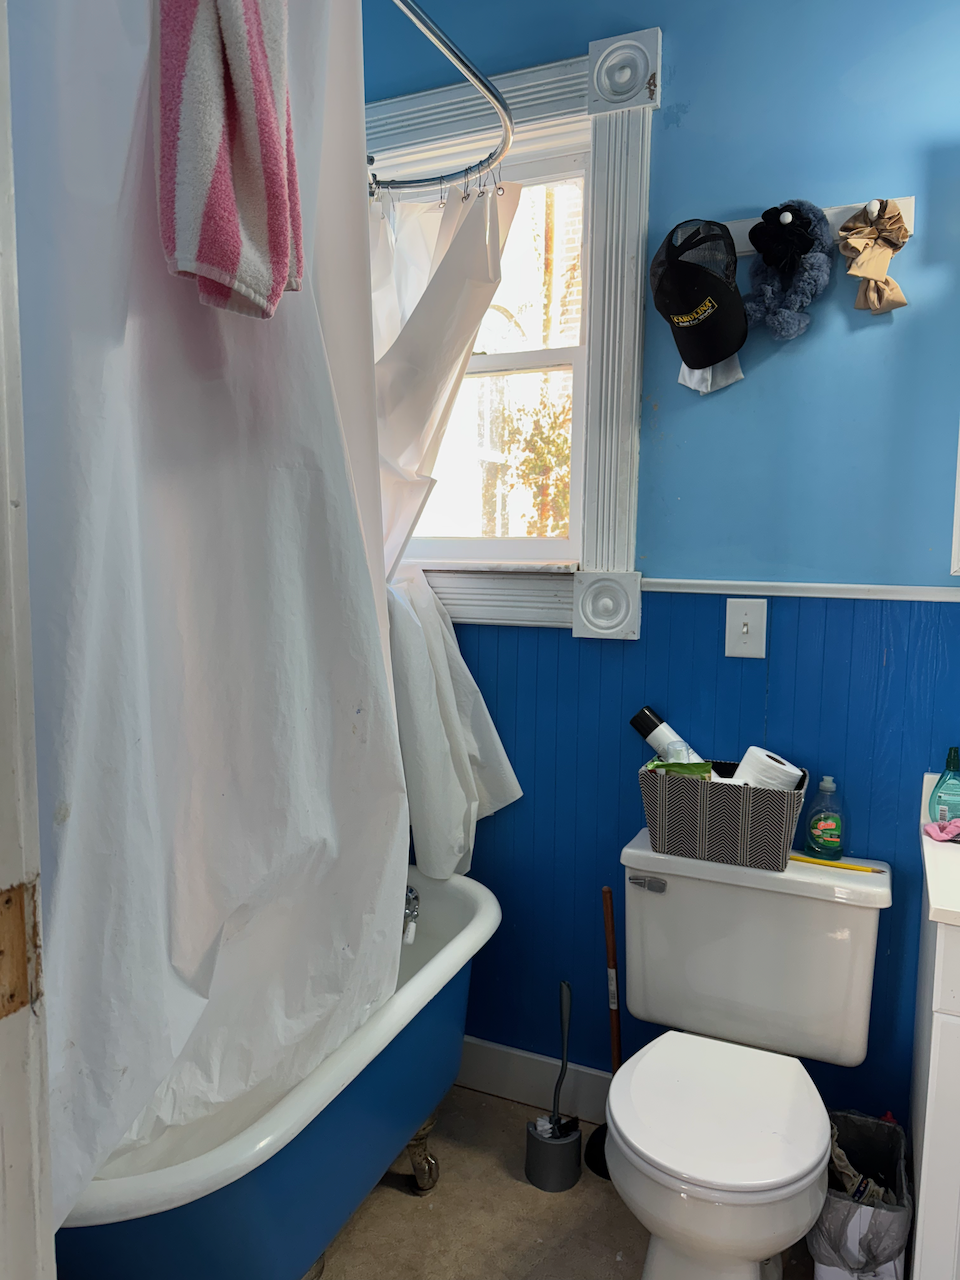
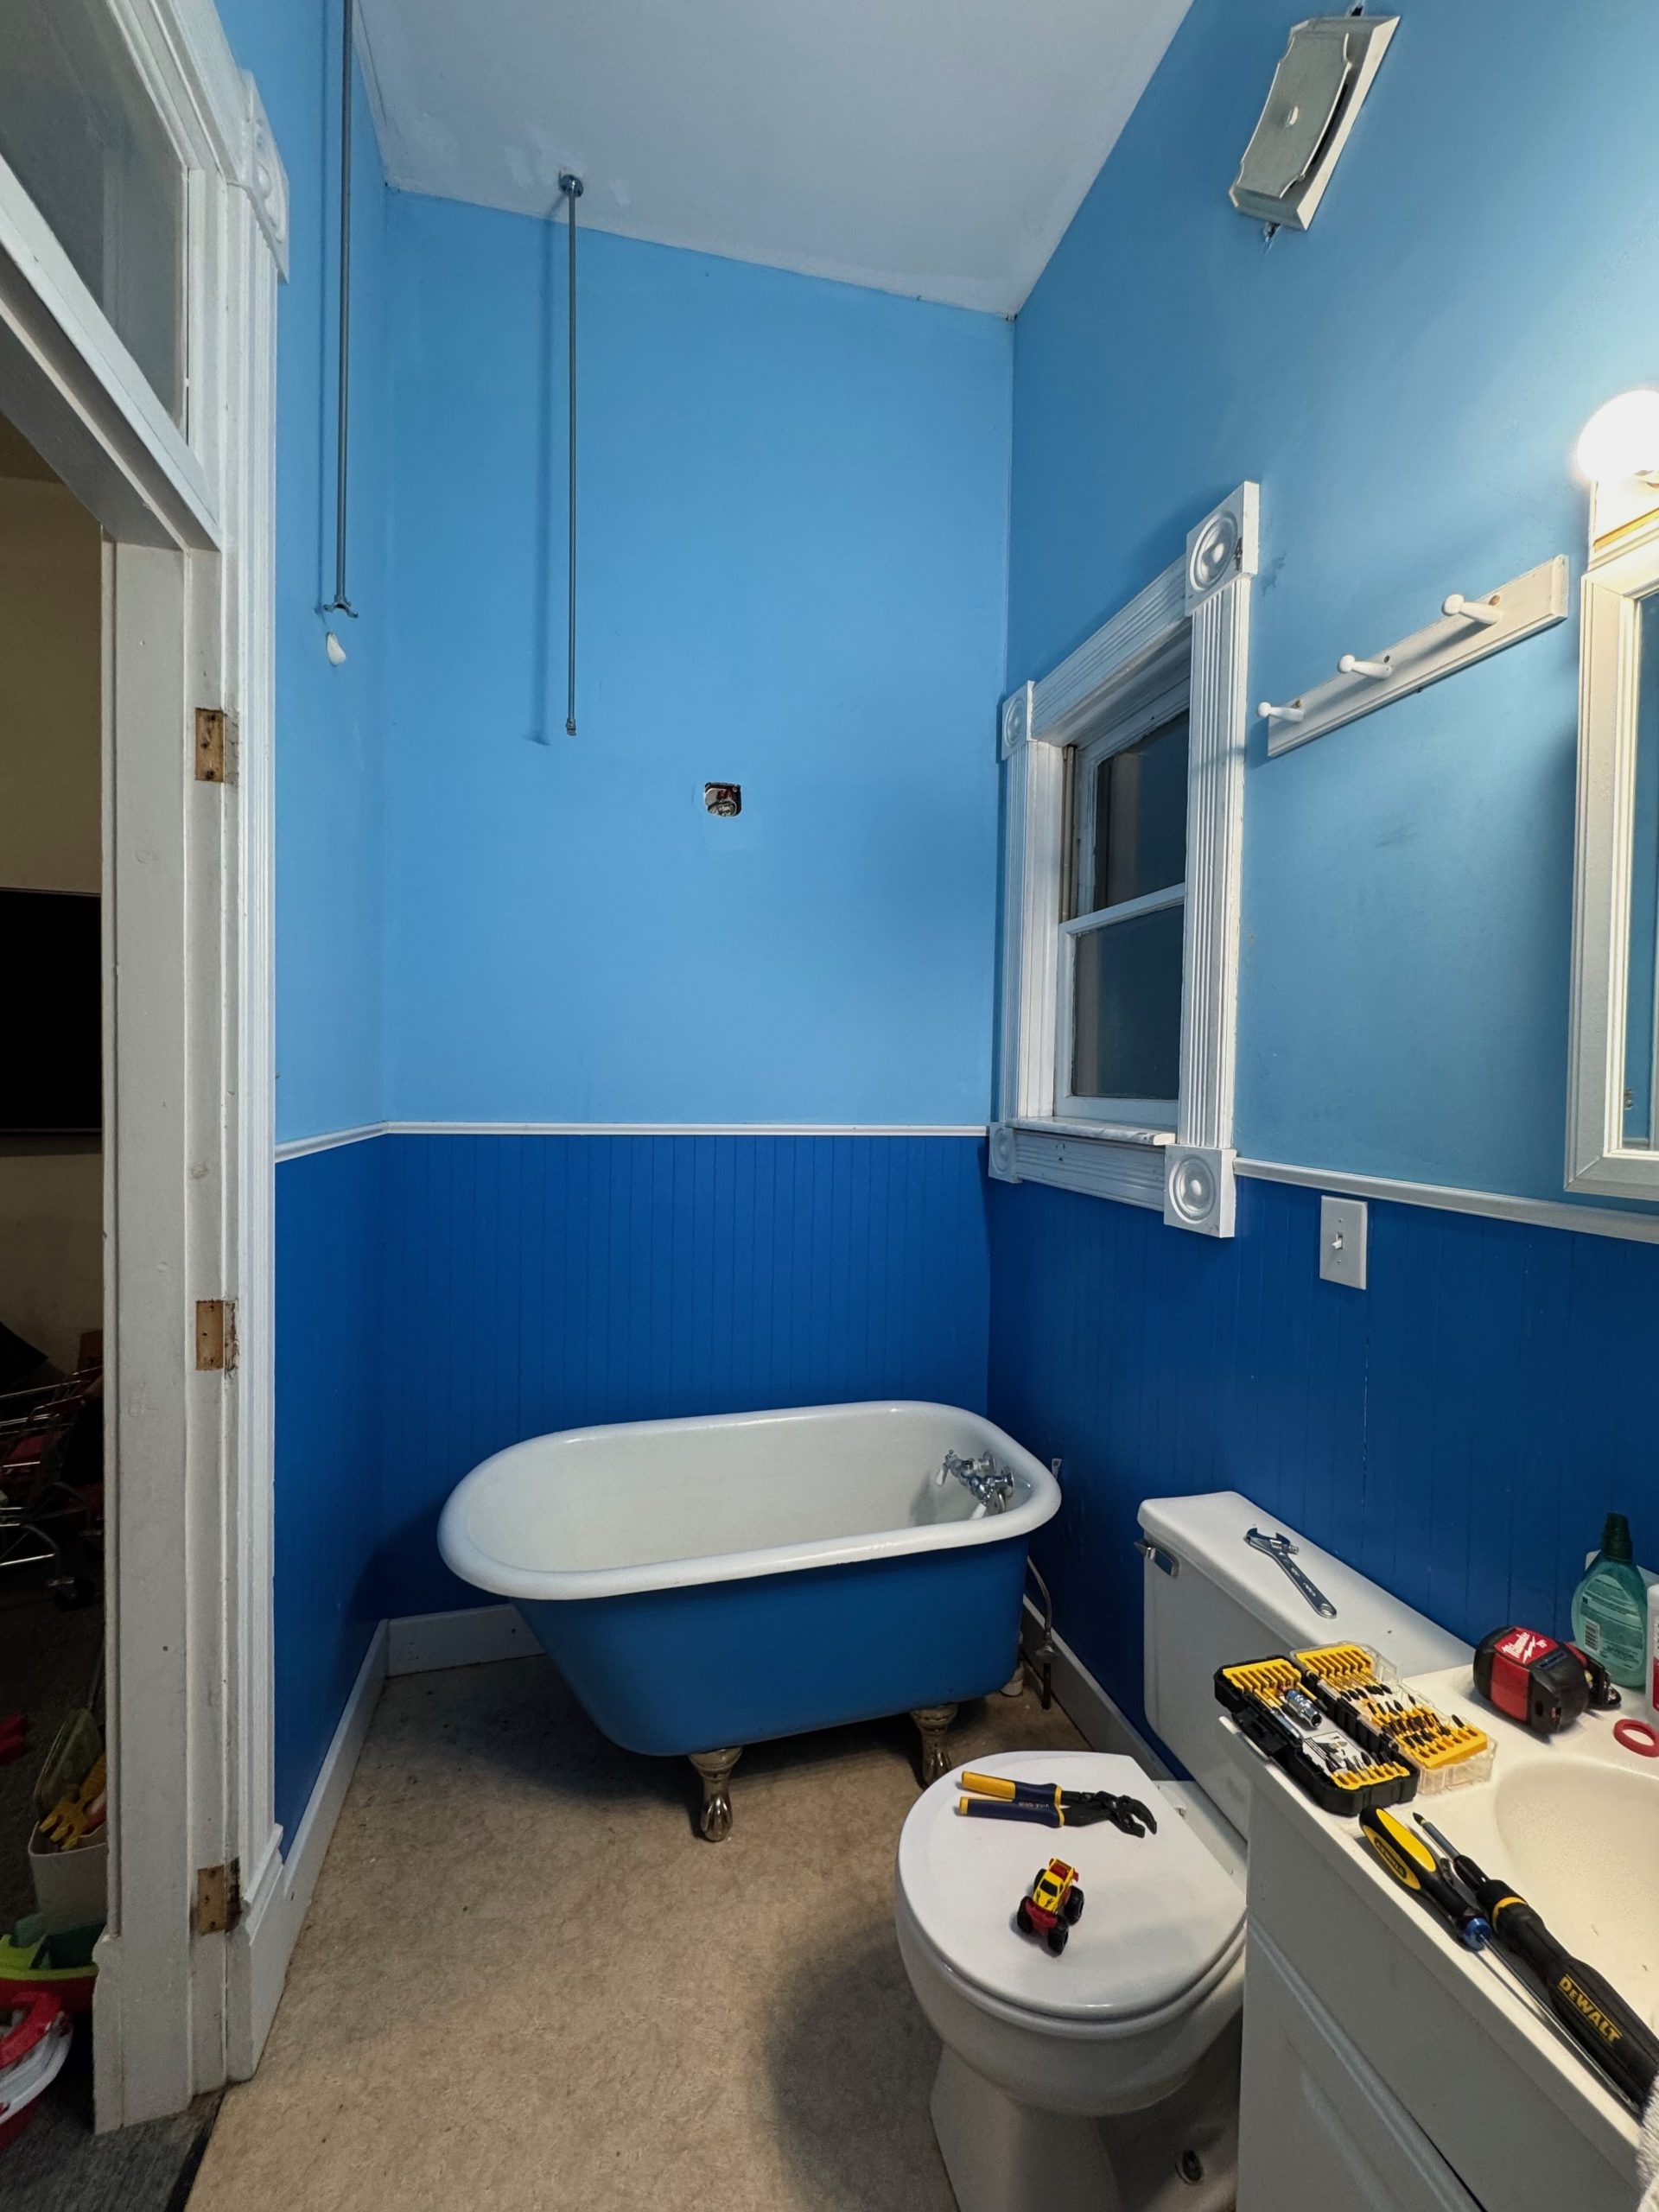
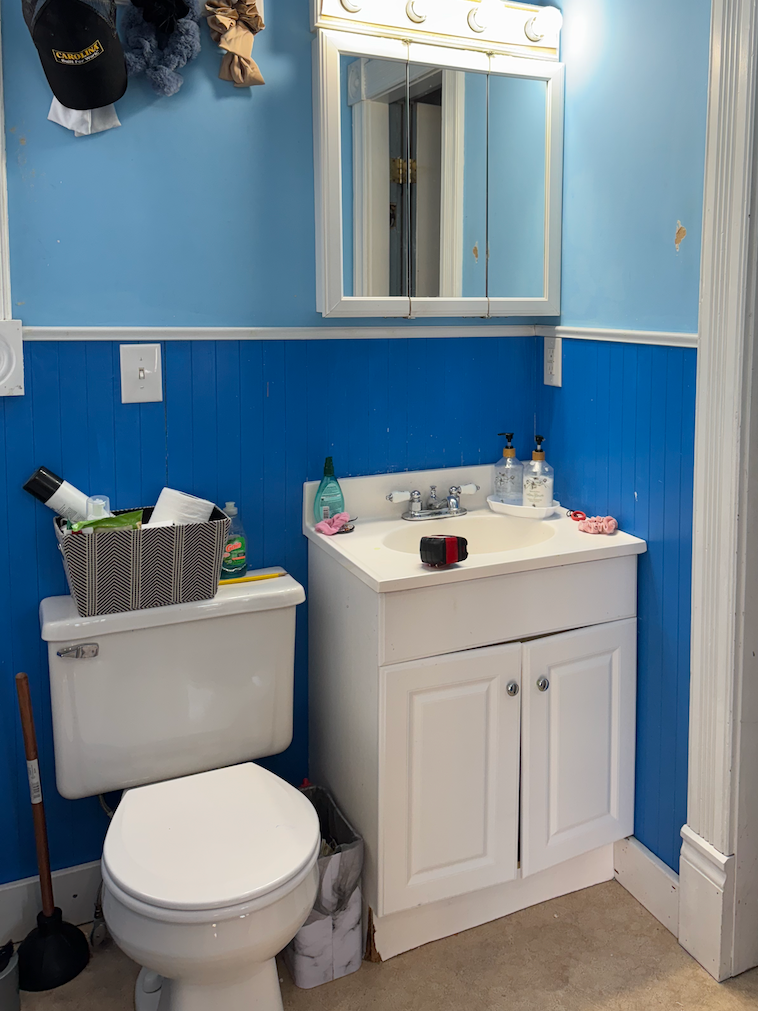
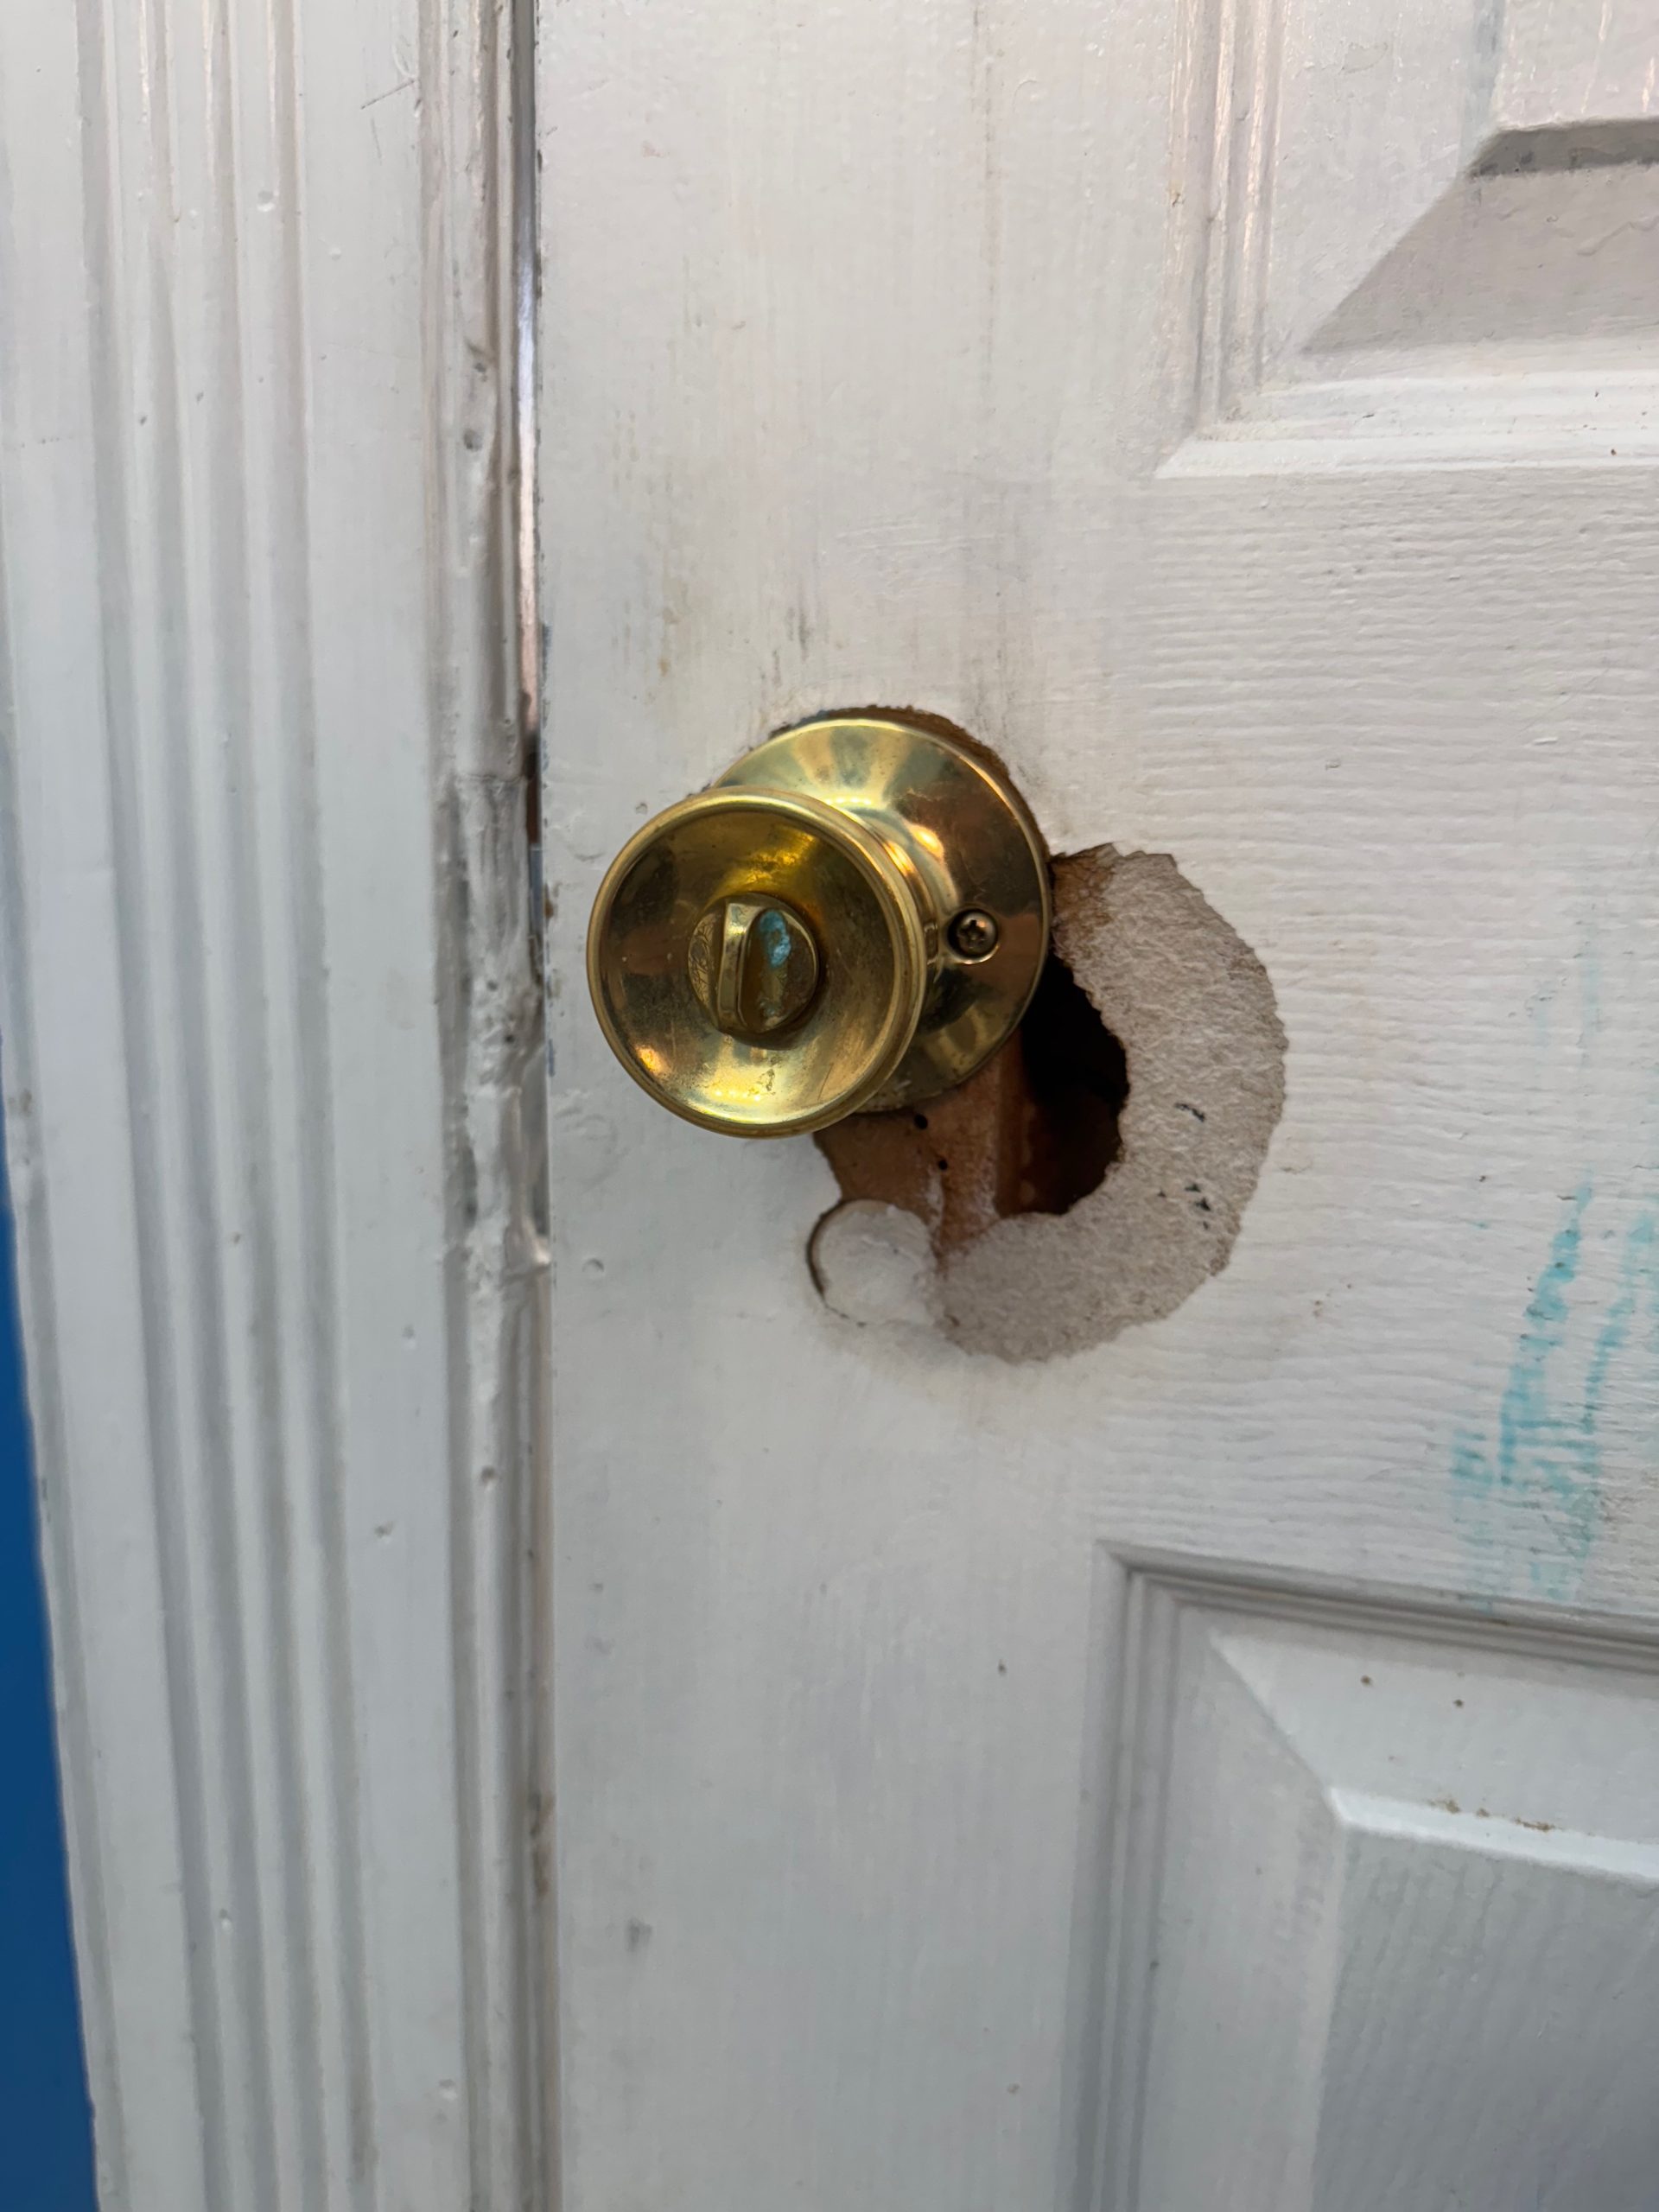
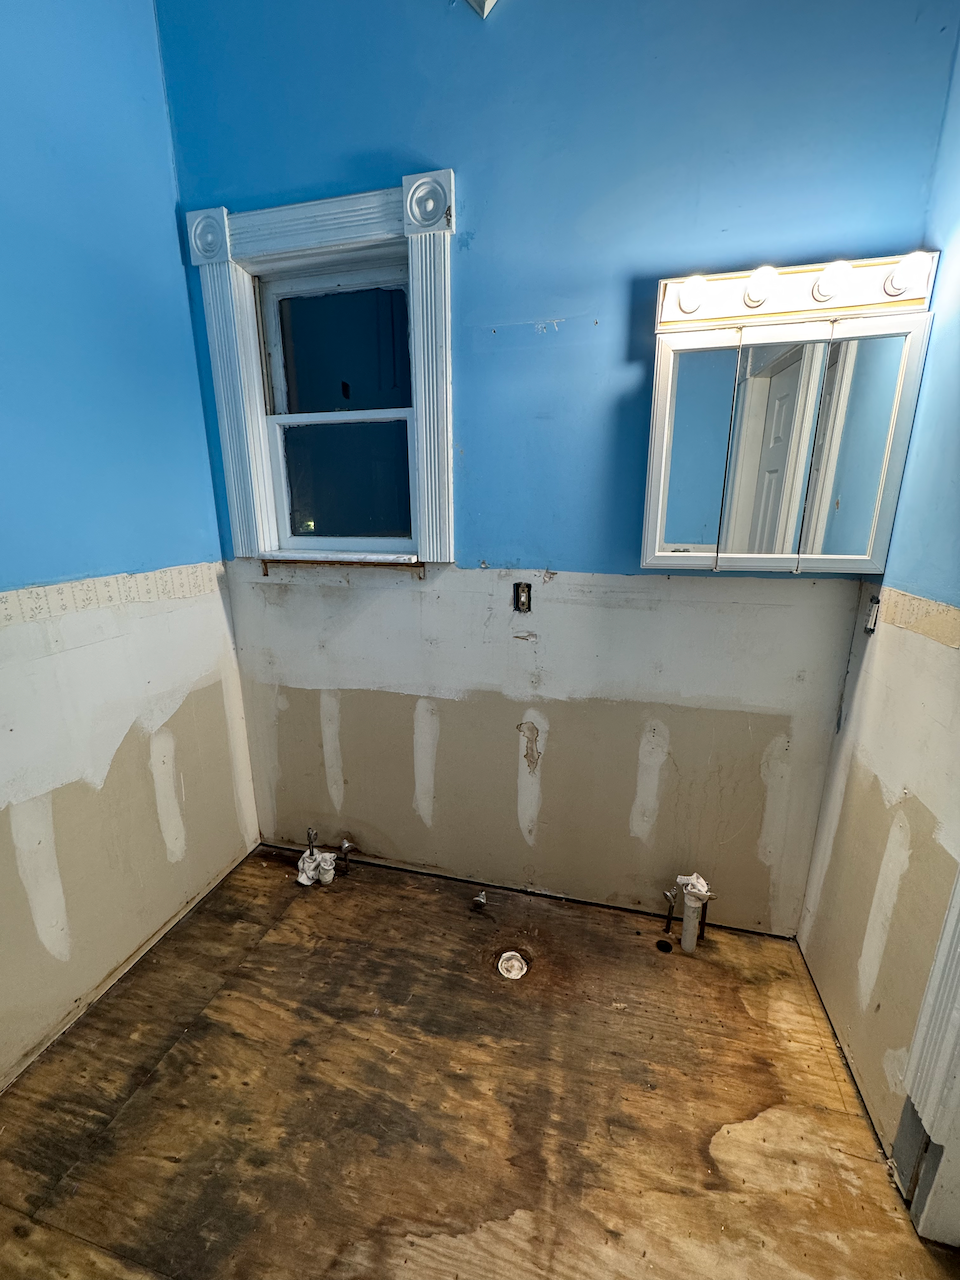
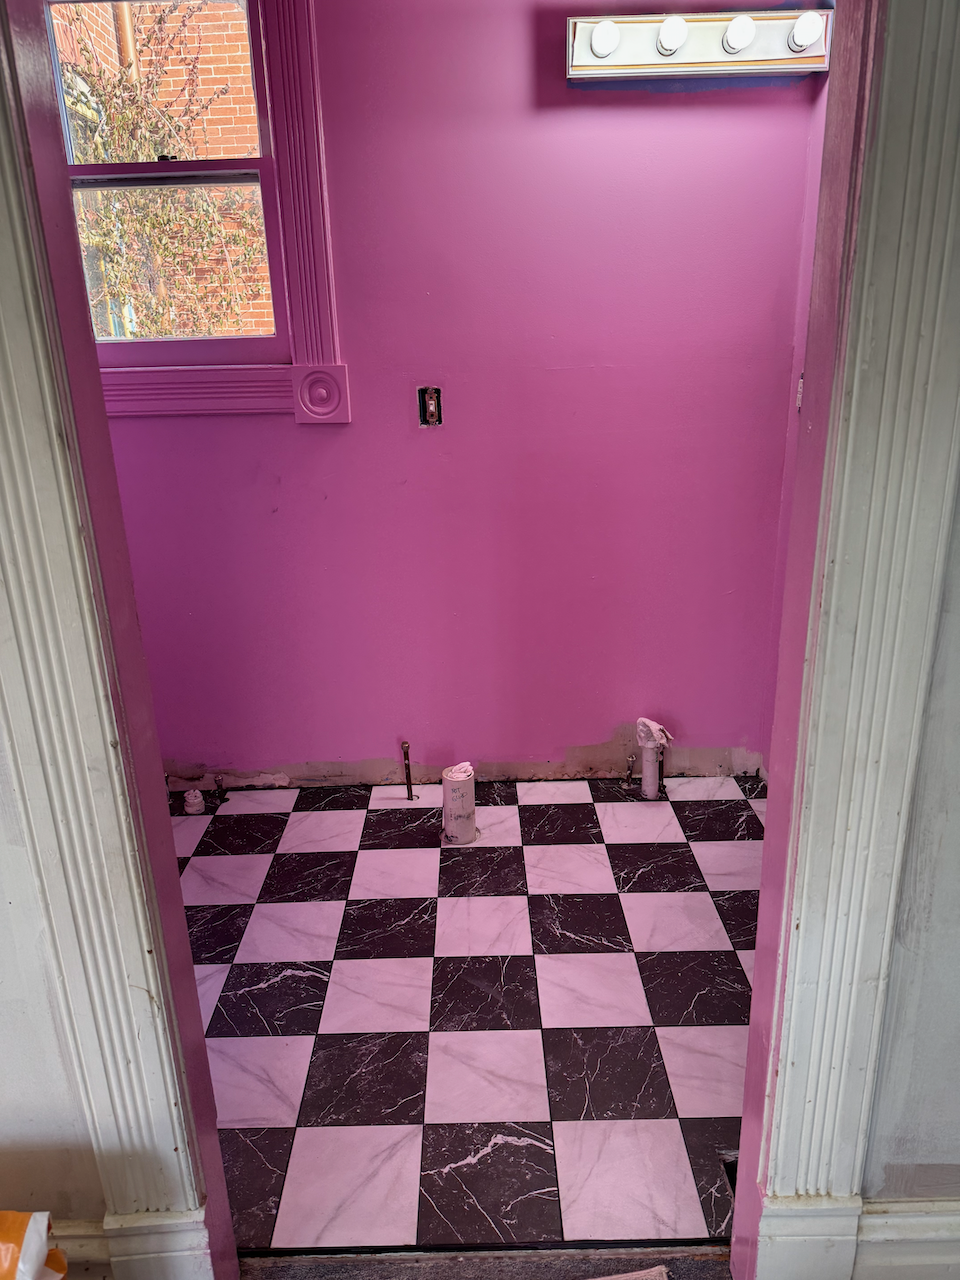
Of all the spaces in the house, this was in the worst shape. The floor was spent, the vanity was literally falling apart, the veneer on the lighting was peeling off, and there was a hole in the door for some unknown reason. The condition of the bathroom is consistent with how it was when we bought the house, and as it goes, took a back seat to much larger projects.

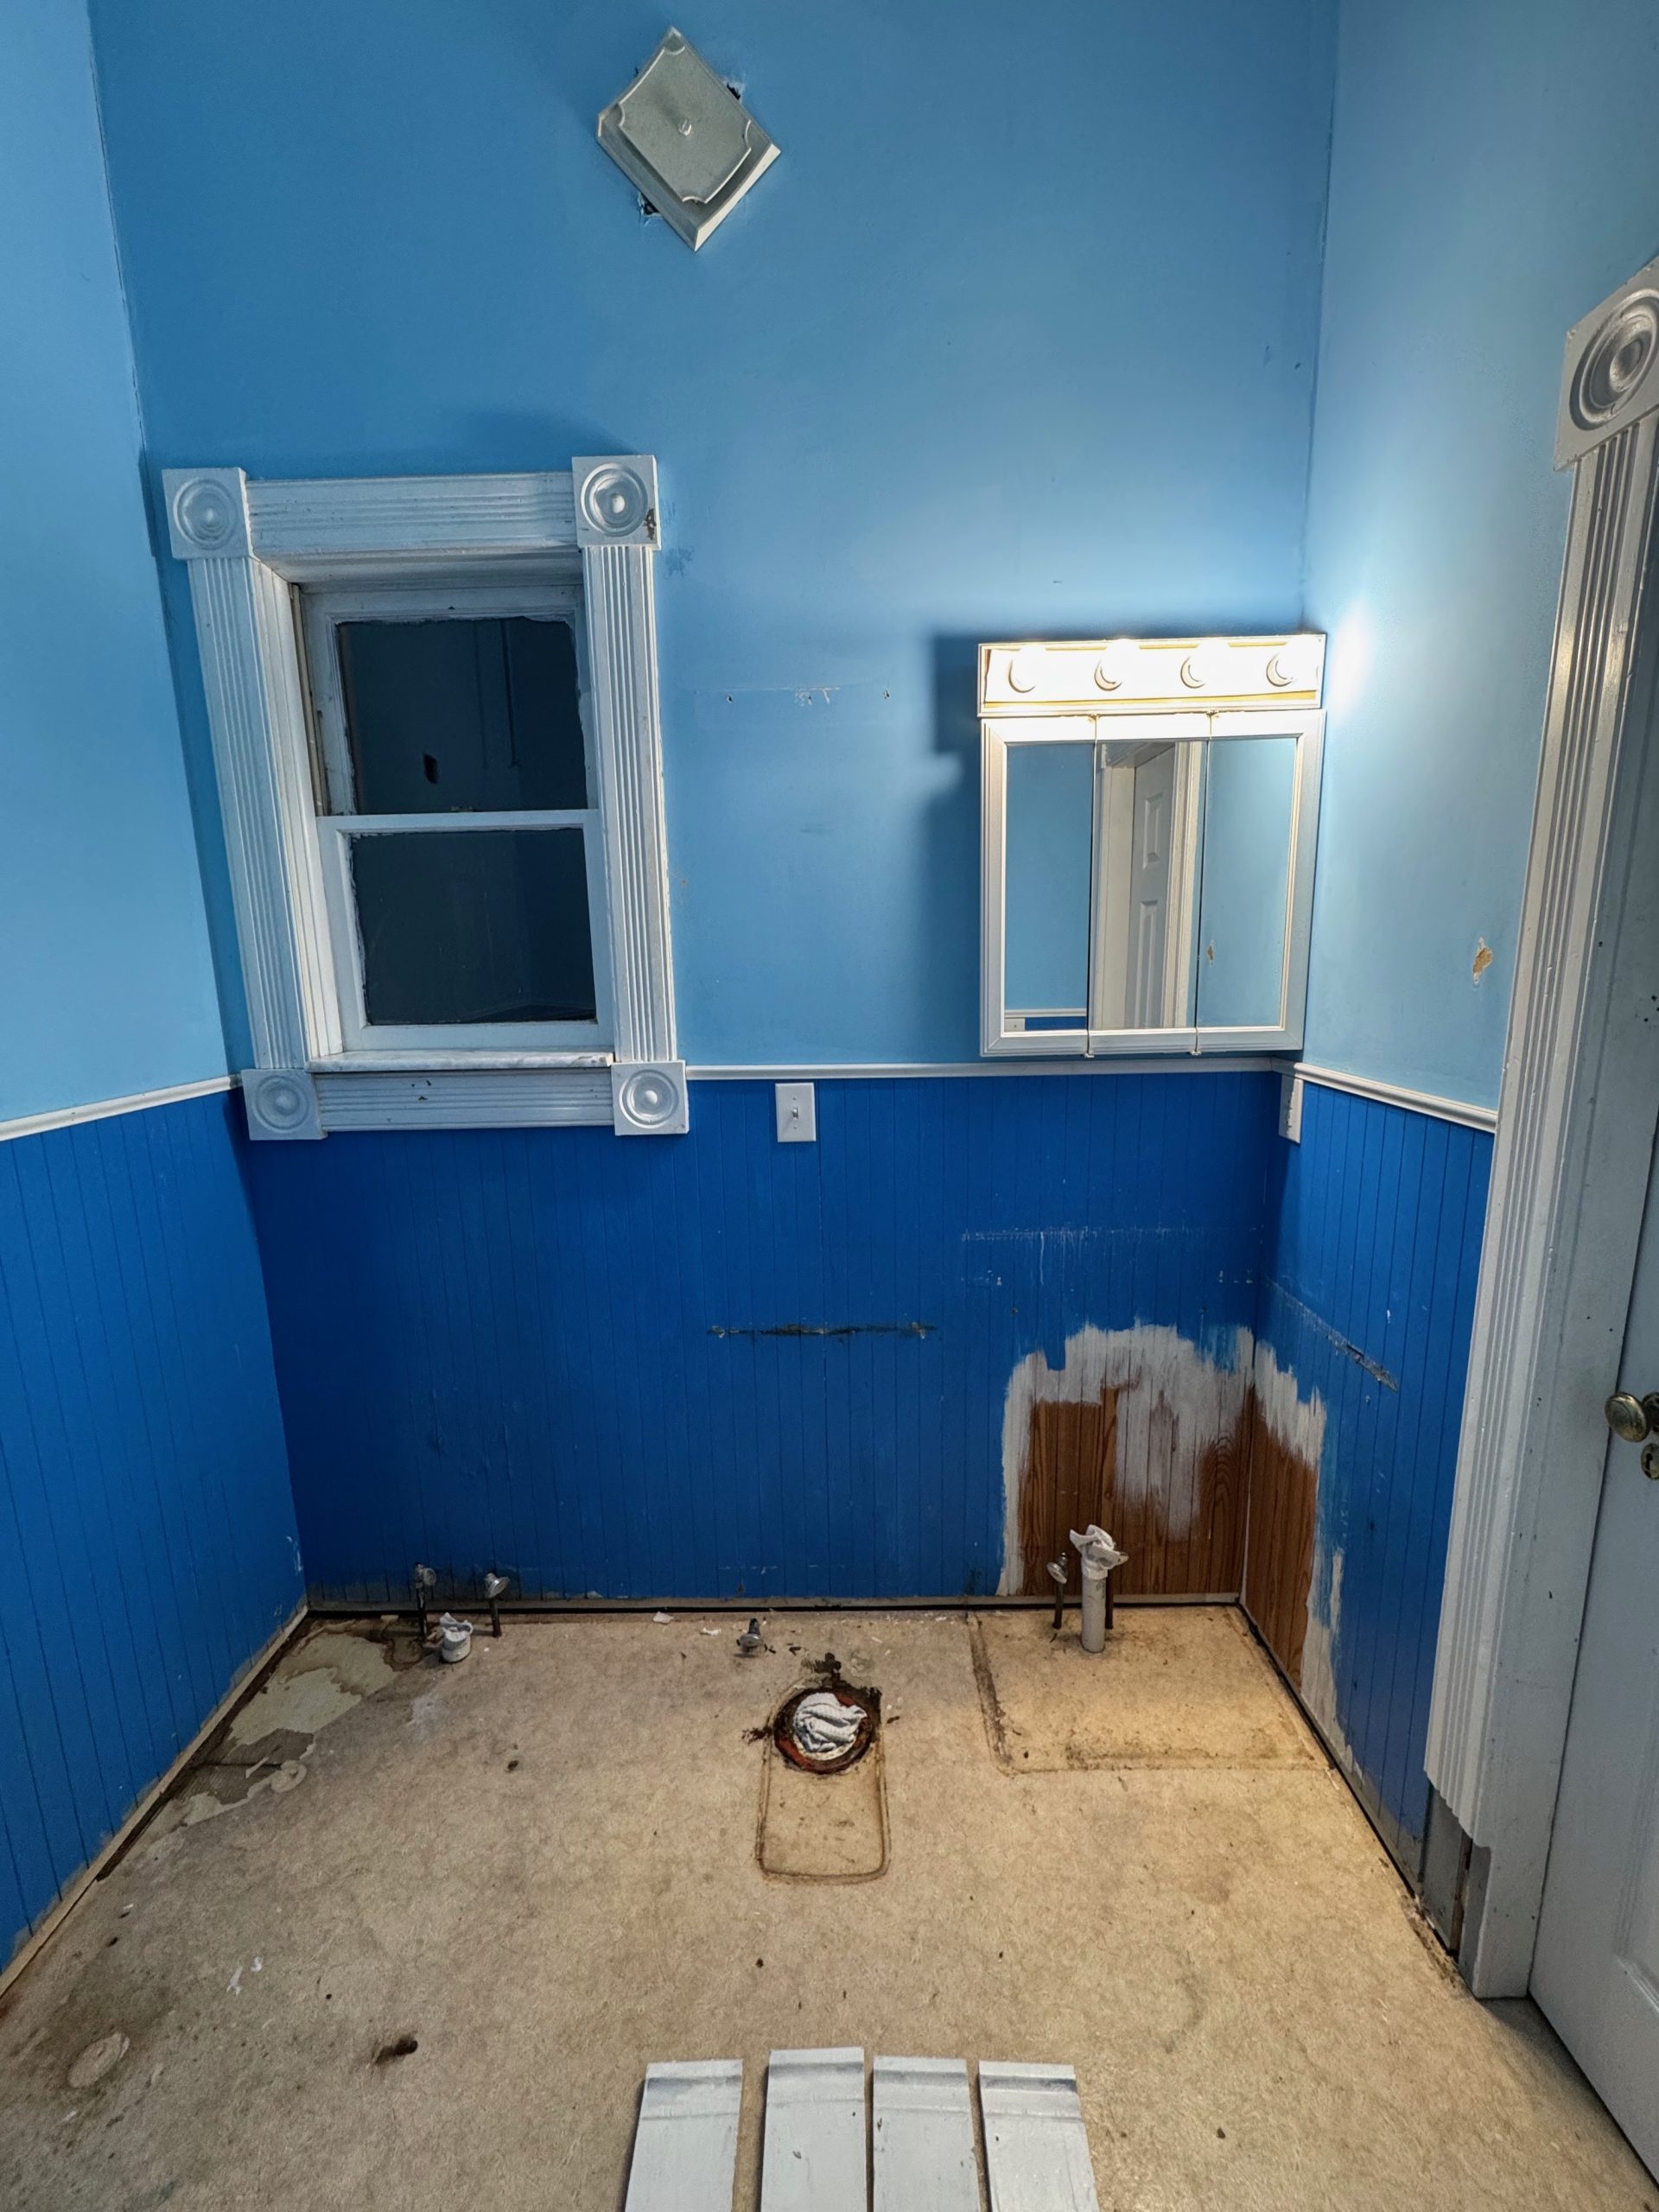
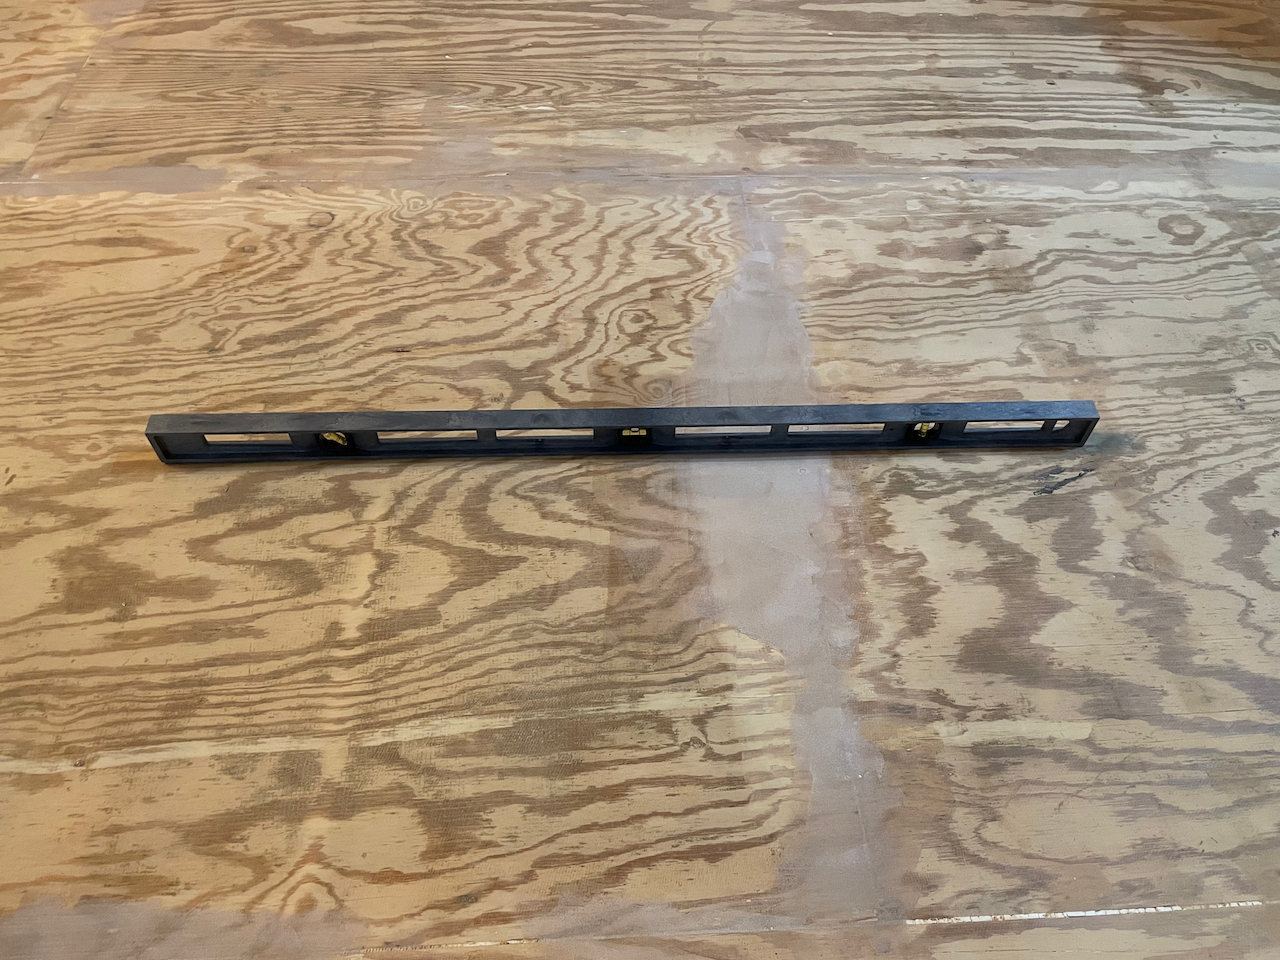
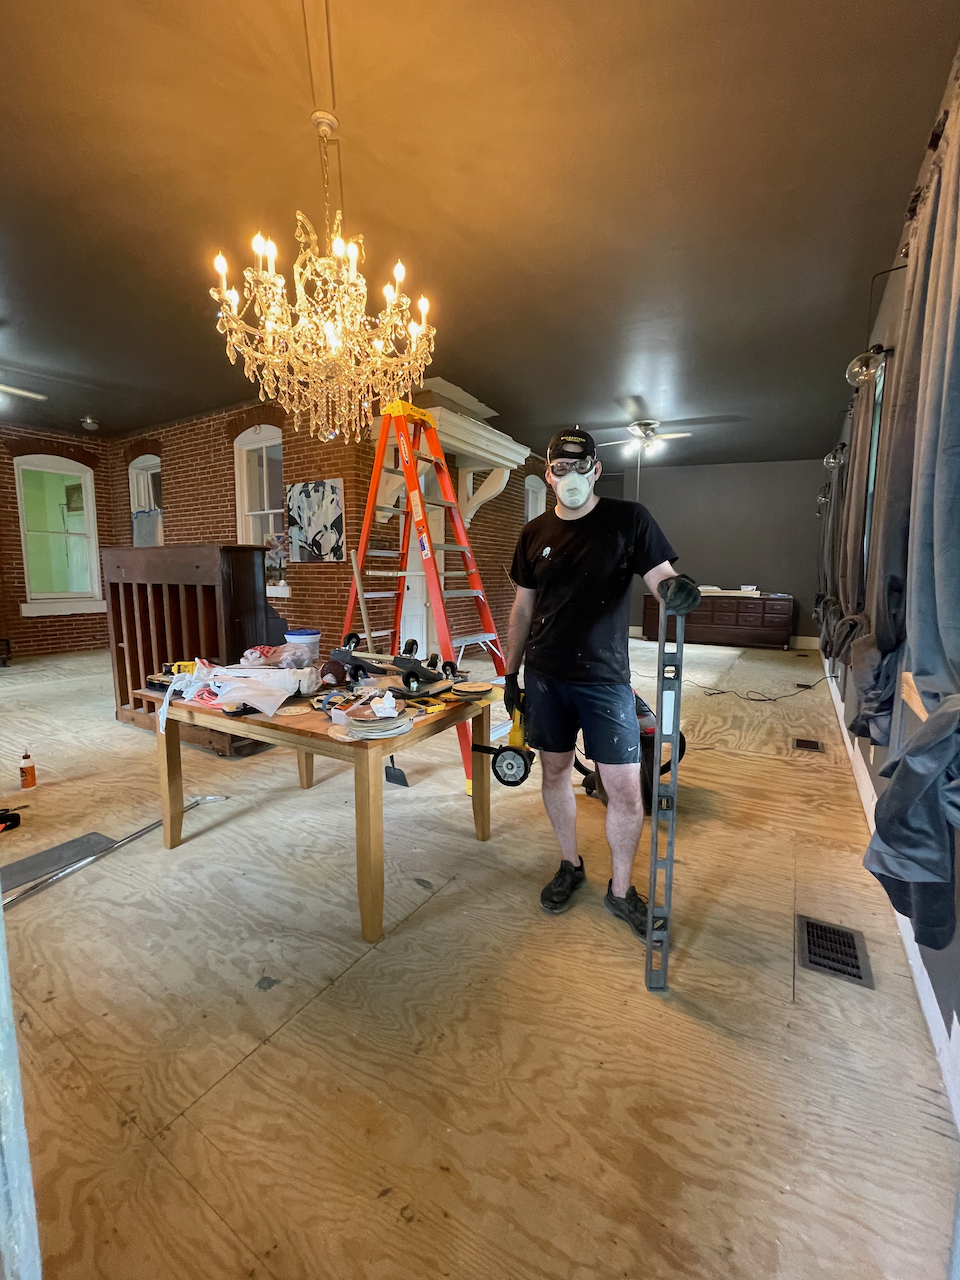
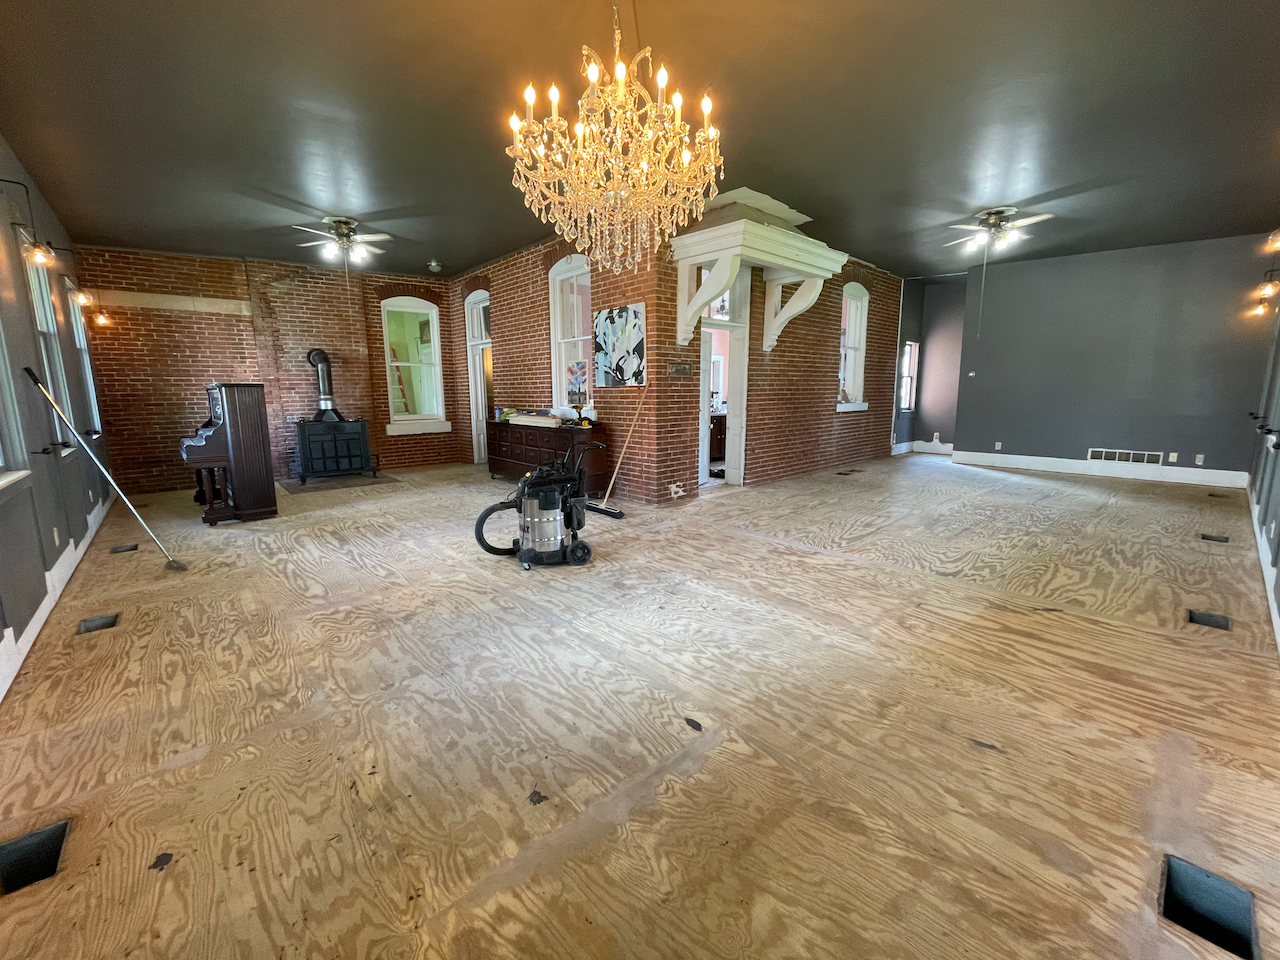
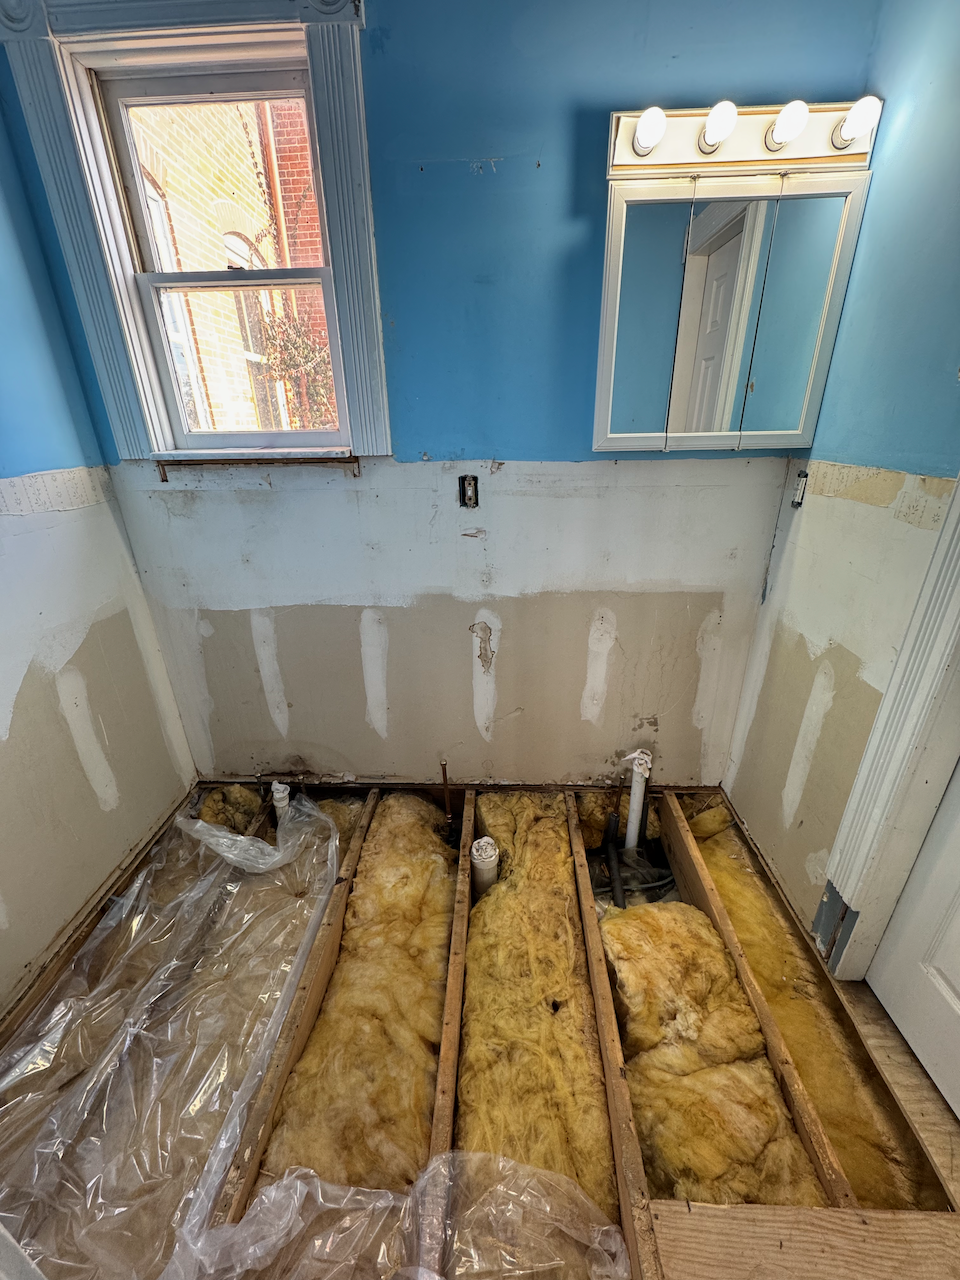
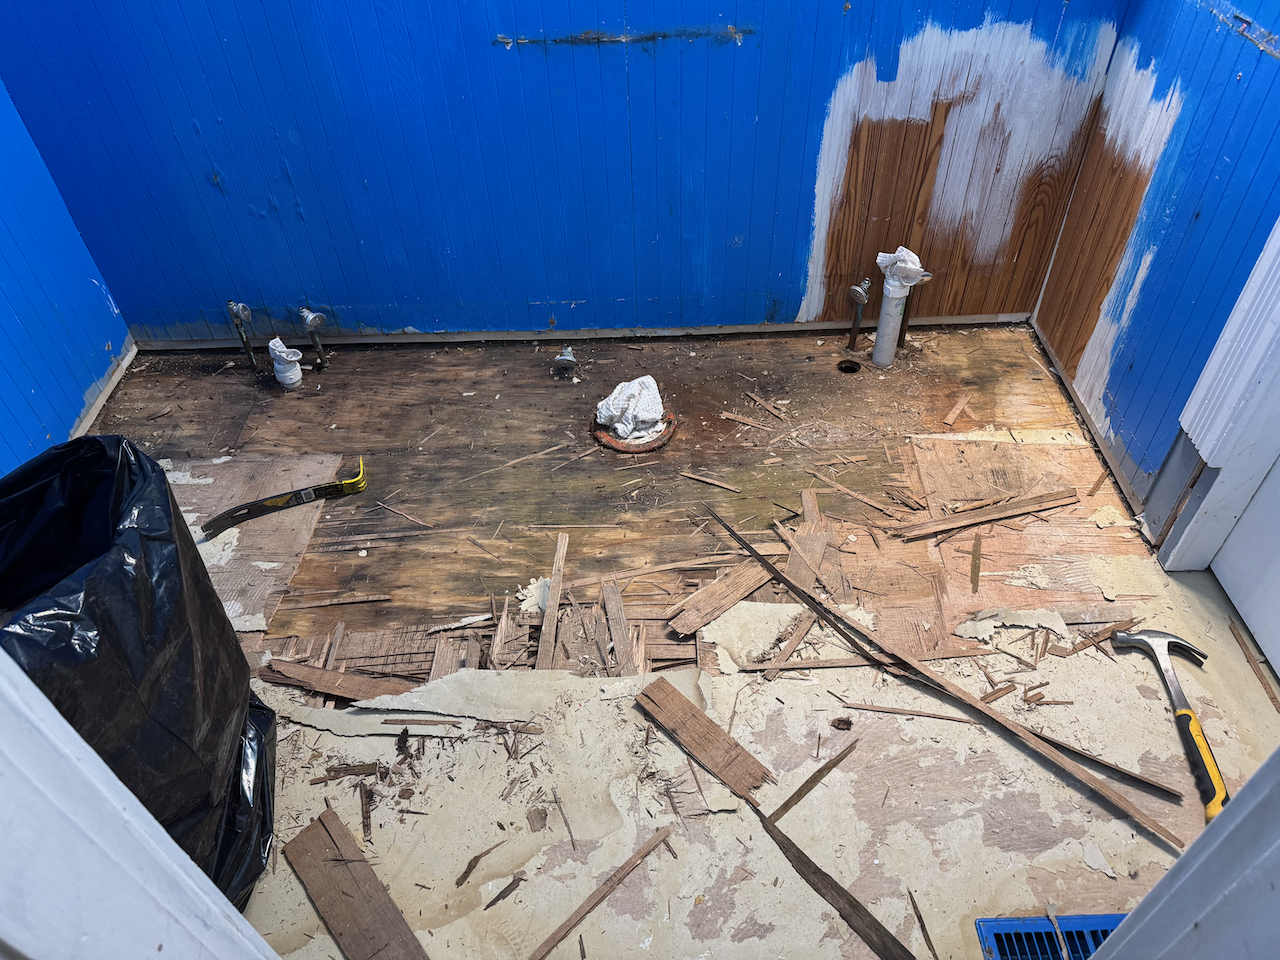
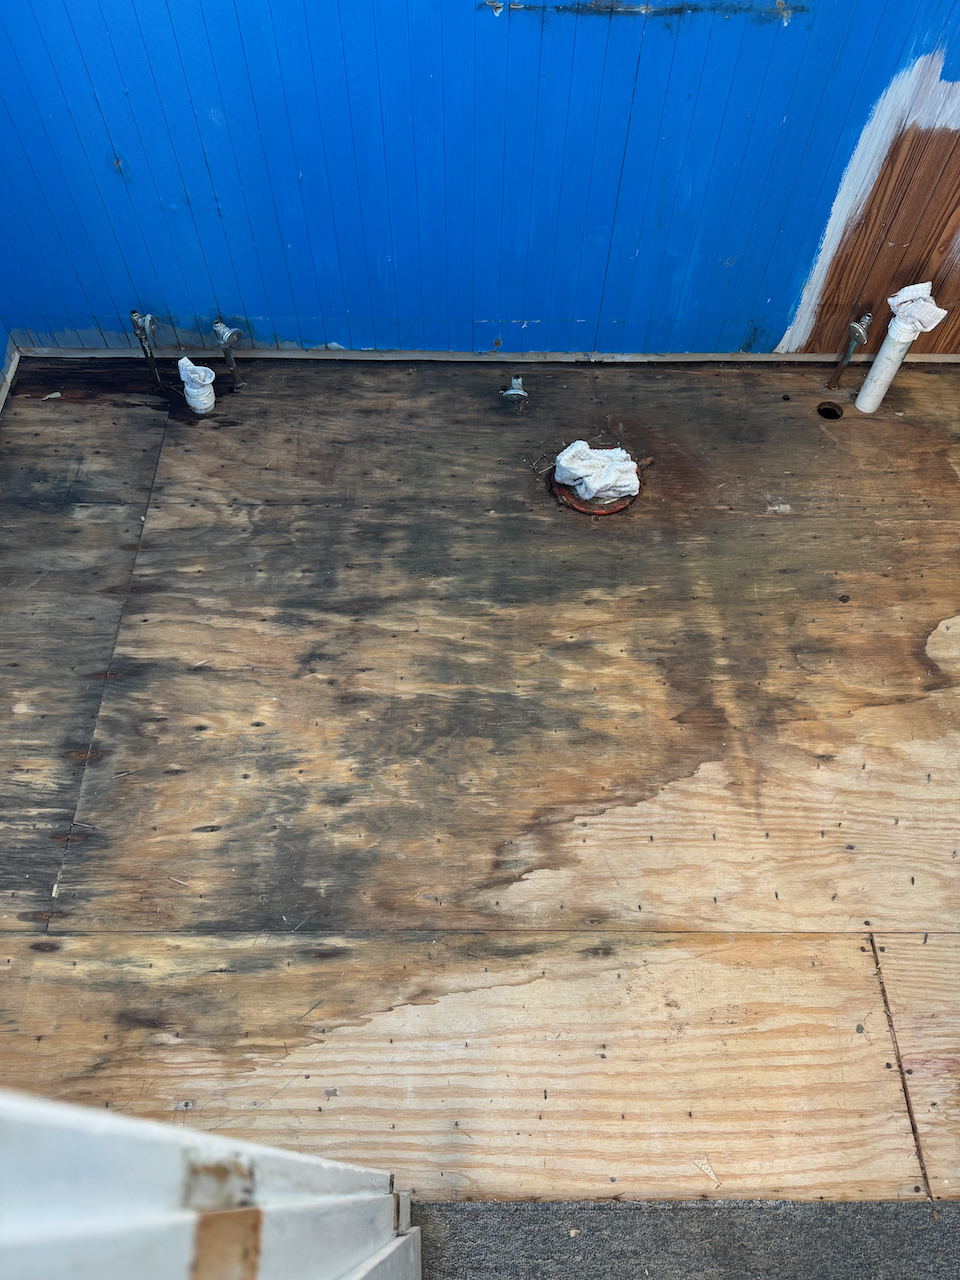
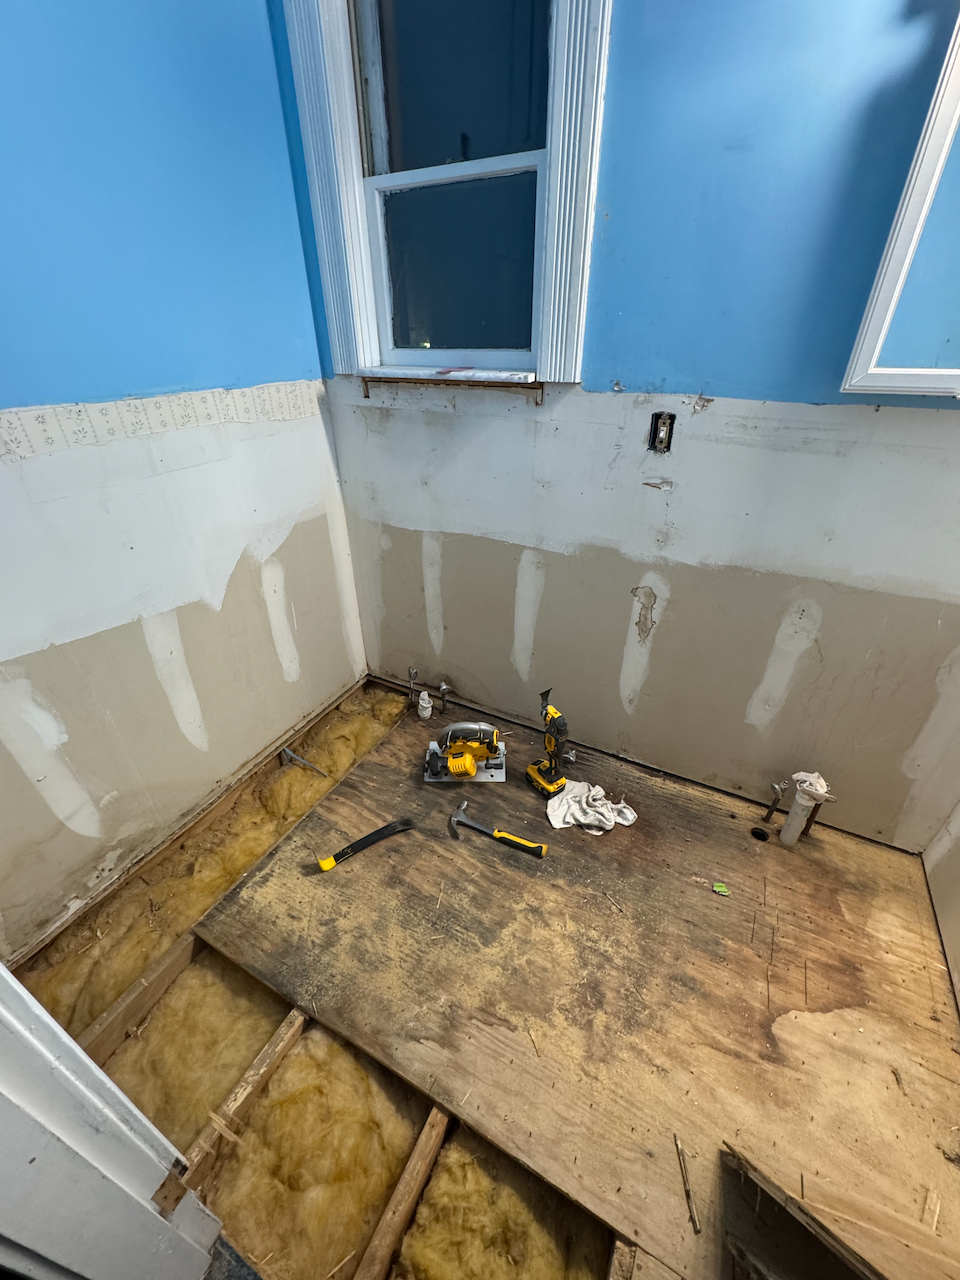
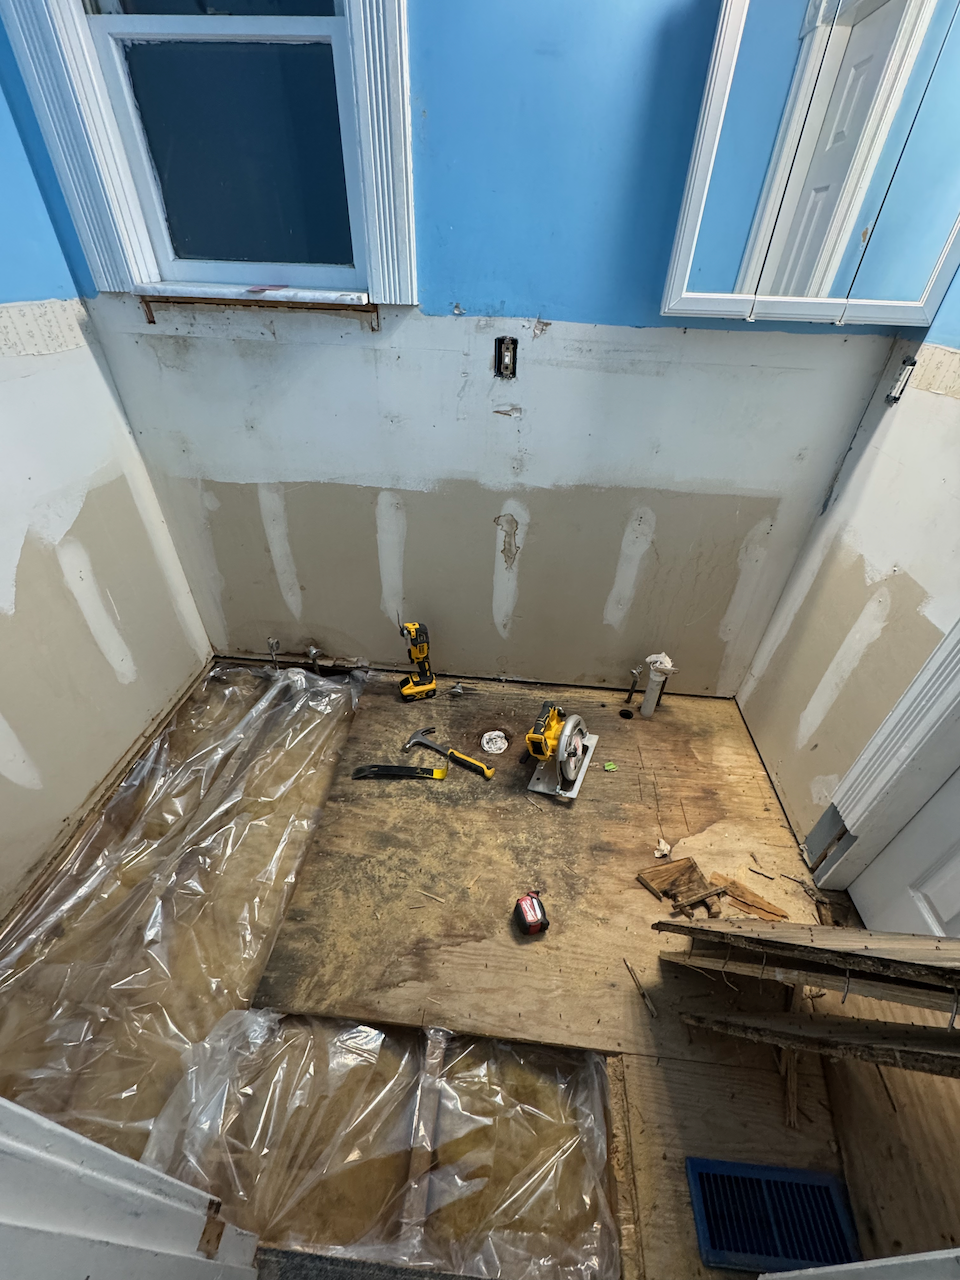
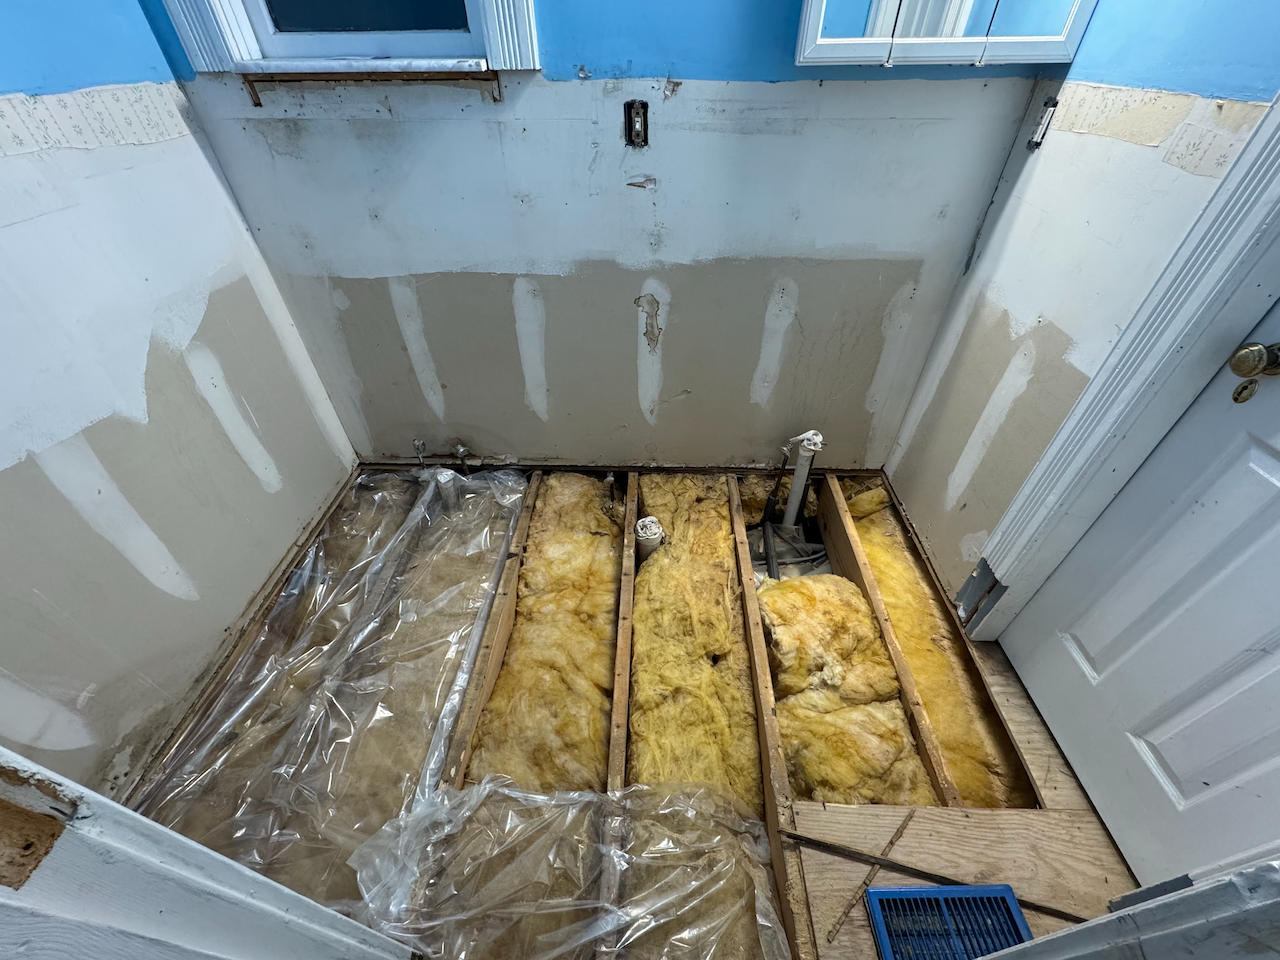
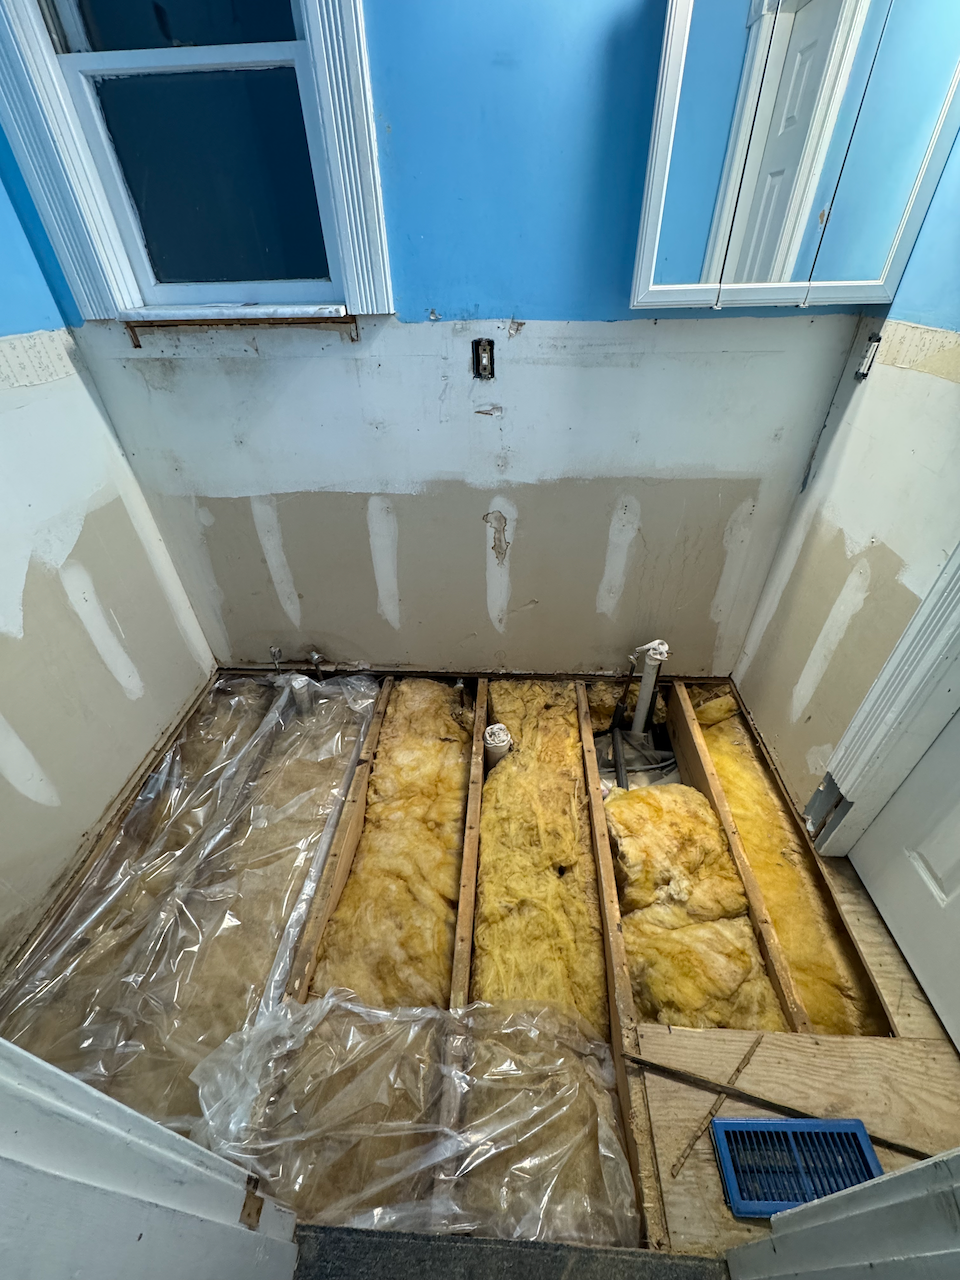
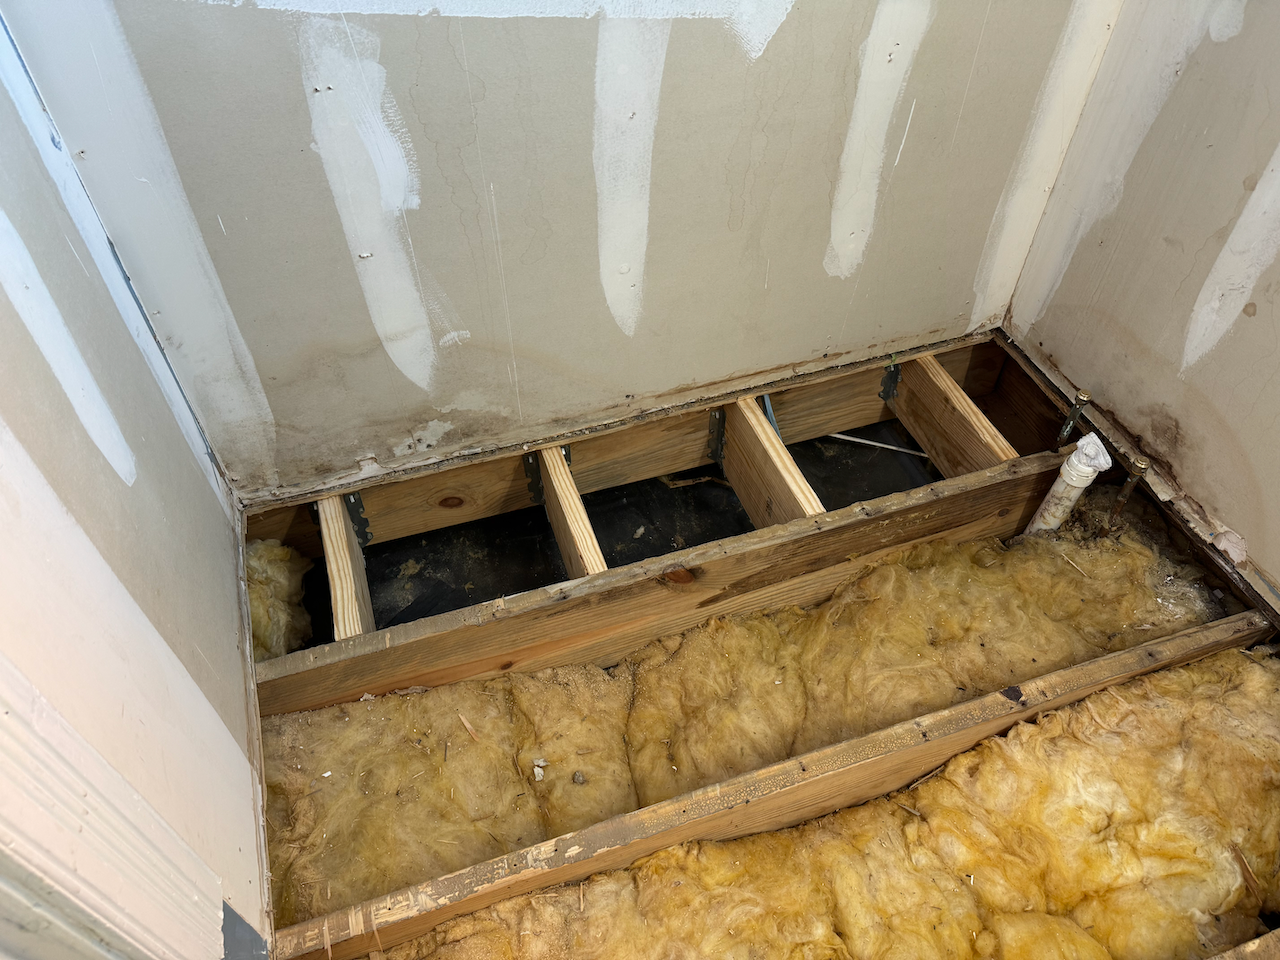
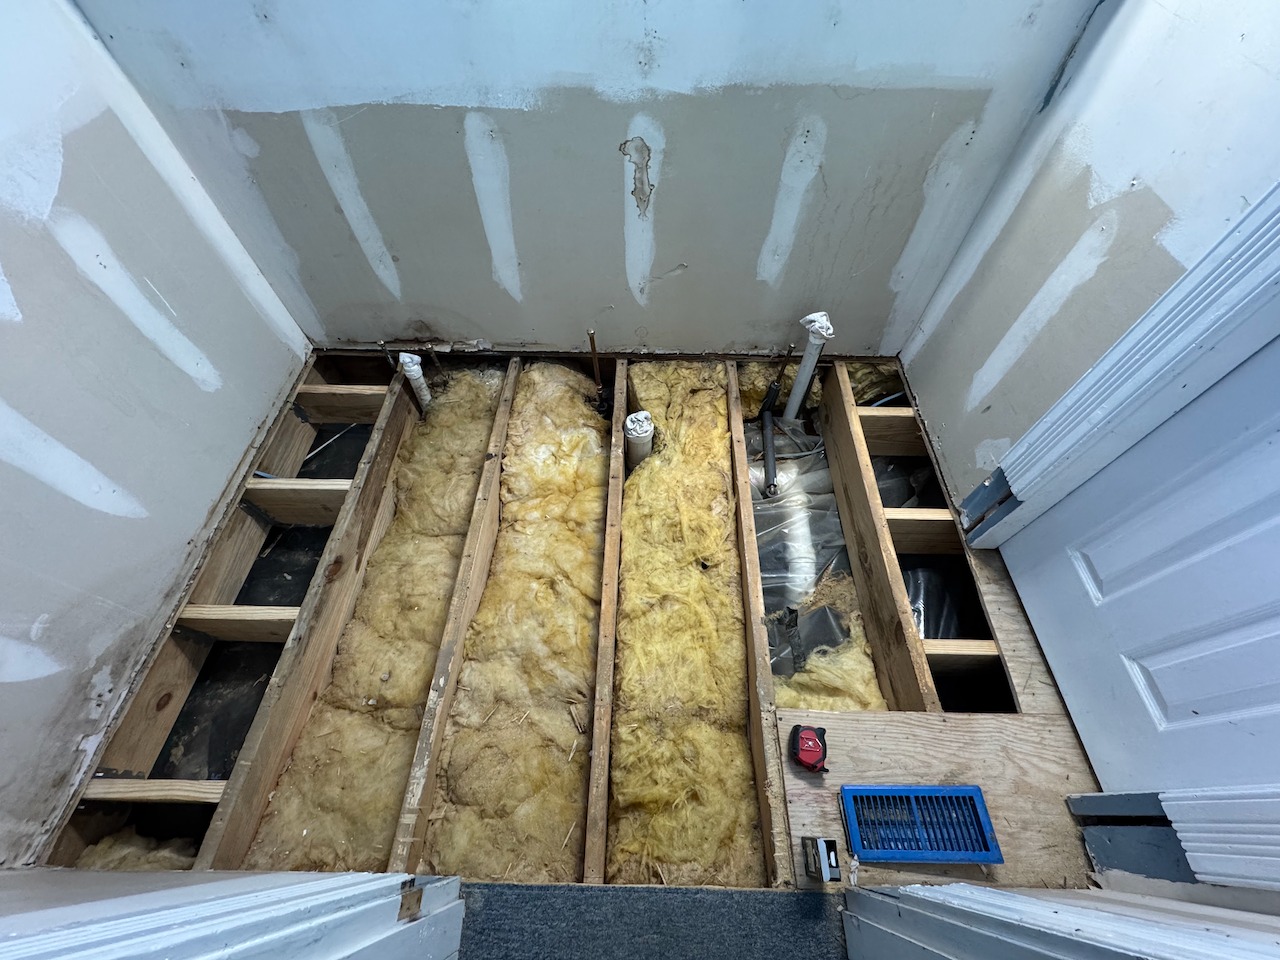
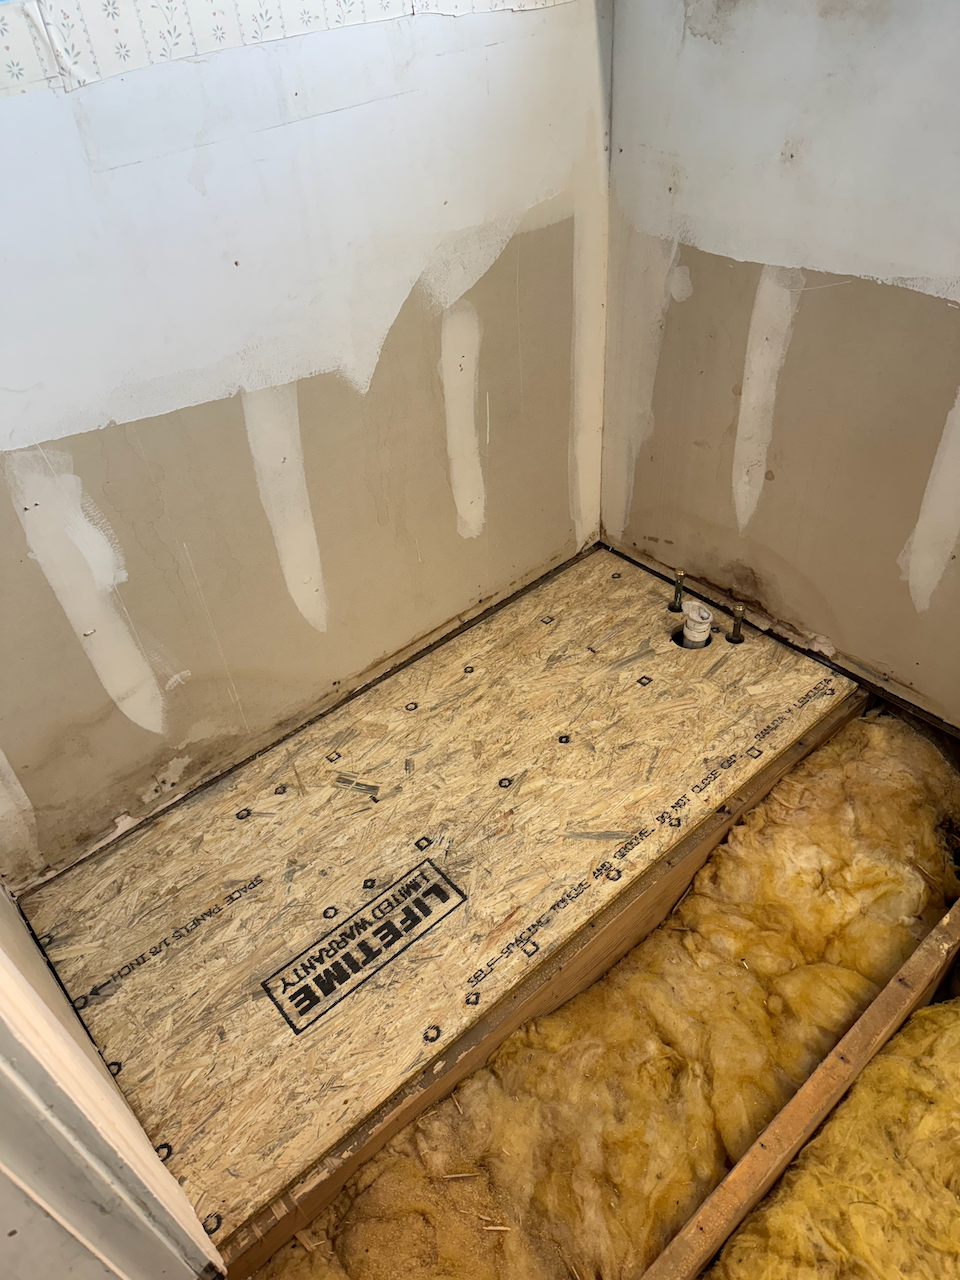
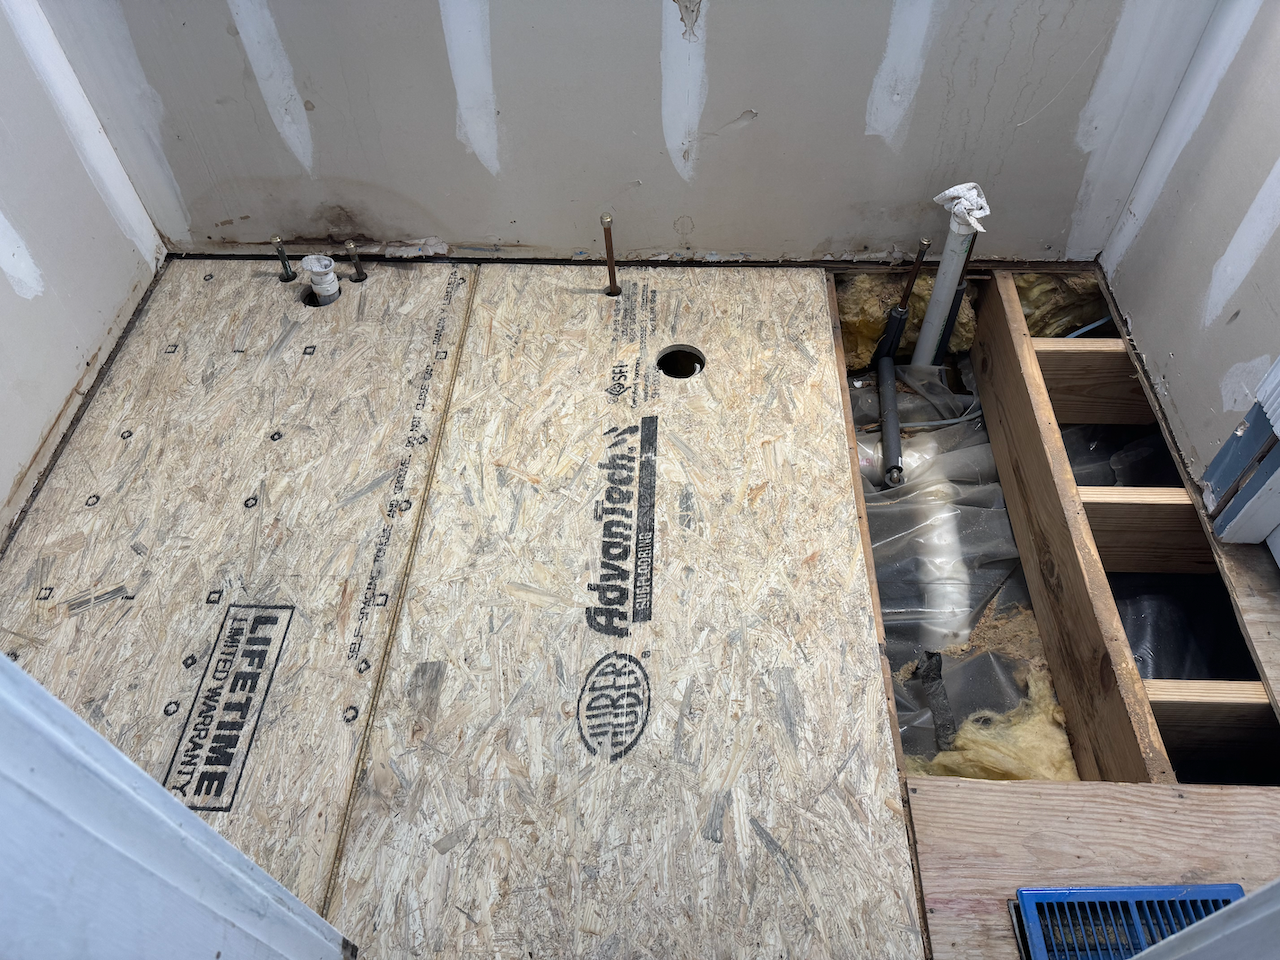
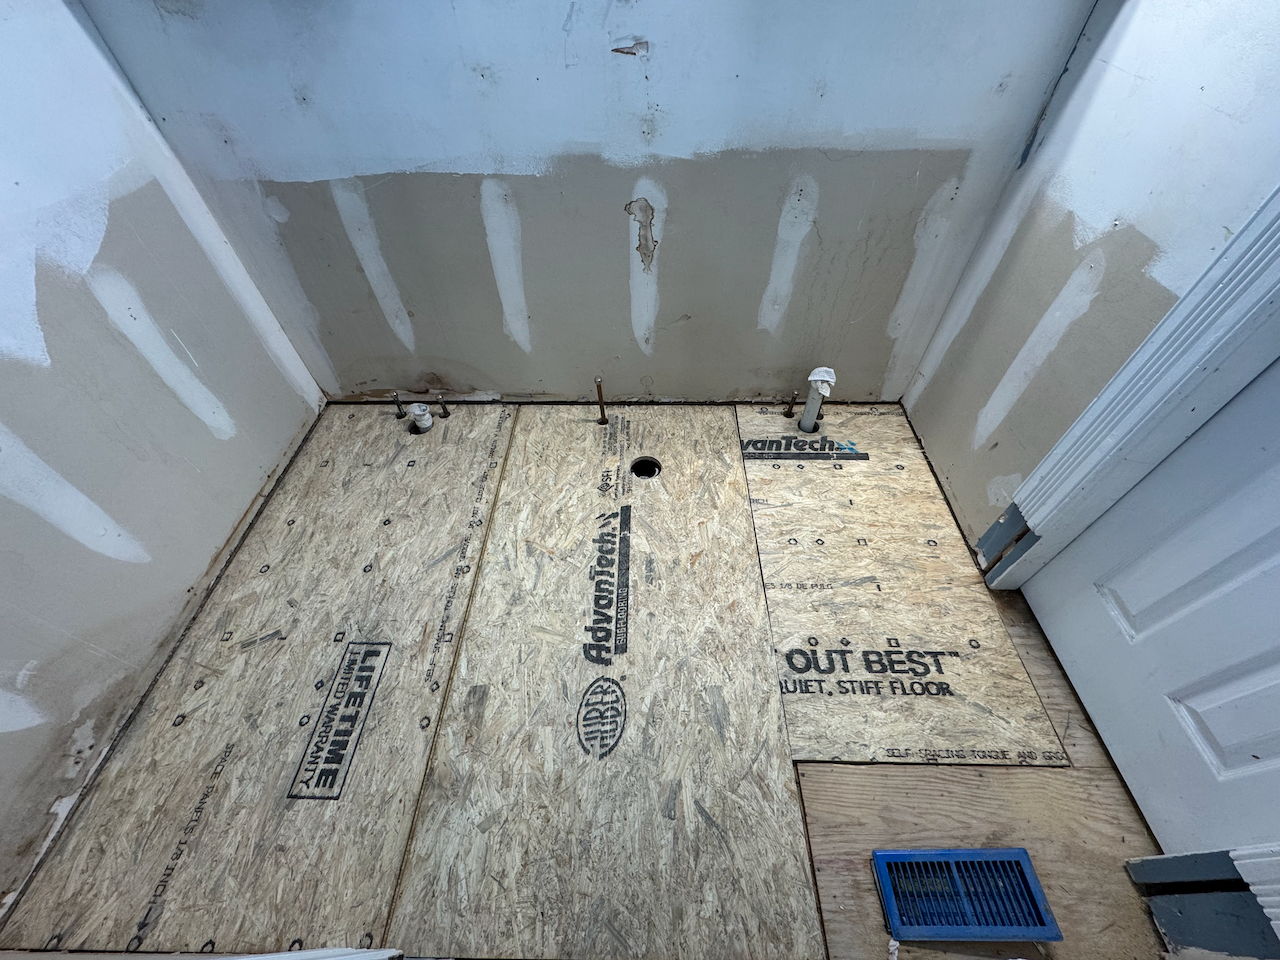
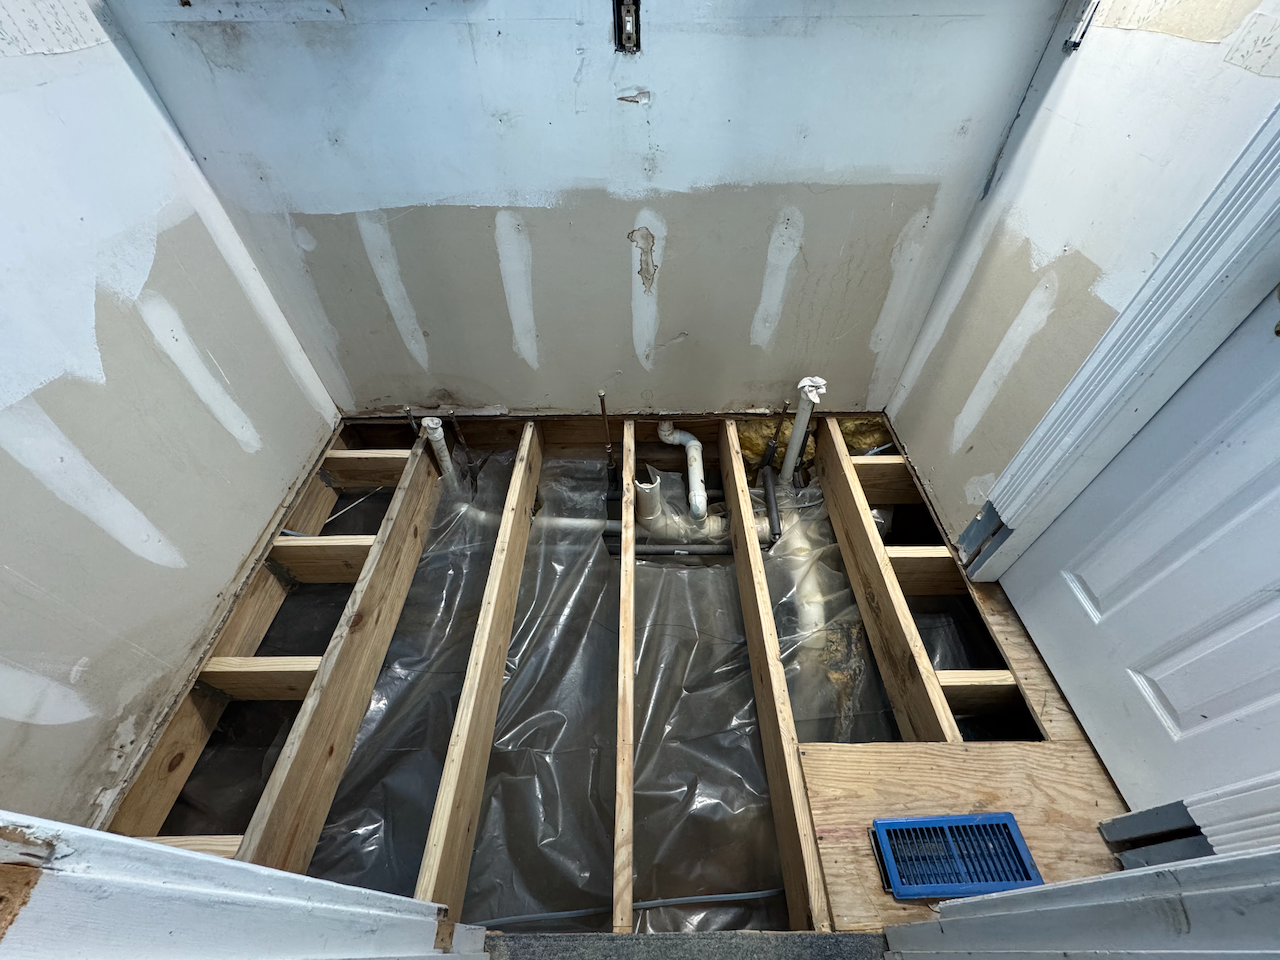
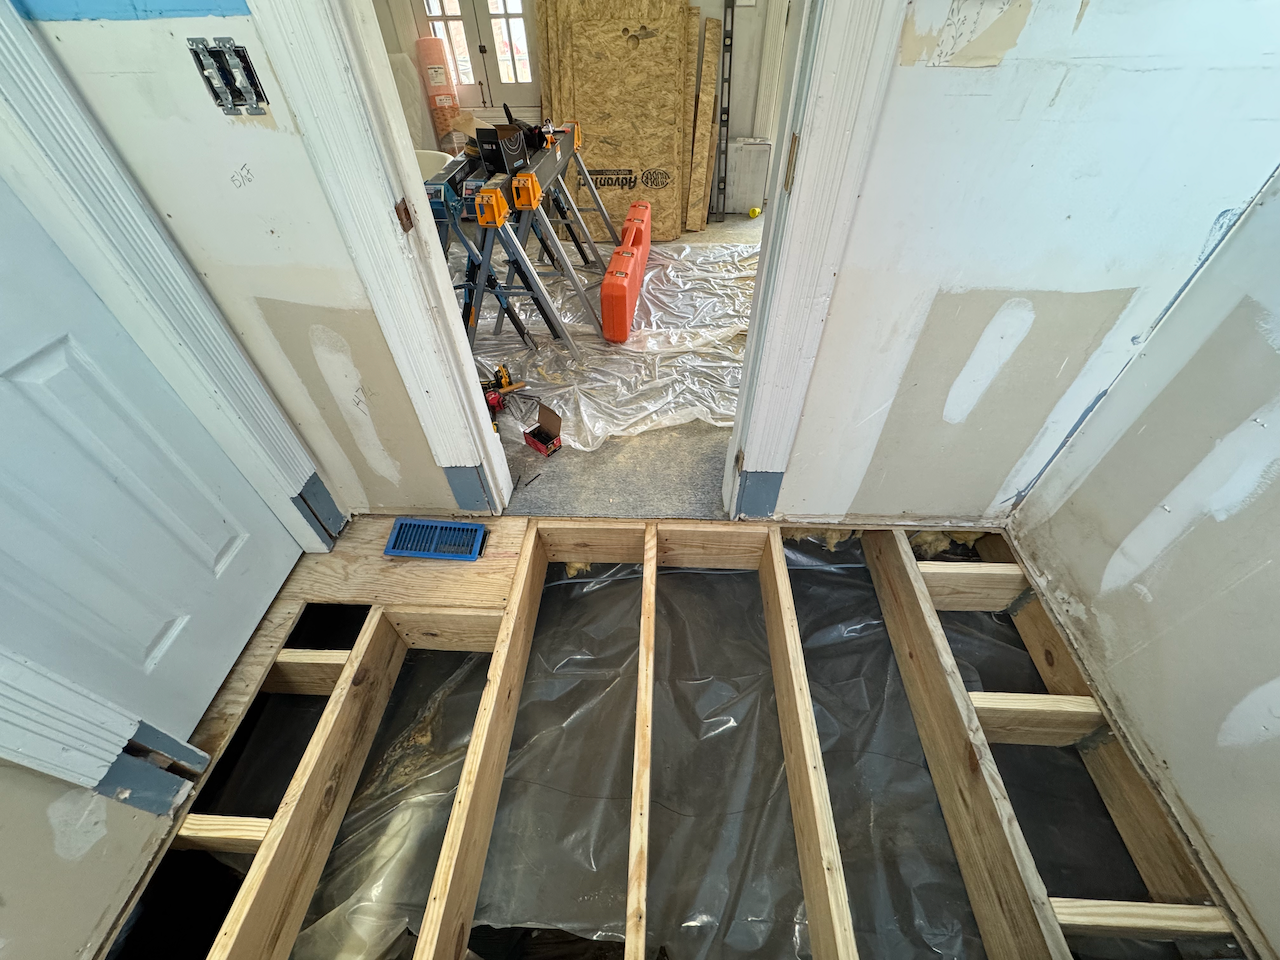
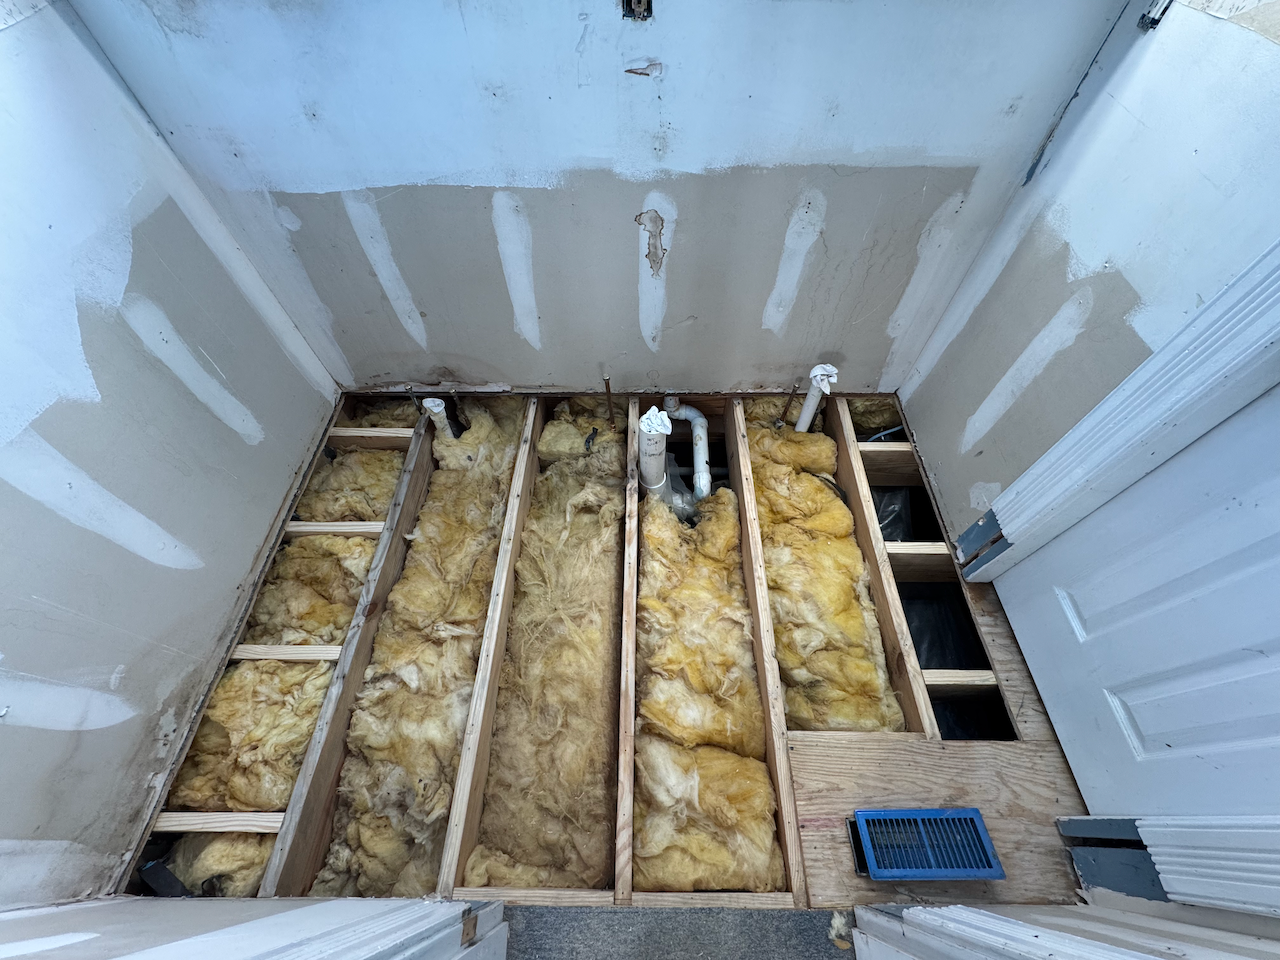
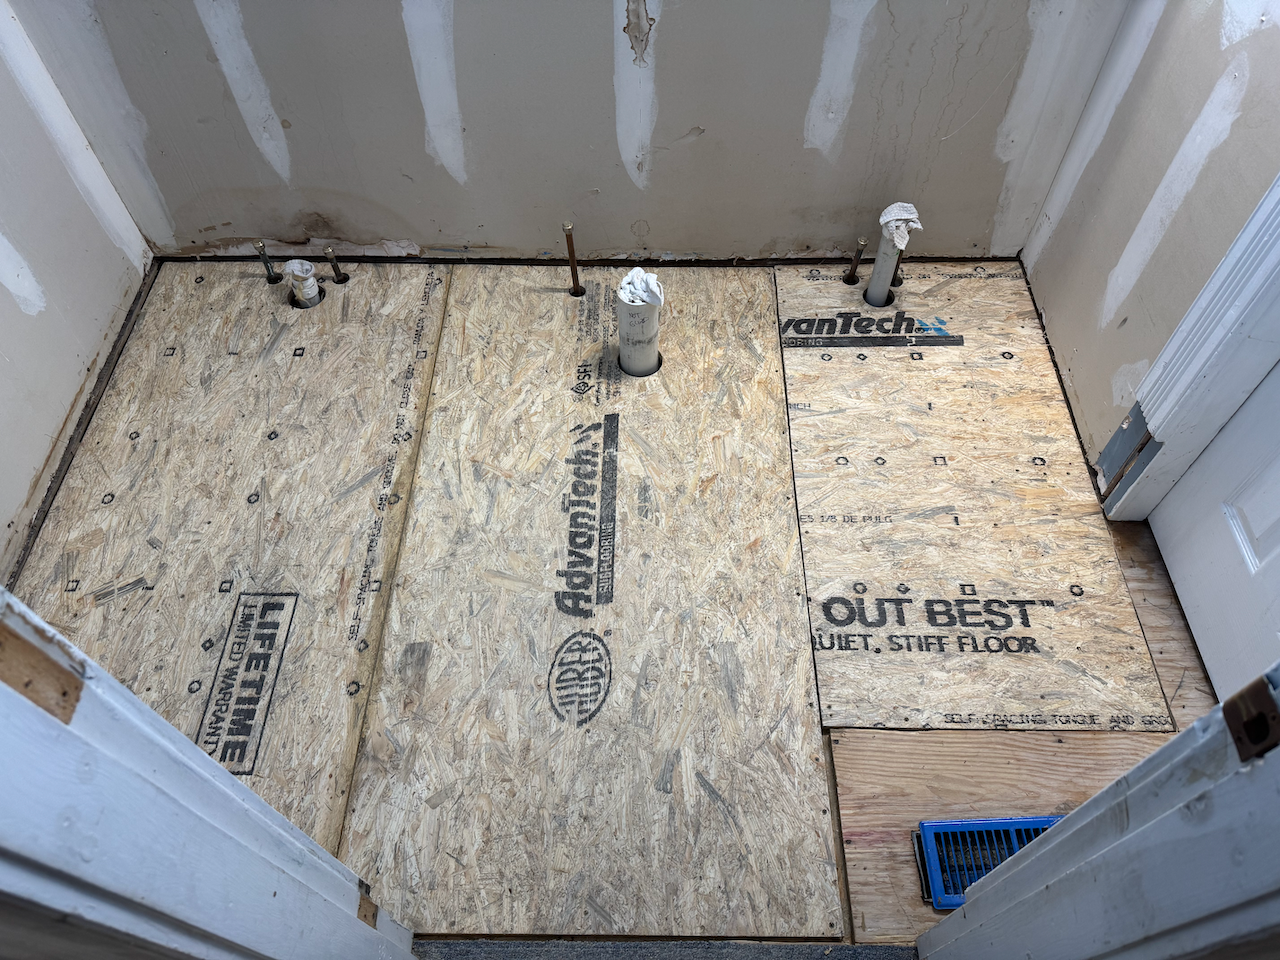
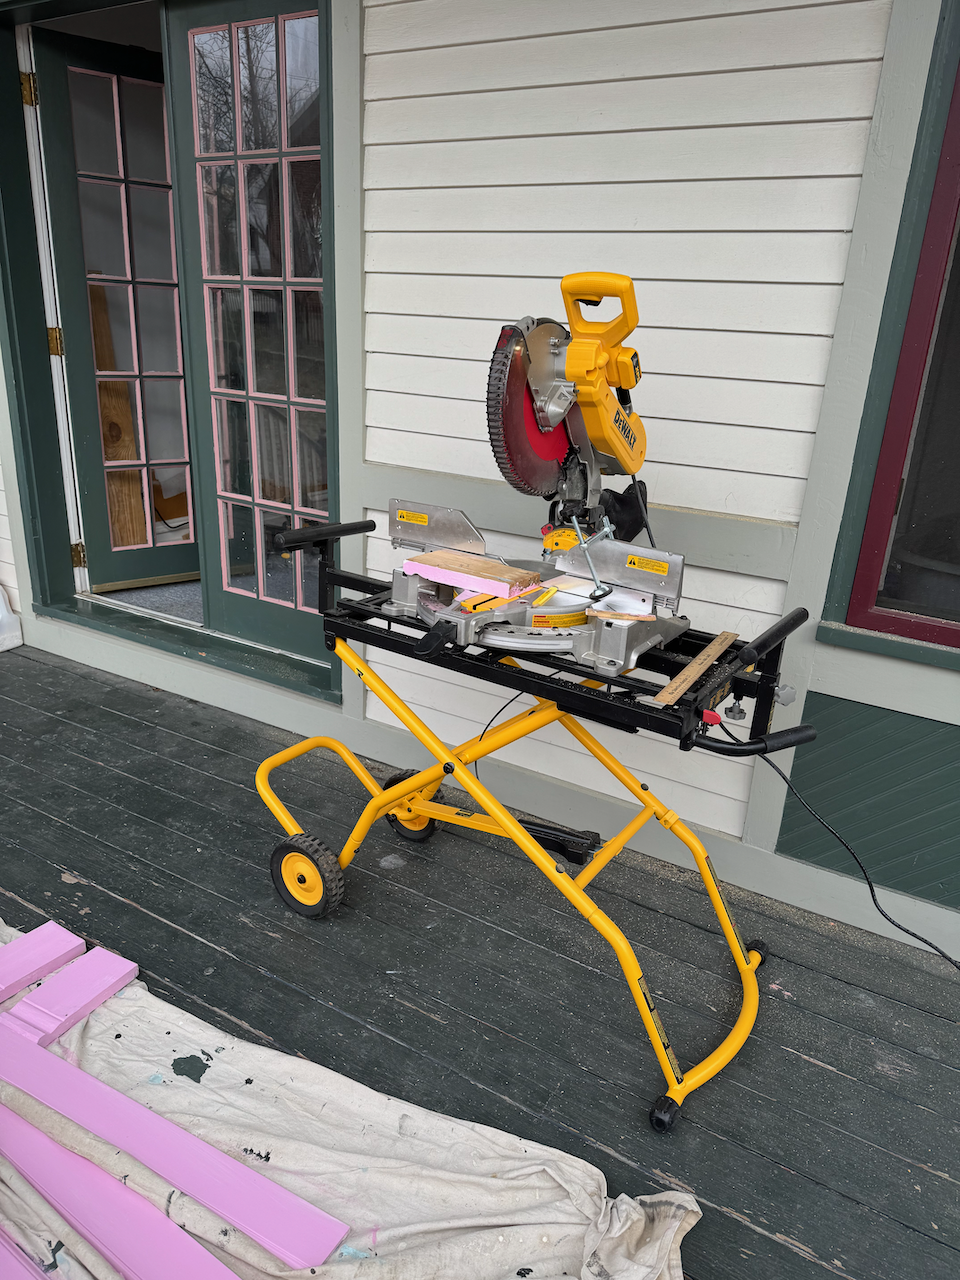
Subfloor Replacement
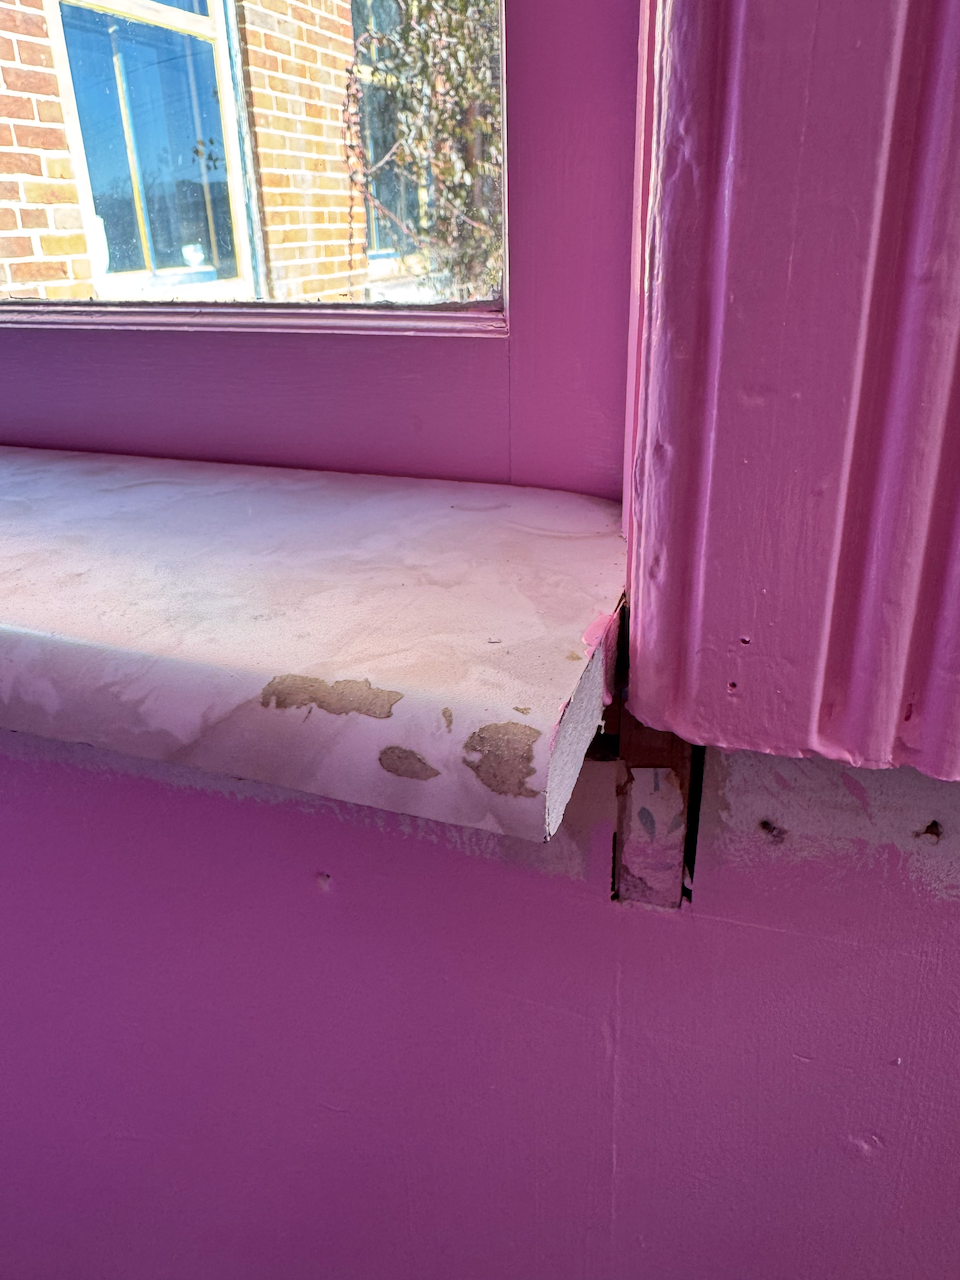
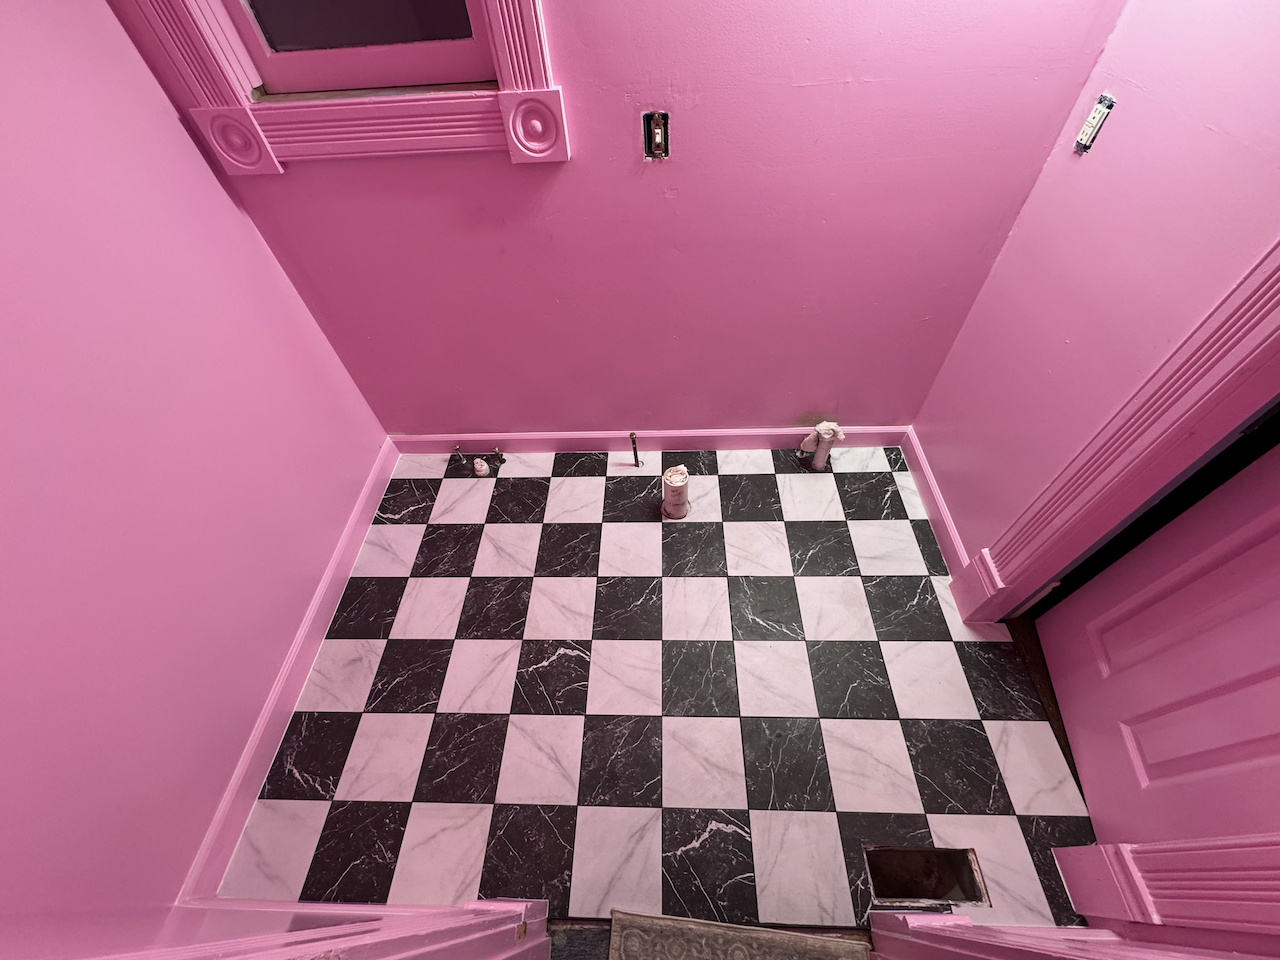
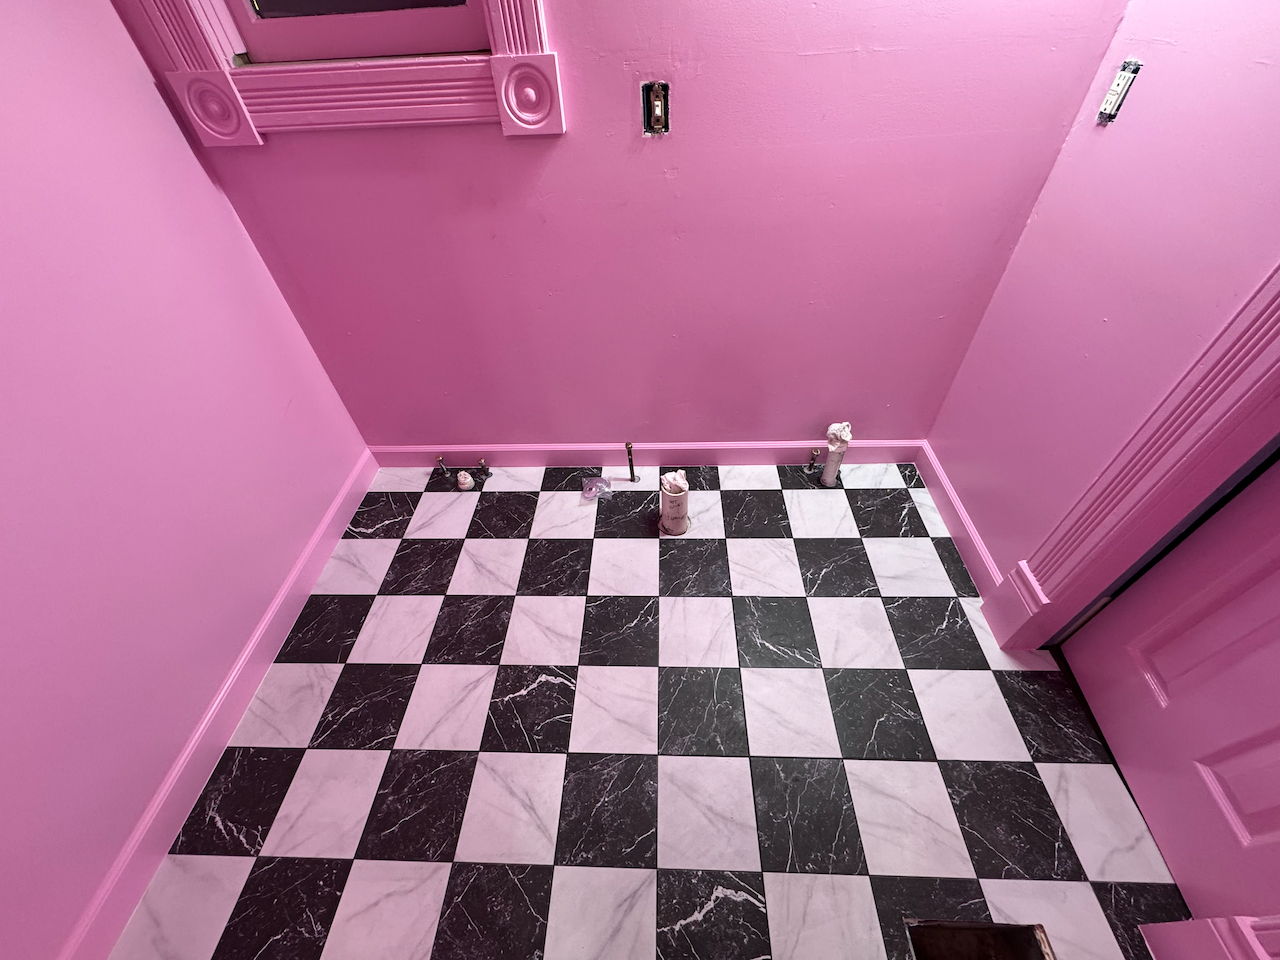
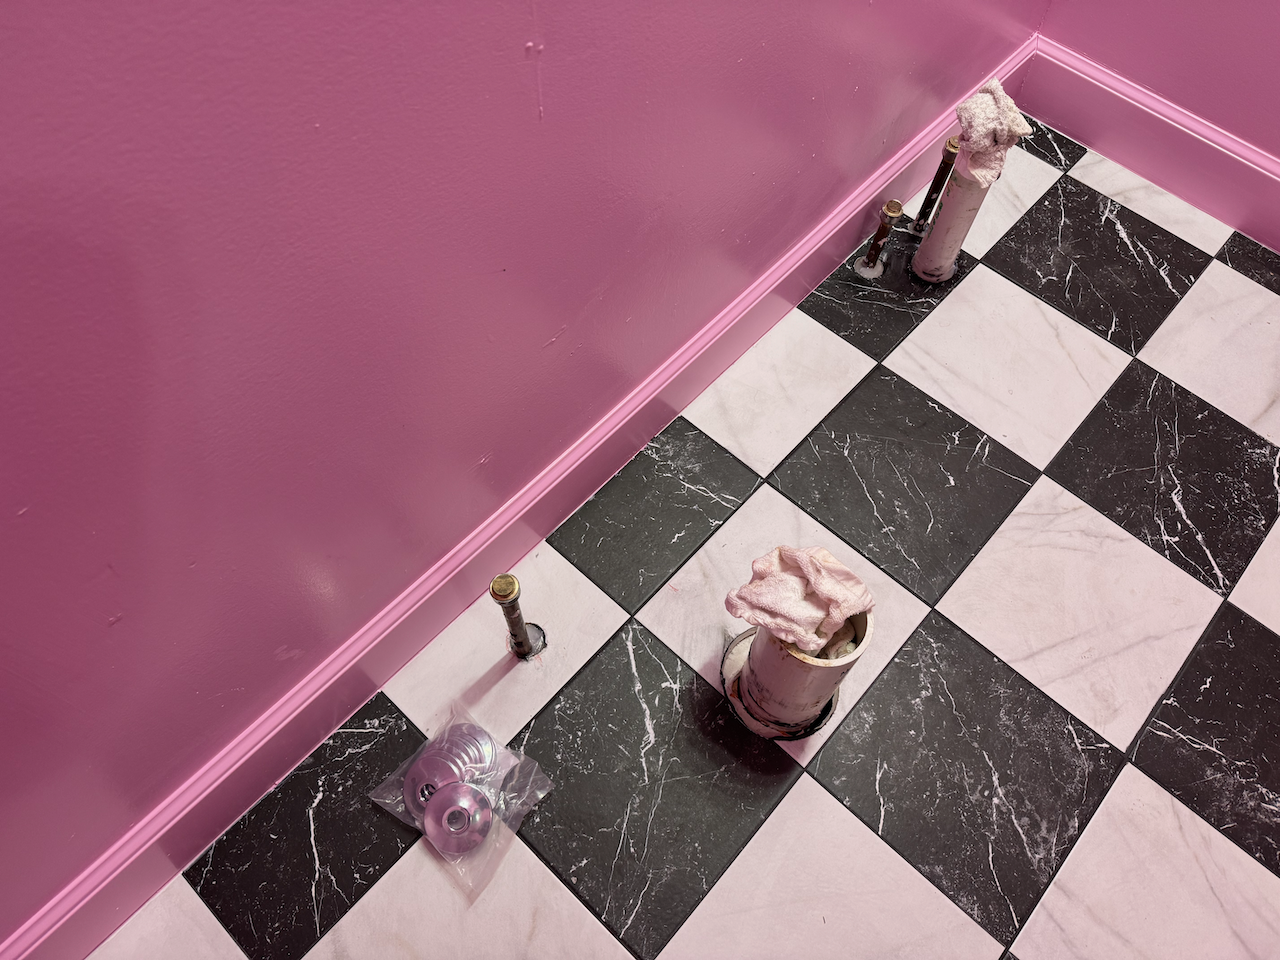
A closer look at the flooring revealed nothing was sealed. The baseboards, toilet, and beneath the pipe escutcheons were not caulked, allowing water to reach the subfloor.
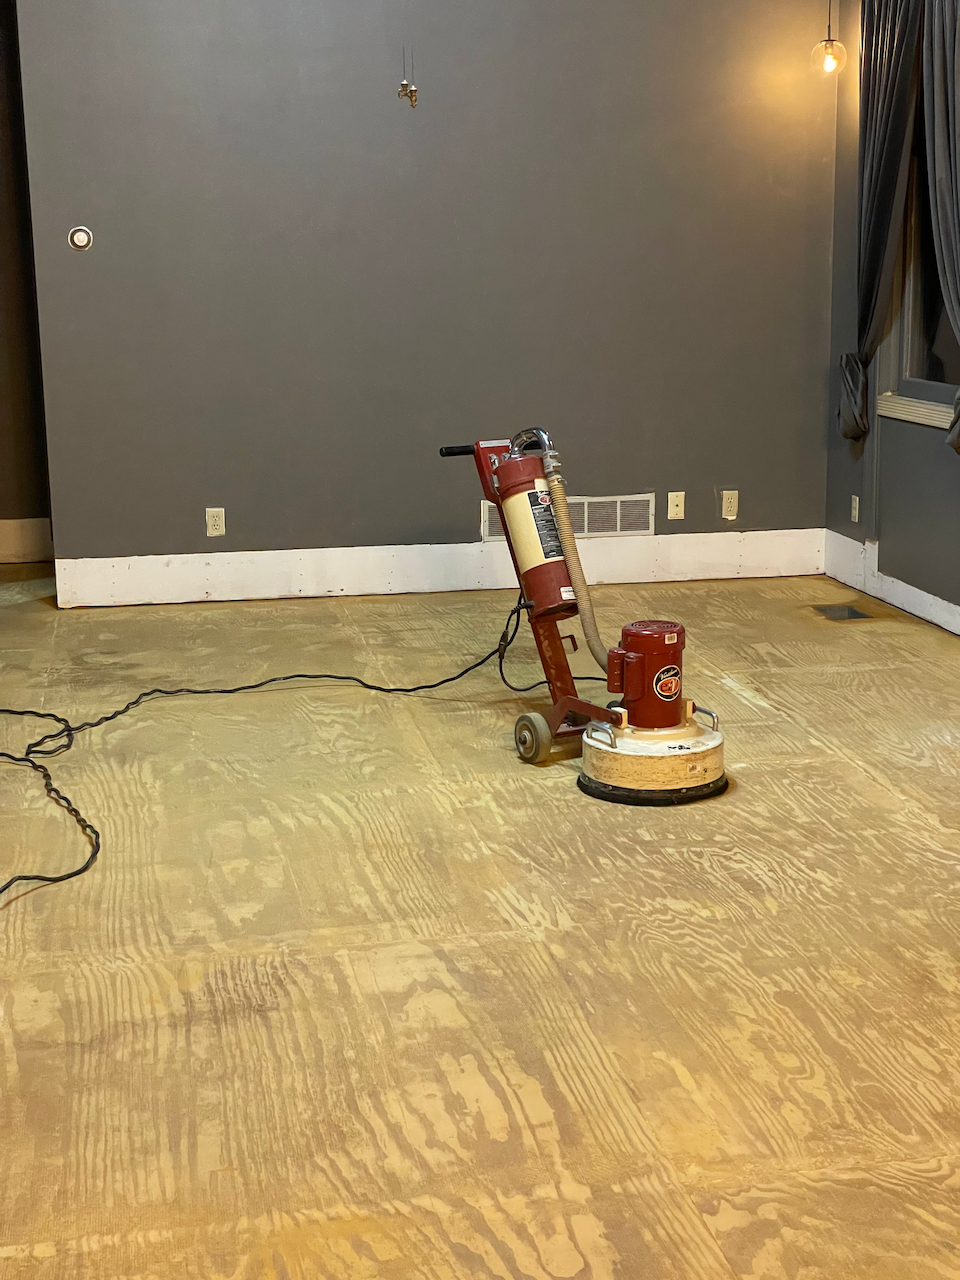
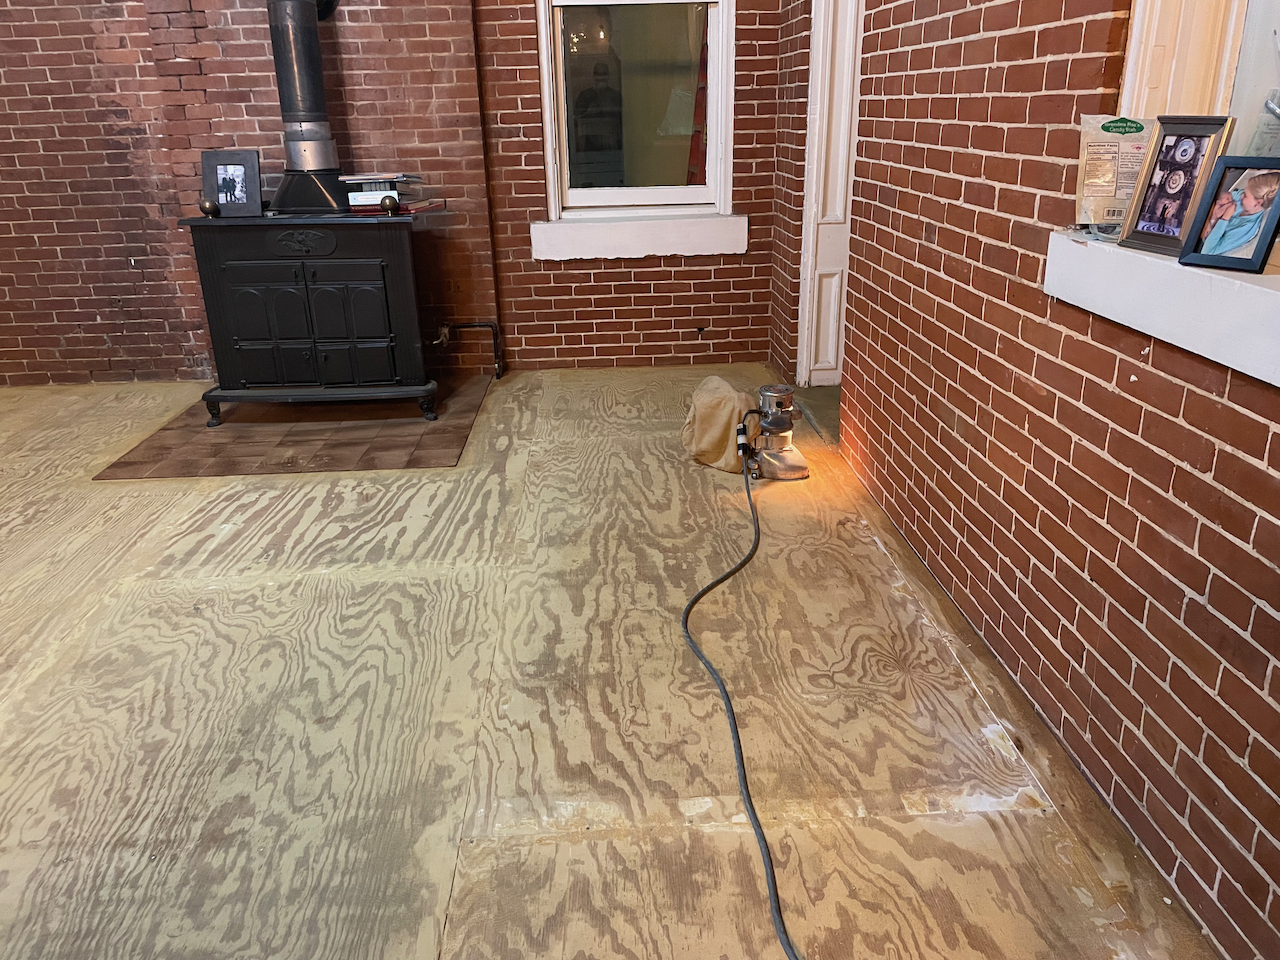
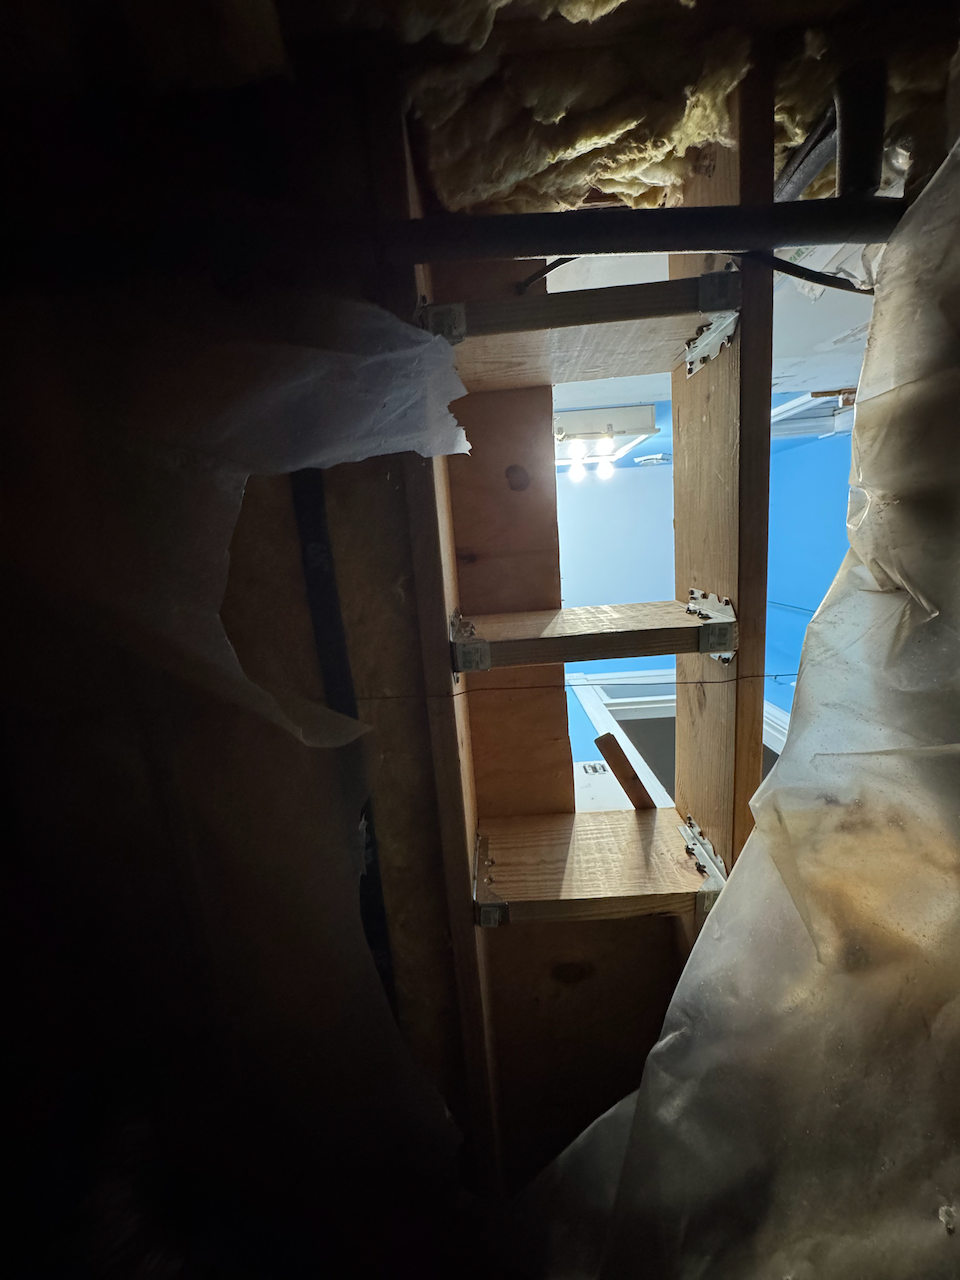
So, first surprise, the subfloor needs to be replaced. Down to the floor joists we go!
Renovation
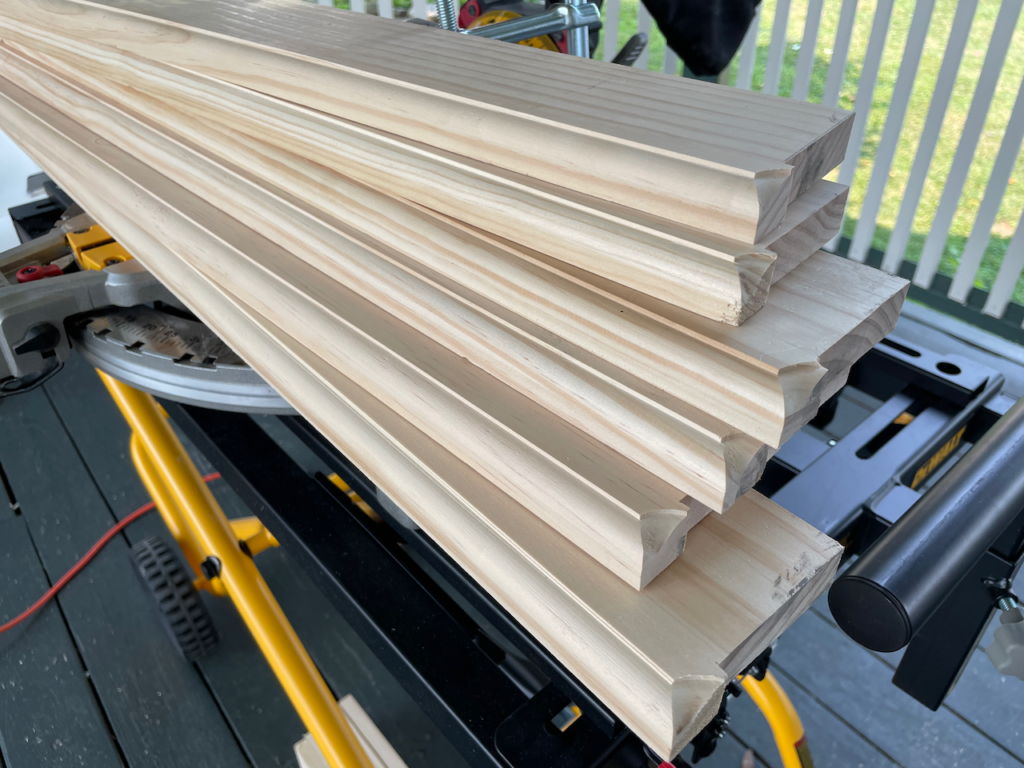
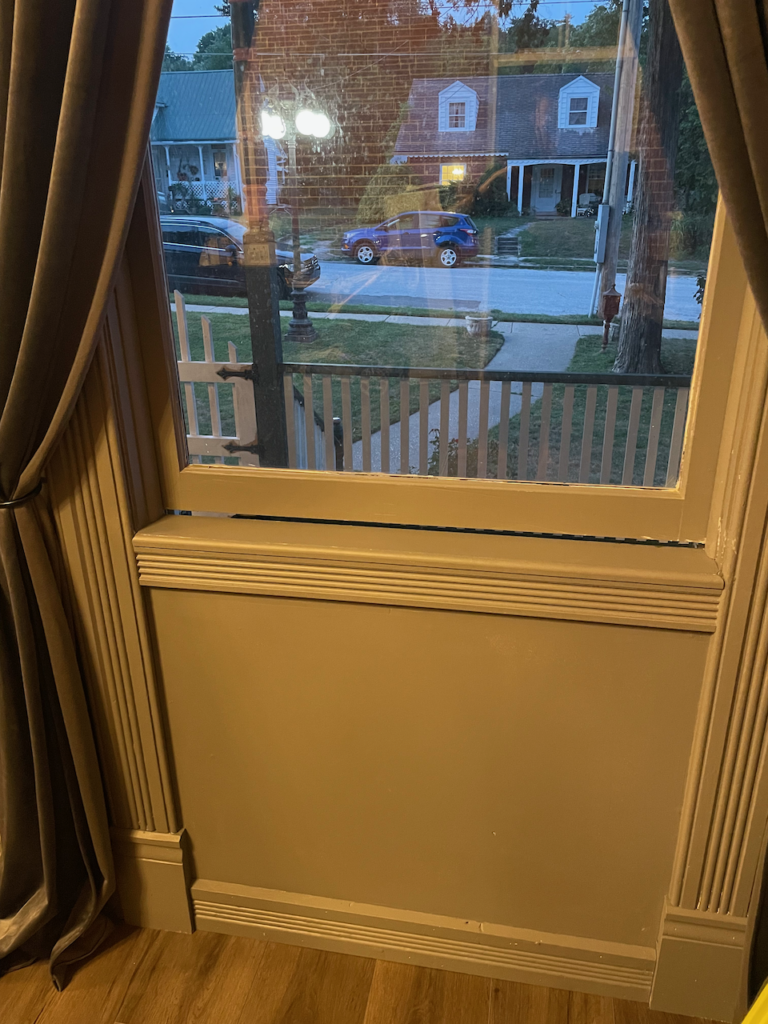
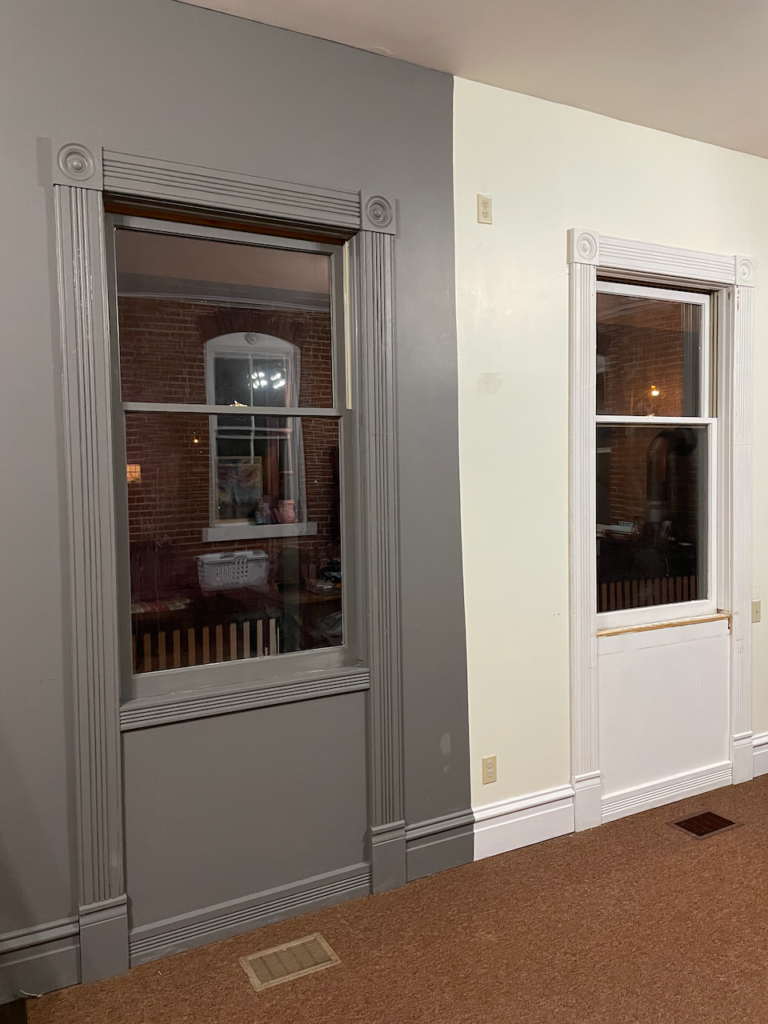
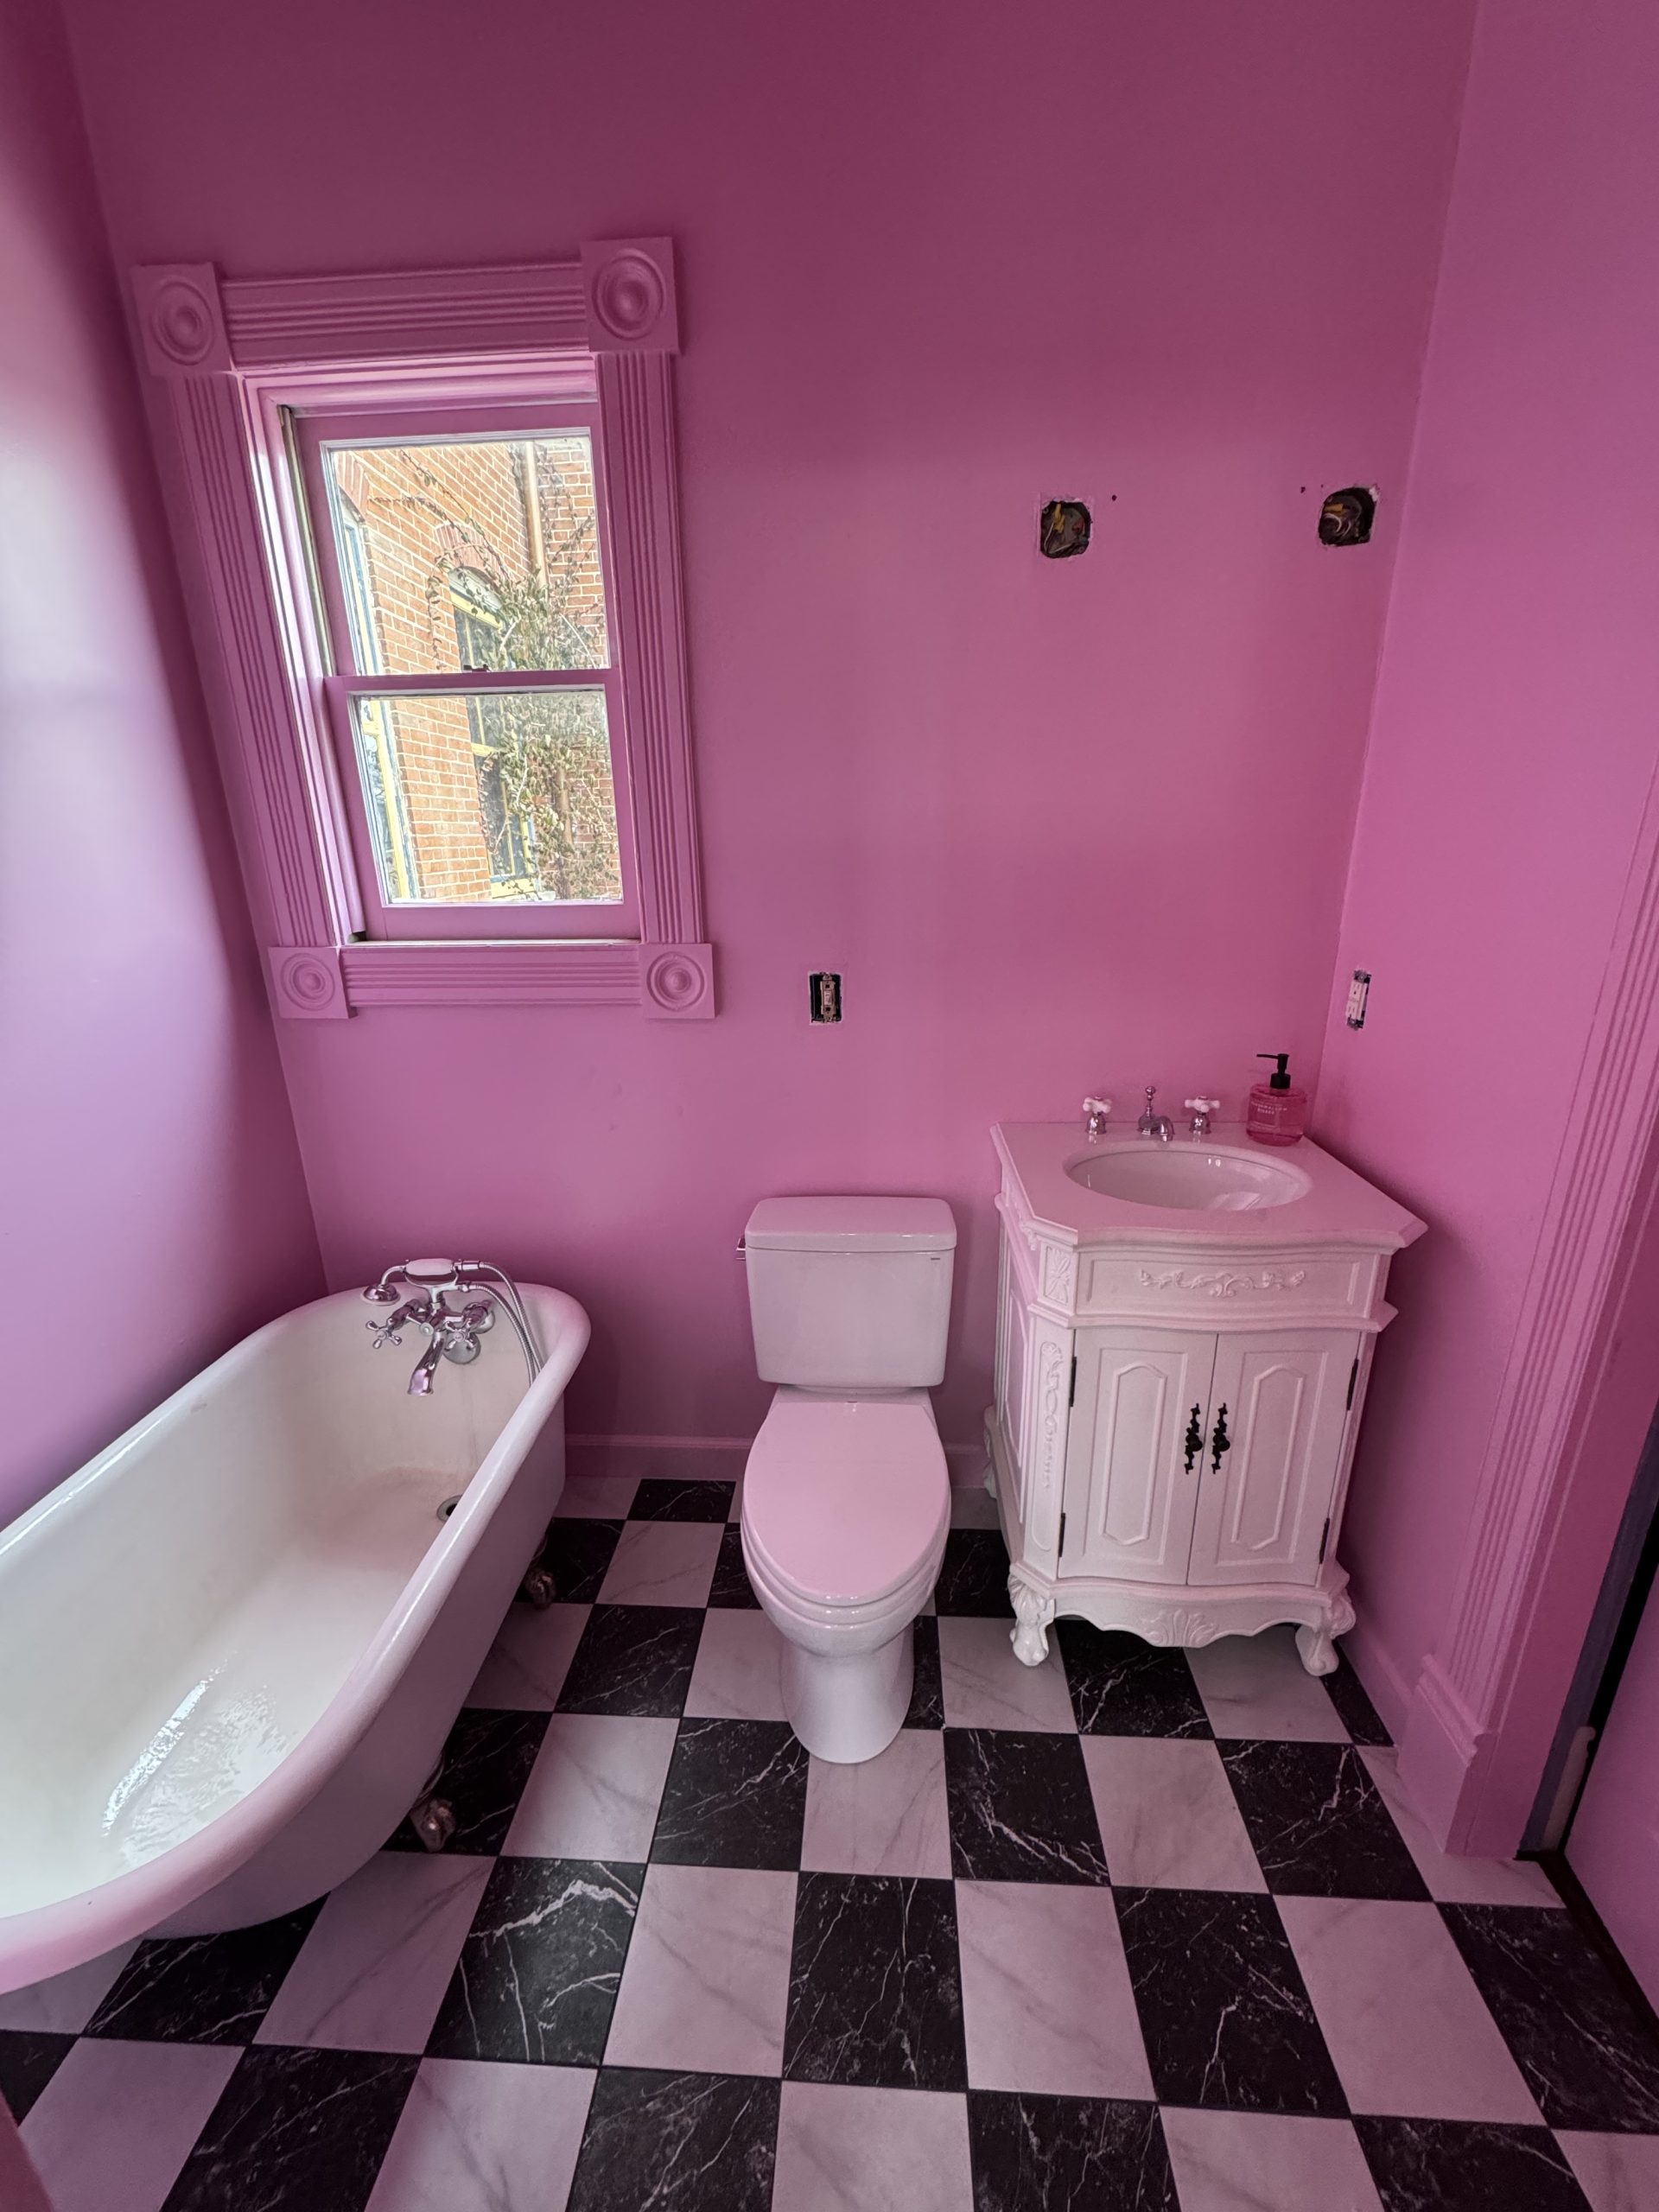
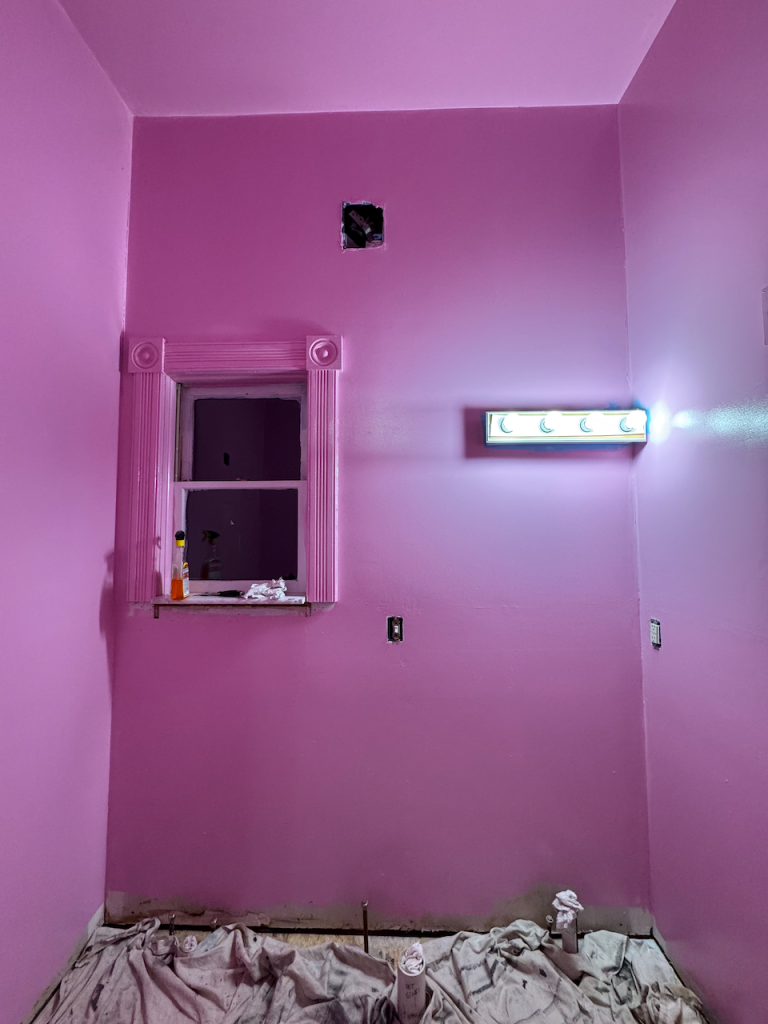
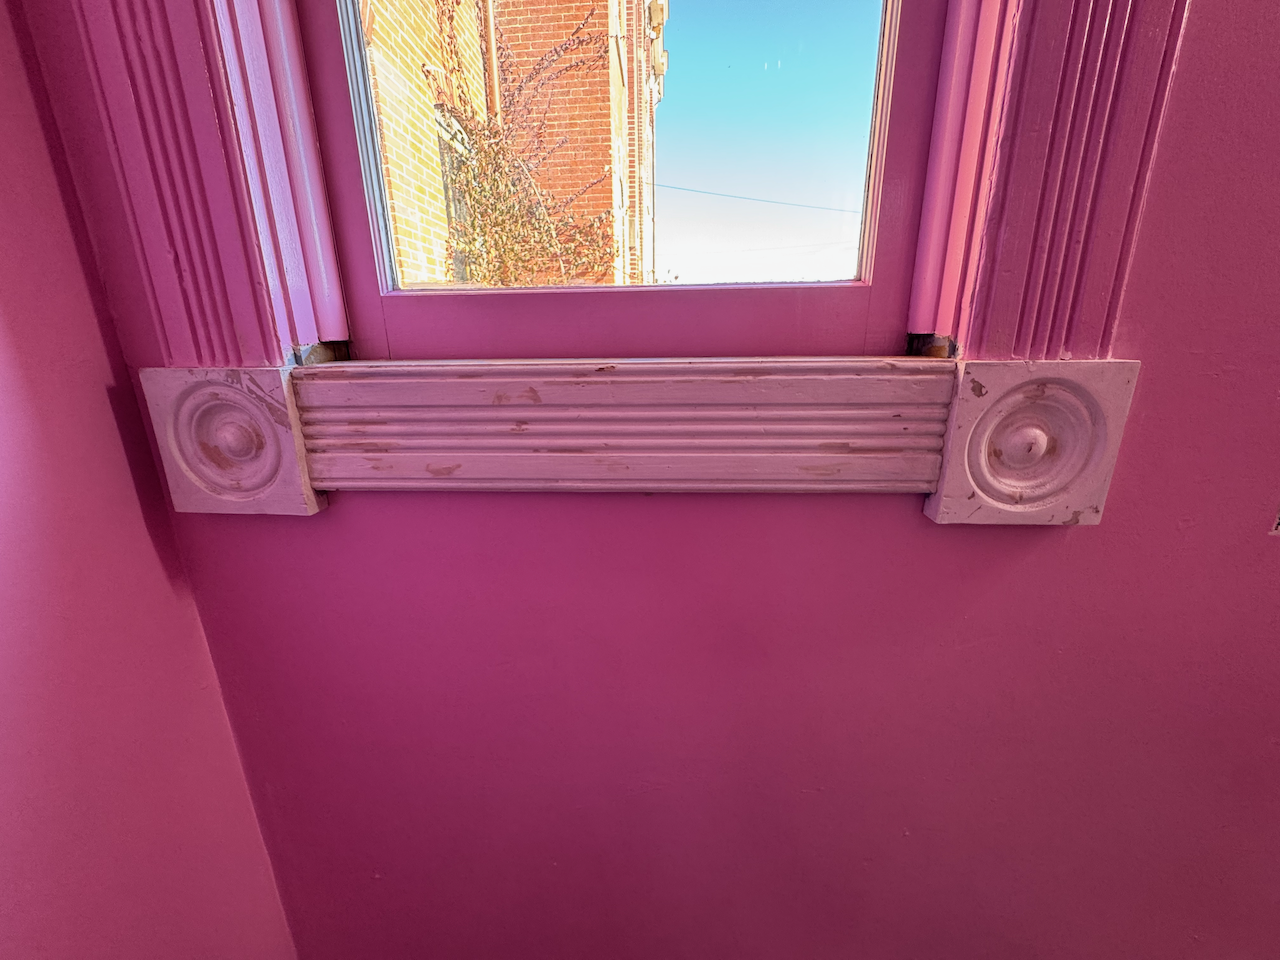
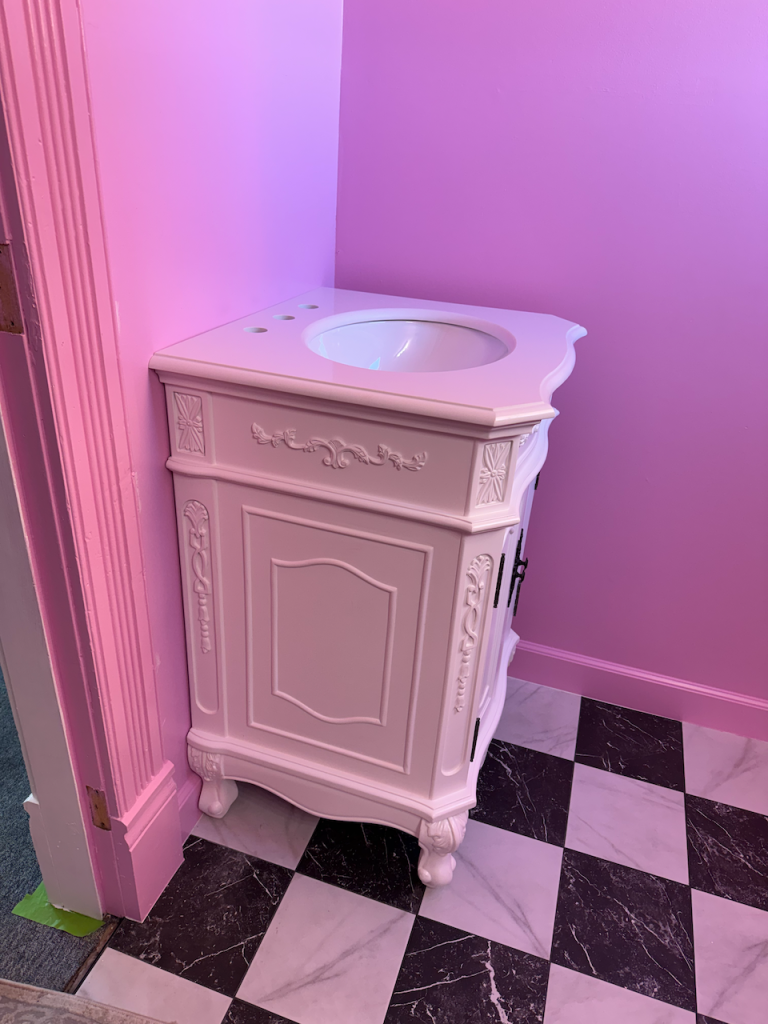
With the subfloor construction behind us, it’s time to rebuild this bathroom. Since this is not a historic space and is part of the 1980s addition, we decided on a design fusion of historic and modern elements. The casing, bullseyes, and plinths are already Victorian-inspired. The clawfoot tub was manufactured somewhere in the 1920s. We chose a new vanity that is a nod to the home.
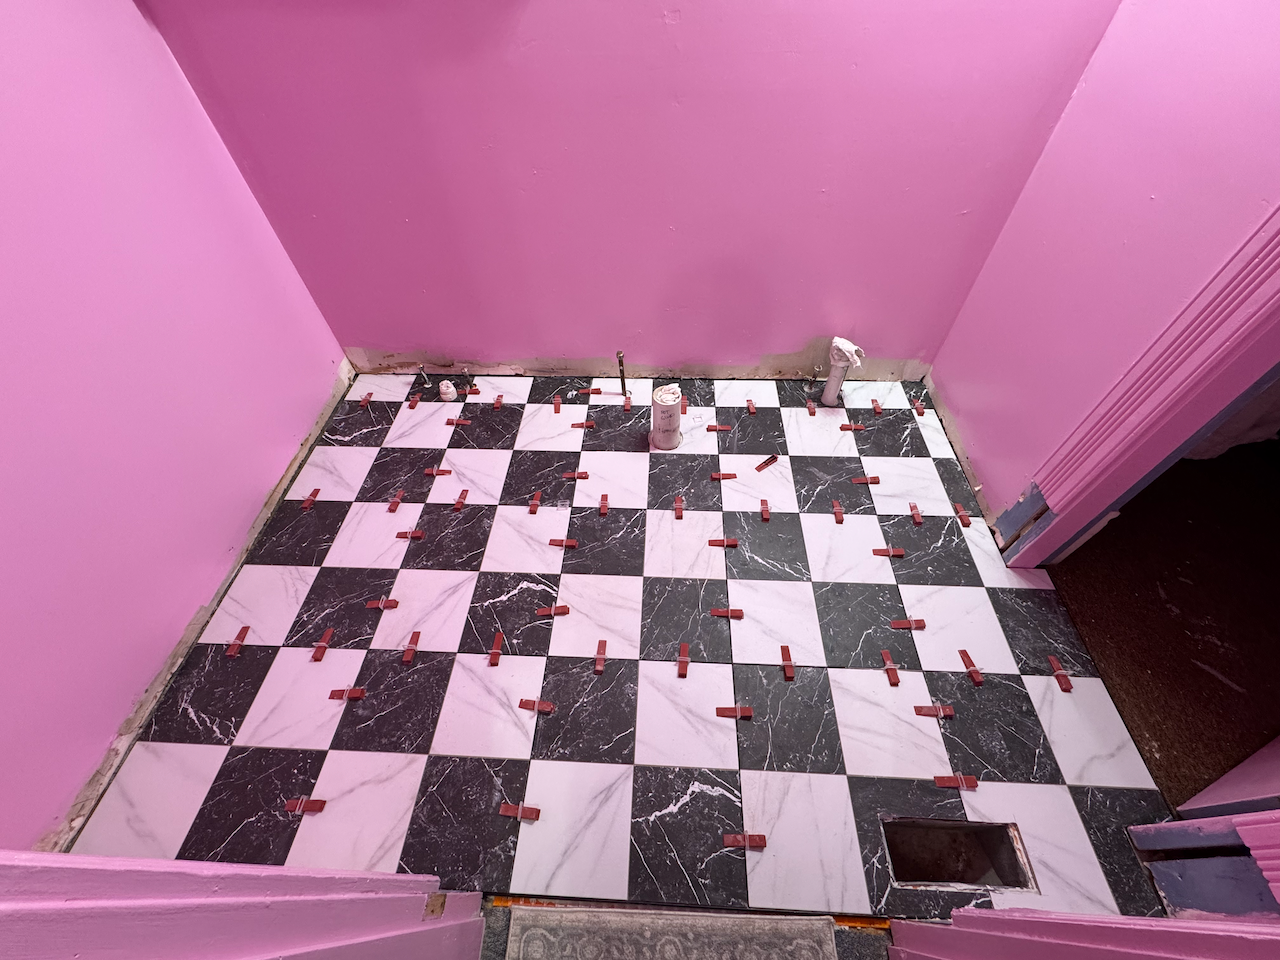
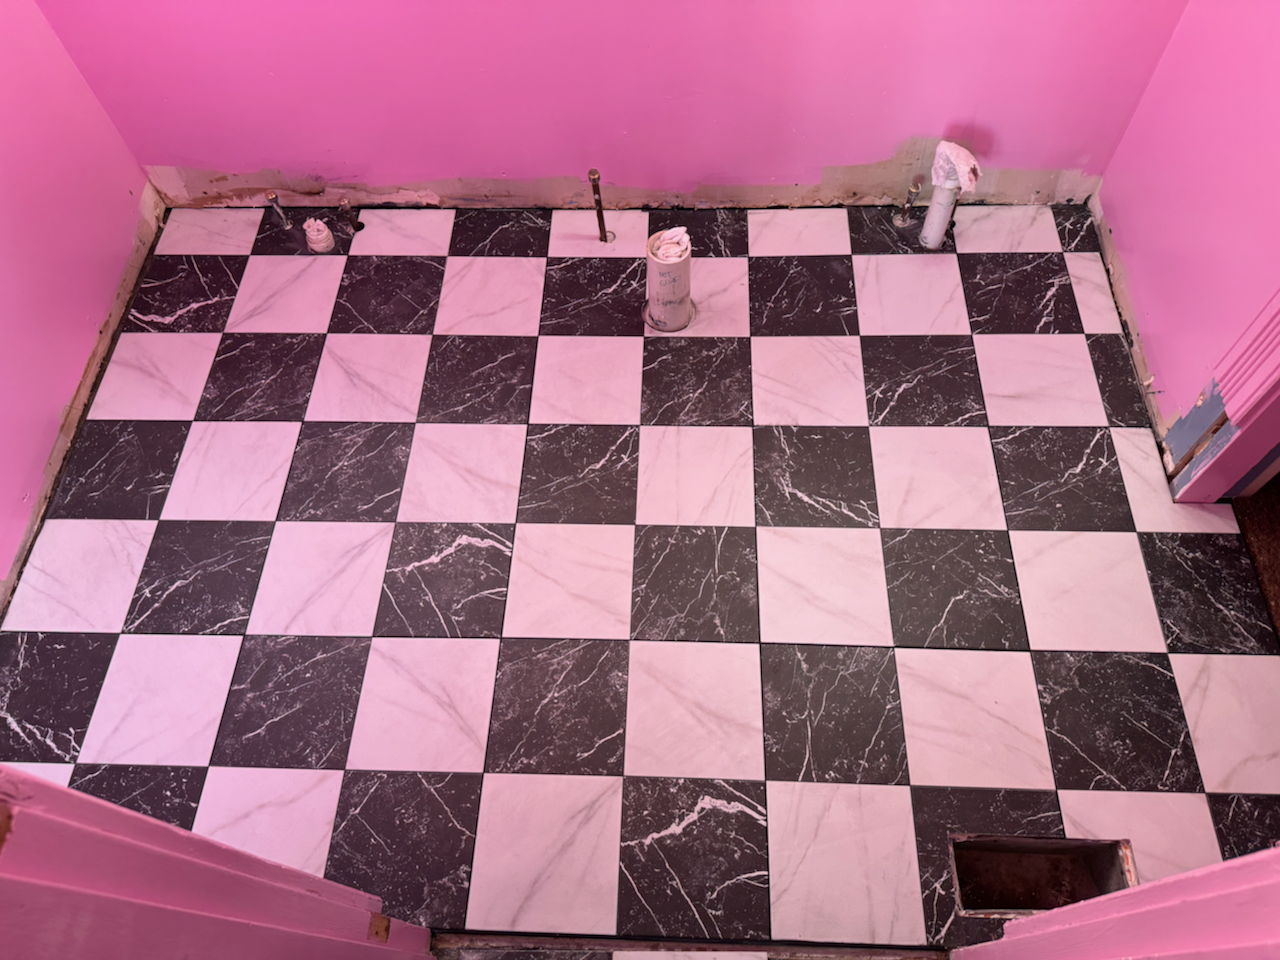
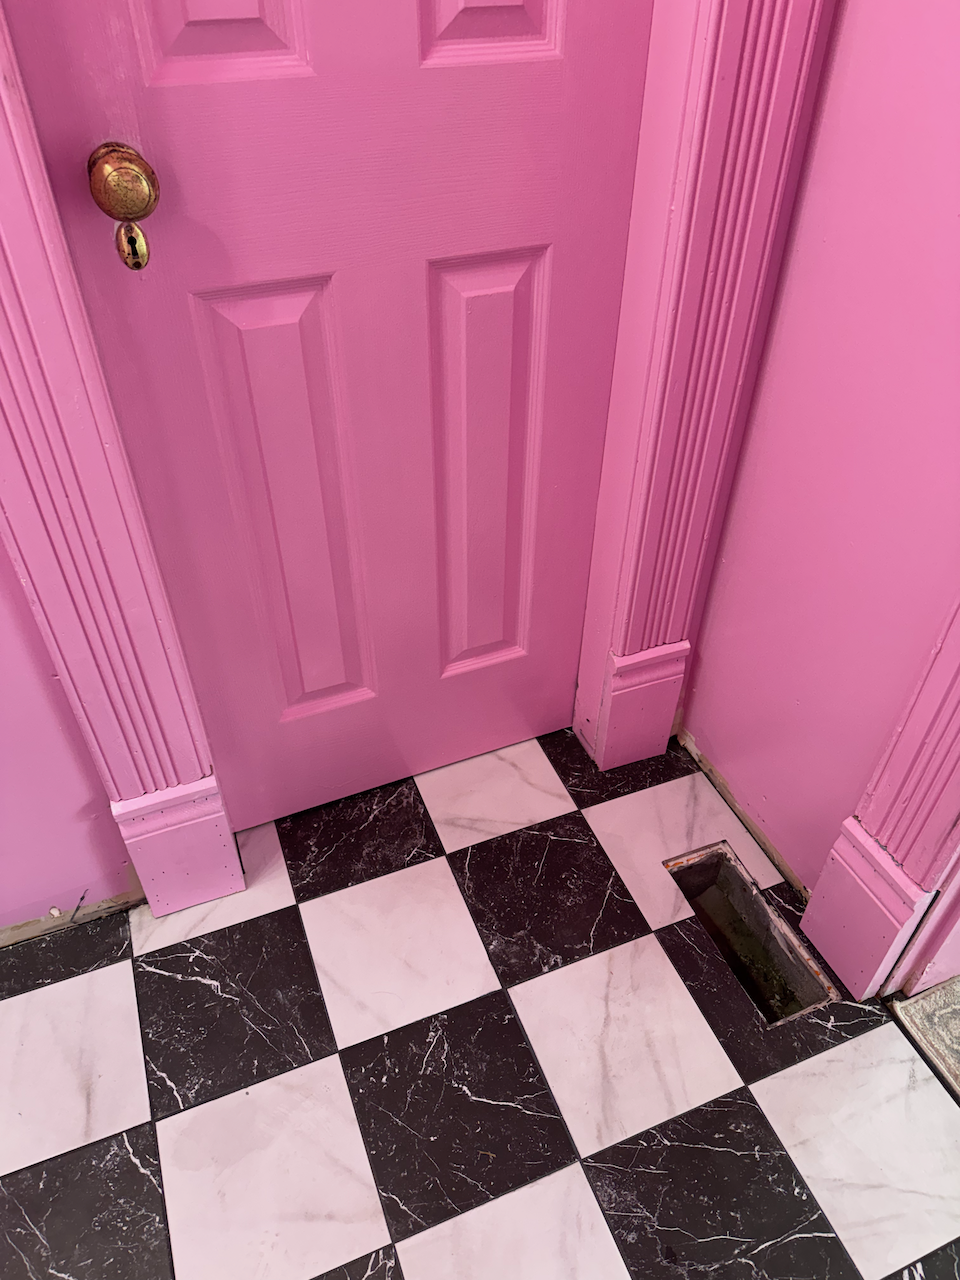
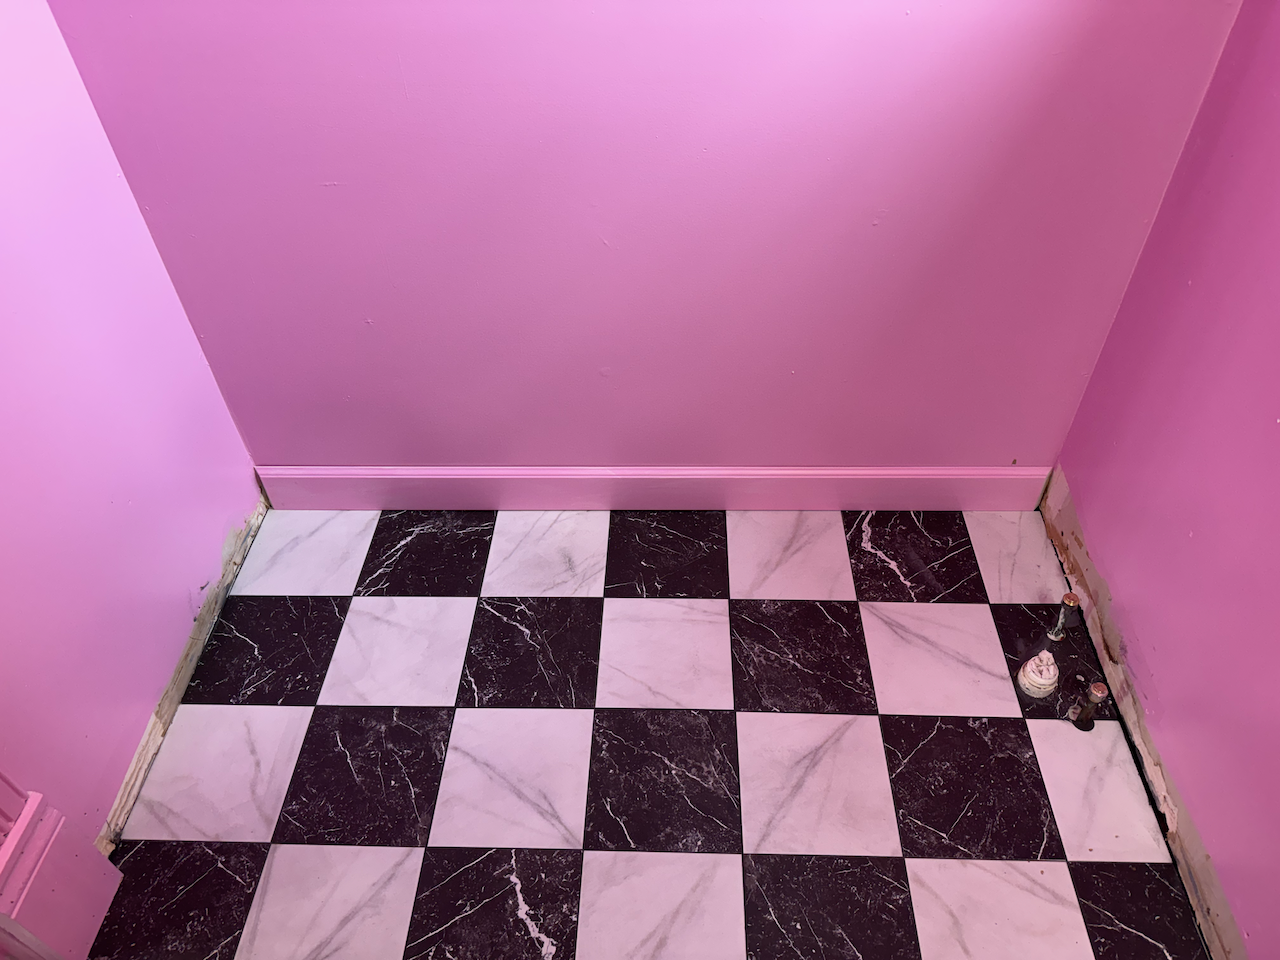
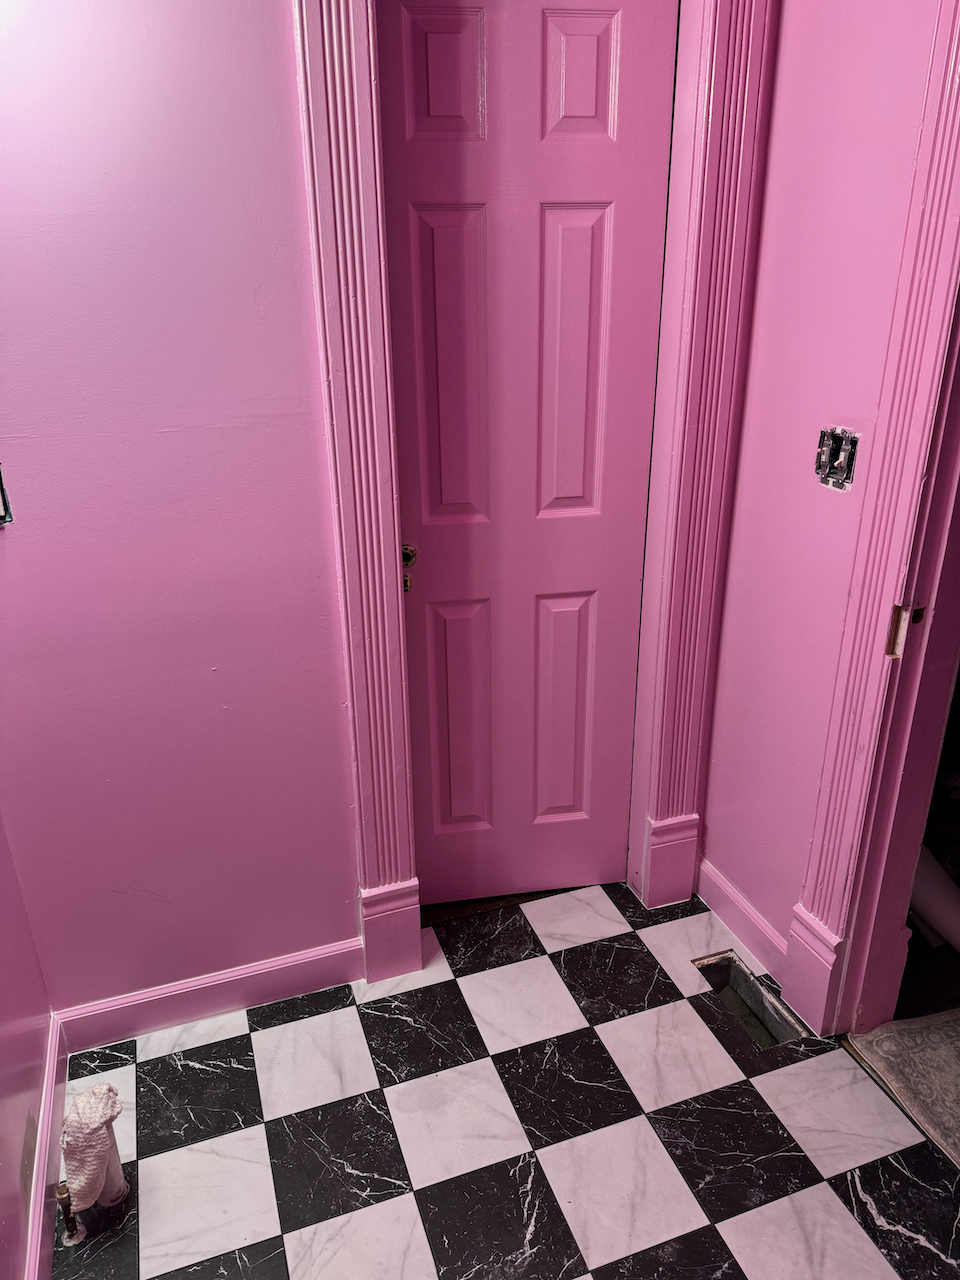
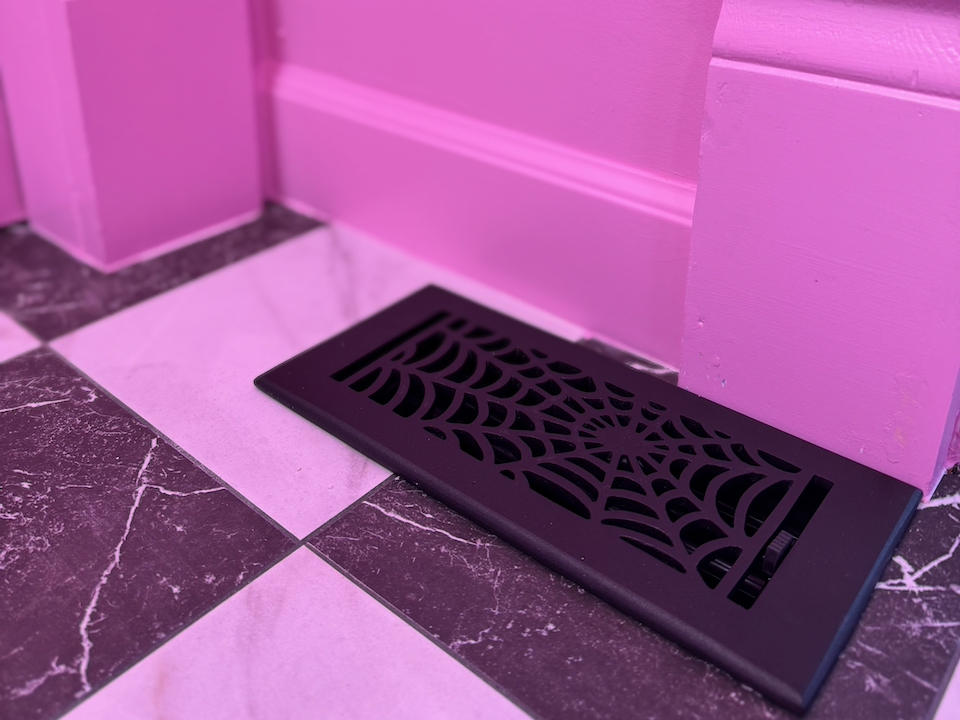
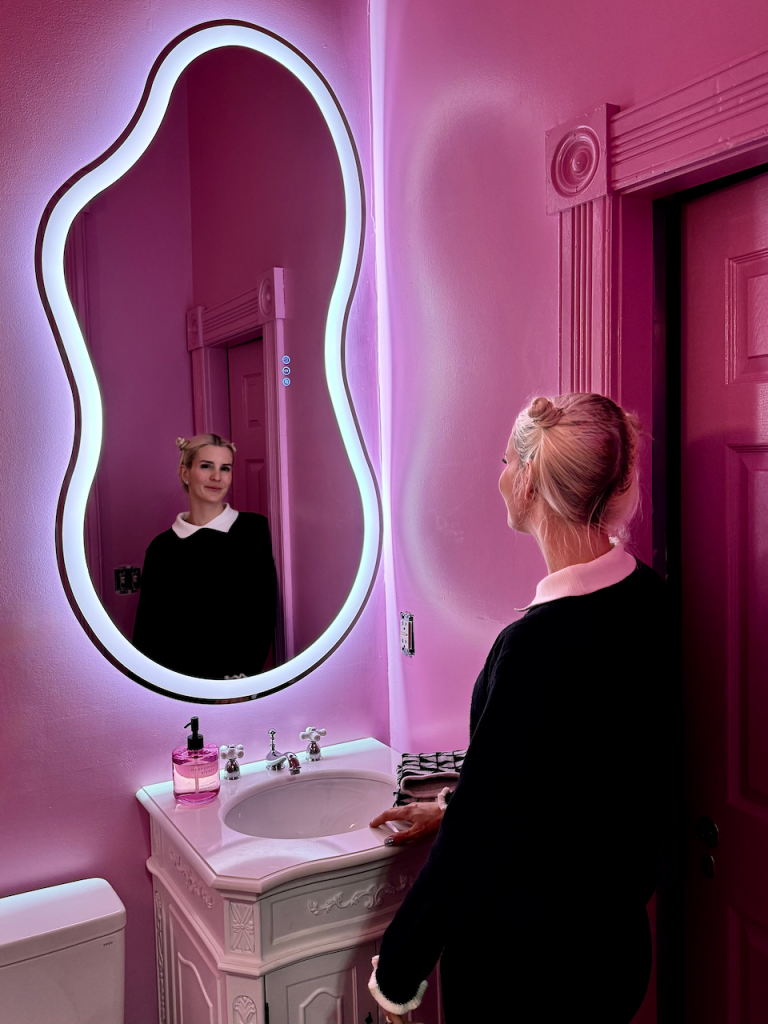
The twins chose the paint color. They wanted their “Pink Barbie” bathroom, and Alexandria designed around it. The new flooring is porcelain tile in a black and white pattern.
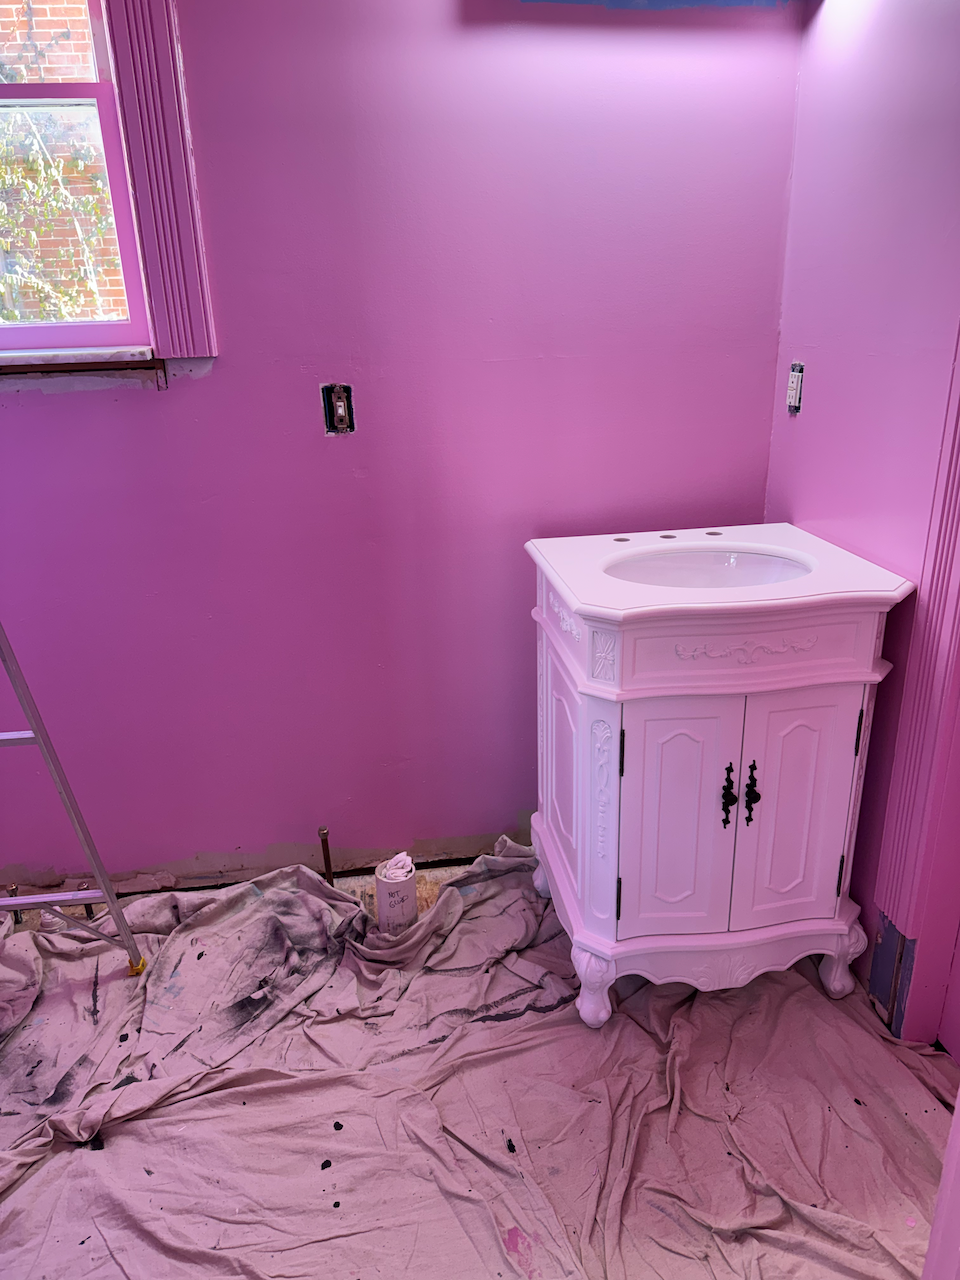
Vanity
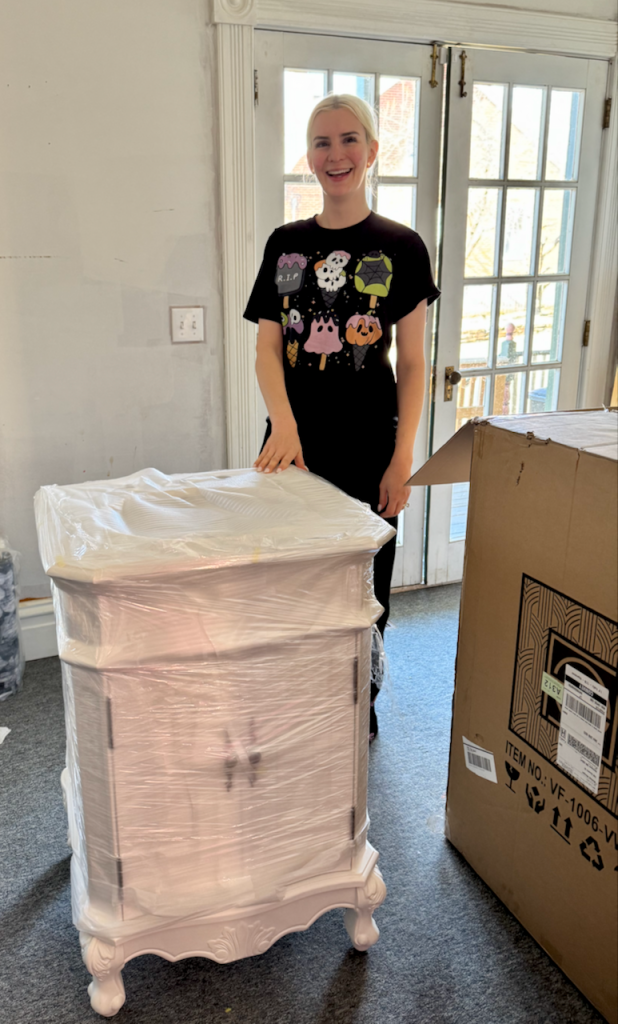
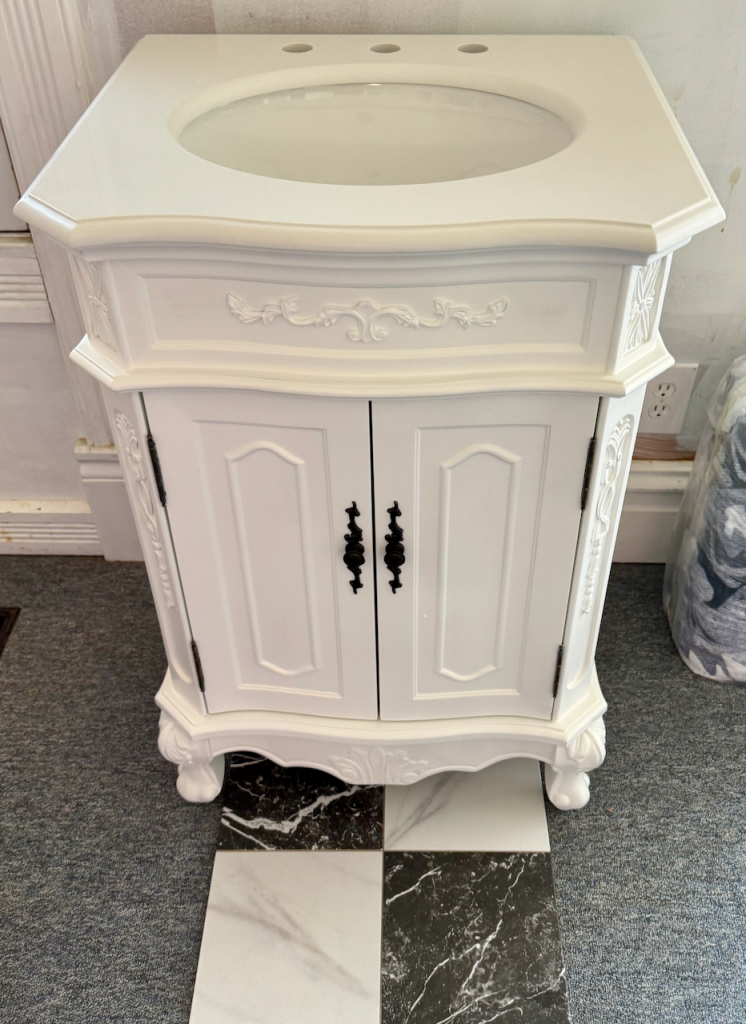
We chose a Victorian-inspired vanity. Above is a quick mockup of the vanity and porcelain tile.
From an install standpoint, the vanity was tricky. It has claw feet, which, when placed against the baseboard, would create a 1/2 inch gap. We labored over how to solve this.
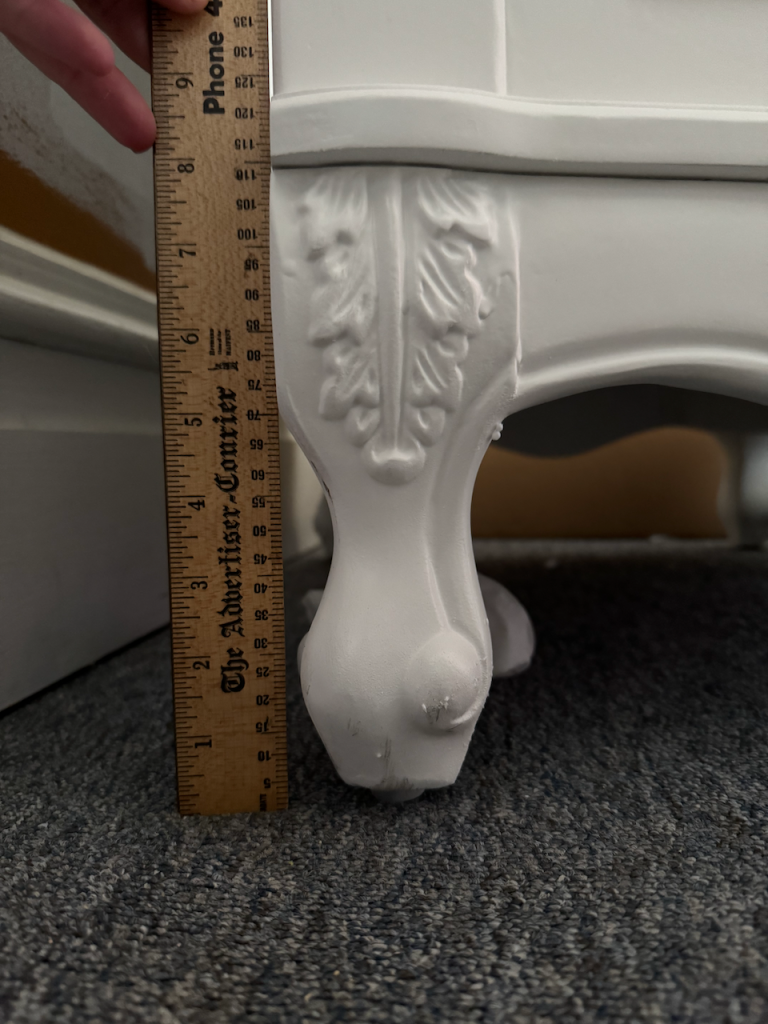
We did a lot of research, and everything pointed to removing the baseboard behind the vanity, which we did not want to do for various reasons, including: 1) A continuous look, 2) Sealing. Our argument is that the vanity represents “furniture”; why would you disrupt the baseboard to install furniture?
The final decision was to retrofit the clawfeet to provide enough clearance to allow the baseboard to run continuously around the vanity. We accomplished this by carefully removing a 1/2 inch of the back of the clawfoot.
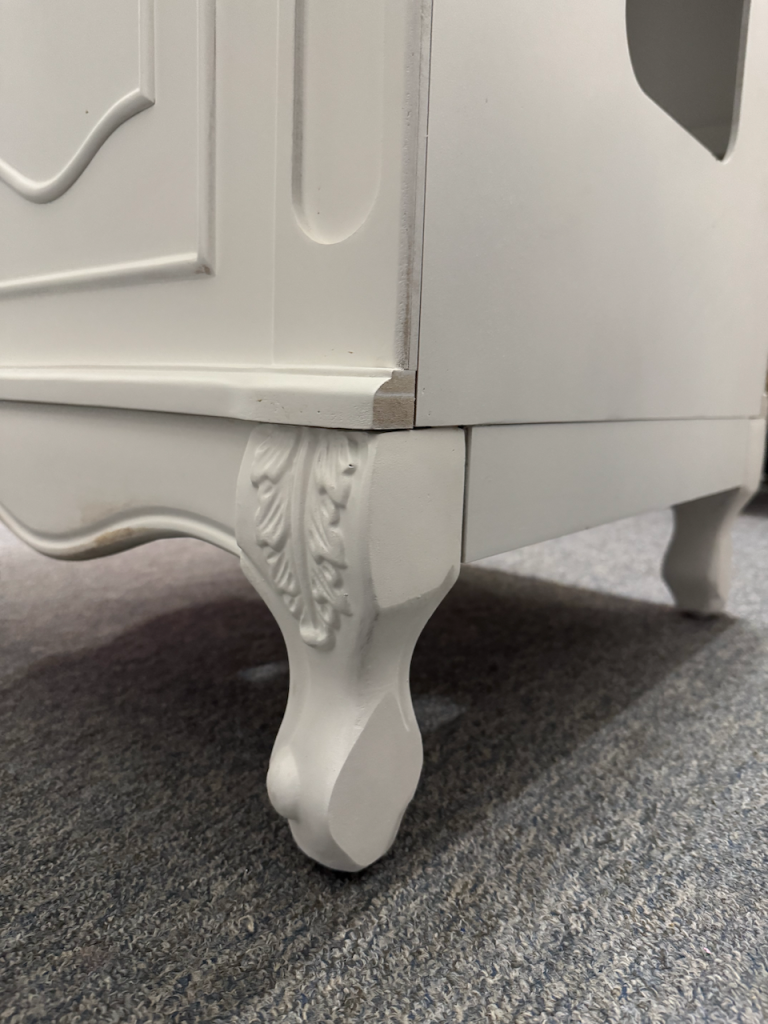
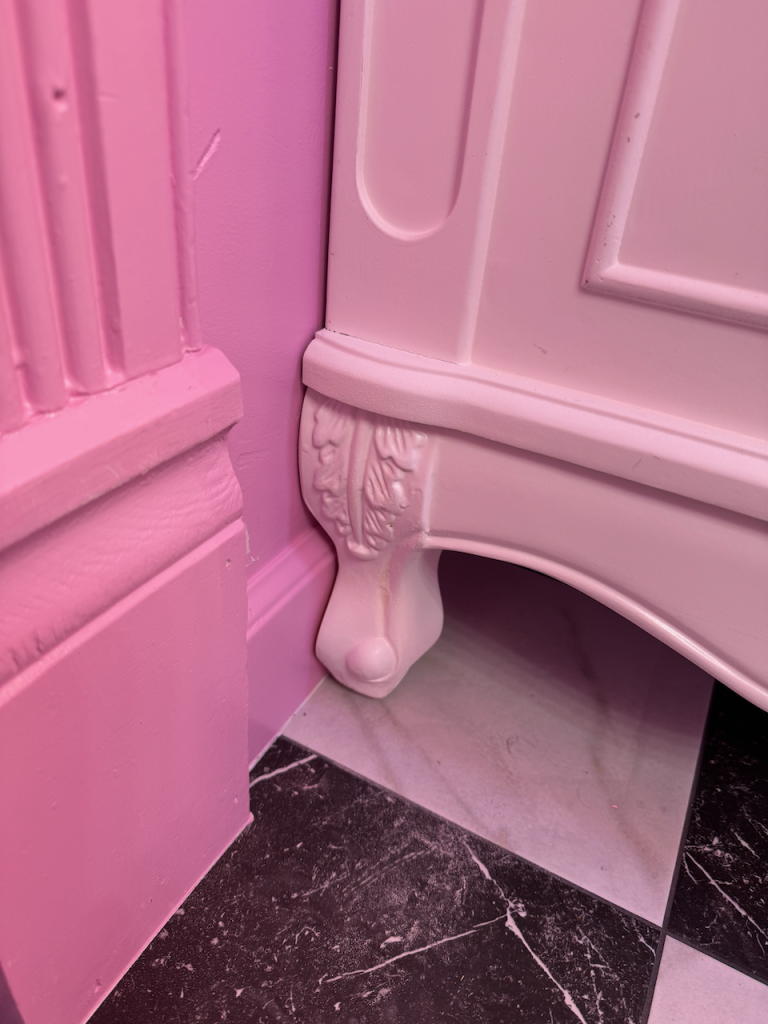
The result is a flush and seamless install. It helps that we bought a baseboard that fits right under the clawfoot’s curve. Planning for the win! By the way, not that anybody is going to be looking at the backside of the feet, but look at that perfect paint match!
Clawfoot Tub
One of the few items to return to the remodeled bathroom was this gorgeous Victorian clawfoot tub. We have seven clawfoot tubs throughout the house, and it’s our understanding that we have the Birk’s to thank for them.
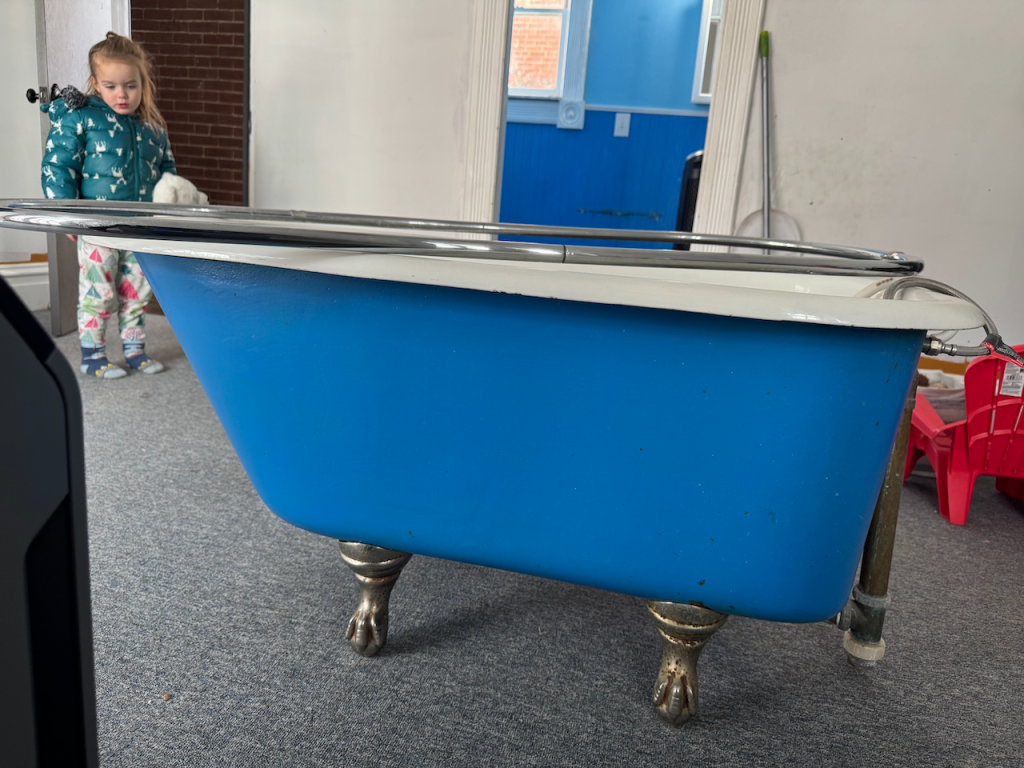
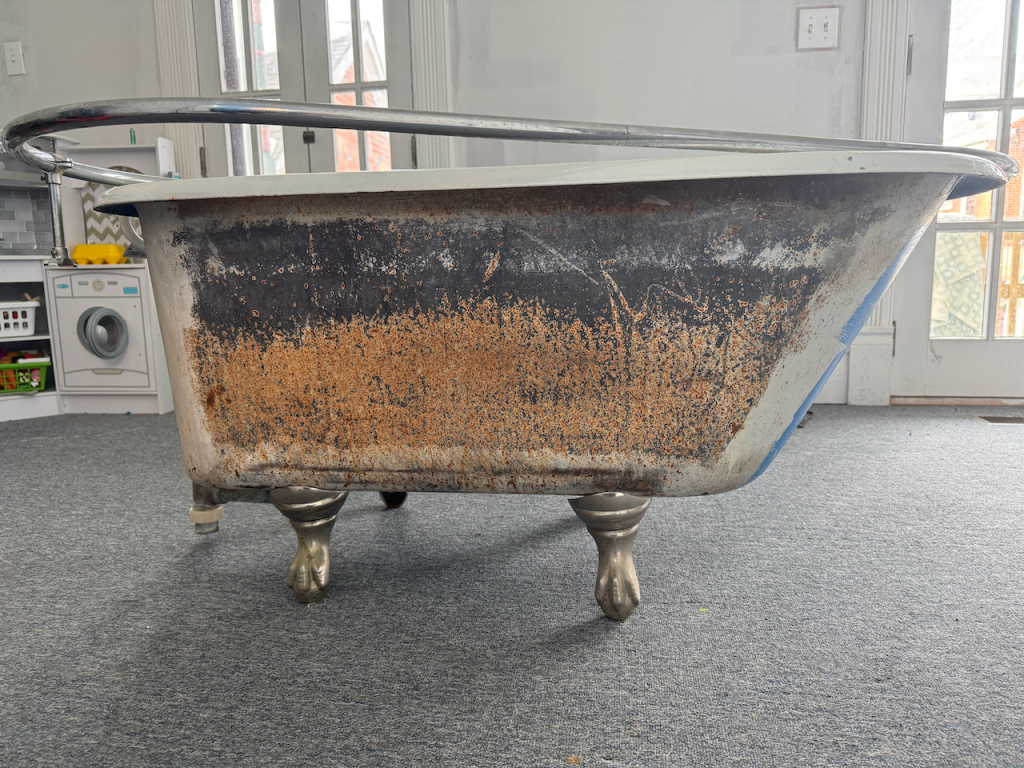
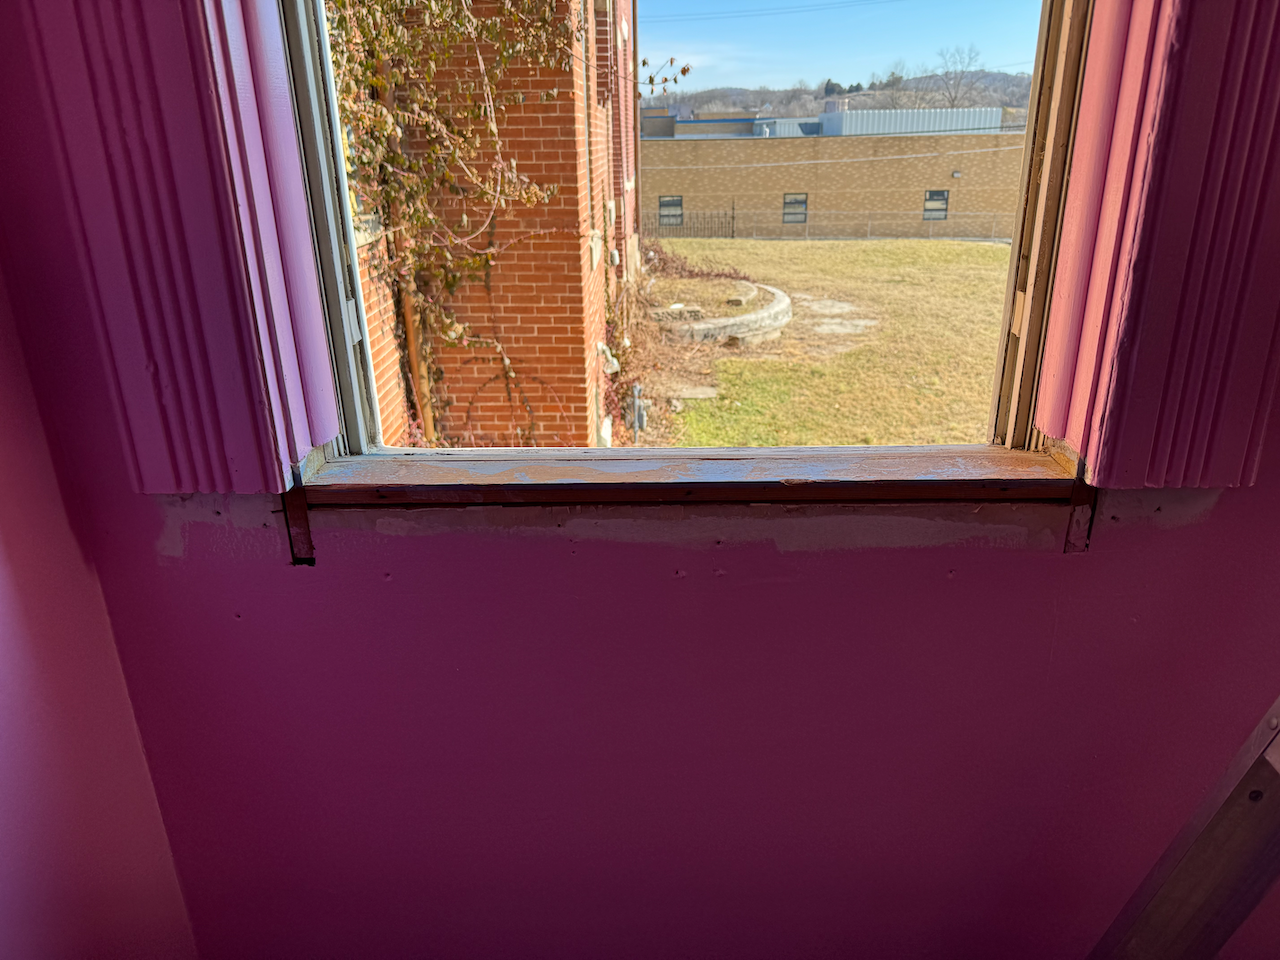
It’s hard to beat the beauty of an original clawfoot tub. The challenge in this space was the configuration. It was set up as a shower, and the curtain dominated the space (blocked a lovely window, too). We decided to do away with the shower curtain, which opens up the space. We replaced the fixture with a beautiful Victorian telephone faucet.
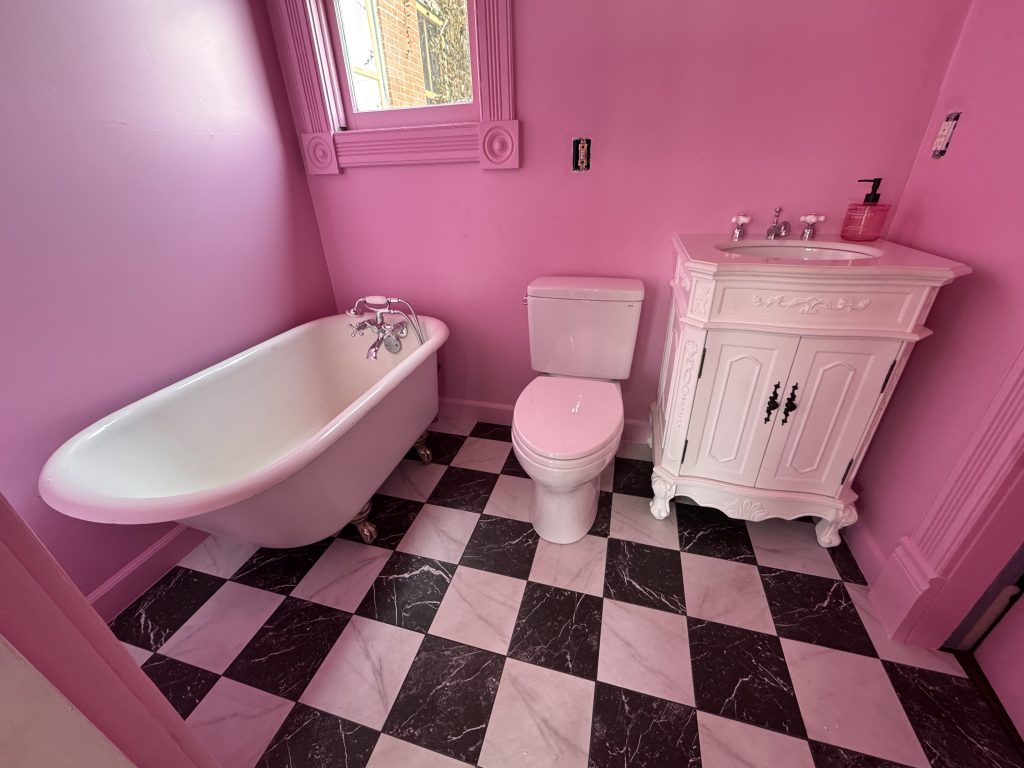
Alexandria took on the project of restoring the tub. The blue was out! We decided to go back to a classic white. We also cleaned up the clawfeet and copper drain pipe.
Summary
Nearly every facet of this bathroom was touched. It’s easier to list what wasn’t replaced: the casing, Victorian bullseye, and plinths, sheetrock, and tub. Everything else was replaced or refreshed, including the subfloor, new flooring, vanity, lighting, faucets, a TOTO toilet, light switches, outlets, etc. A new bathroom!
A common question we get is how many of these projects we do ourselves versus how many we contract out. There are several areas/domains we feel pretty confident in these days: finish carpentry, painting, restoration, plaster work, and electrical. When it was all said and done, the two areas we hired out were: plumbing and tile installation; we did the rest.
Stay tuned for part 2 of this bathroom remodel for all of the final touches! We also have a number of other projects coming to an end that we’re excited to share.
Until next time, The Morgan Family.