Check out Part 1: History & Planning in our series covering the mansard roof restoration.
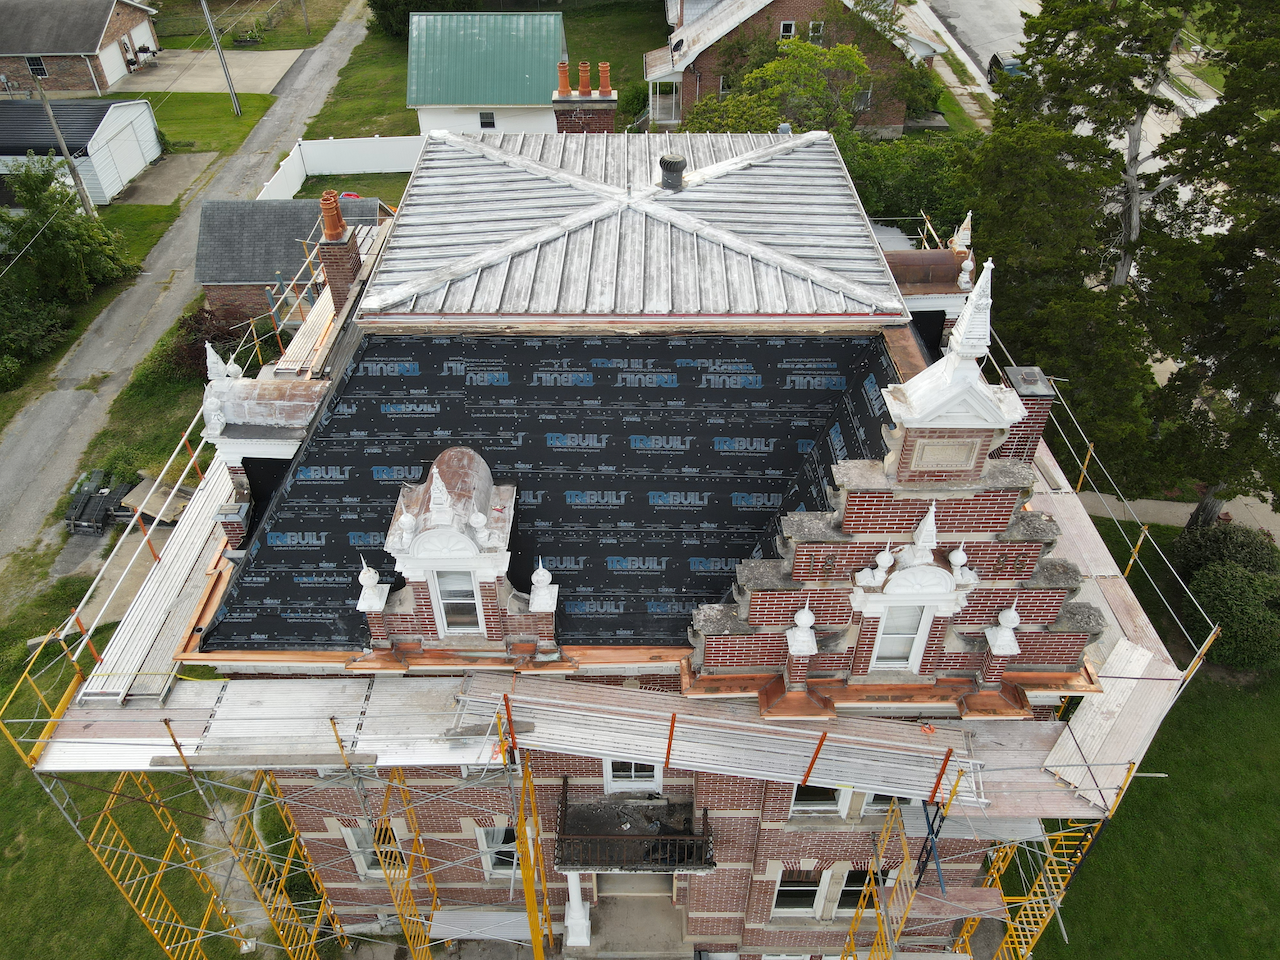
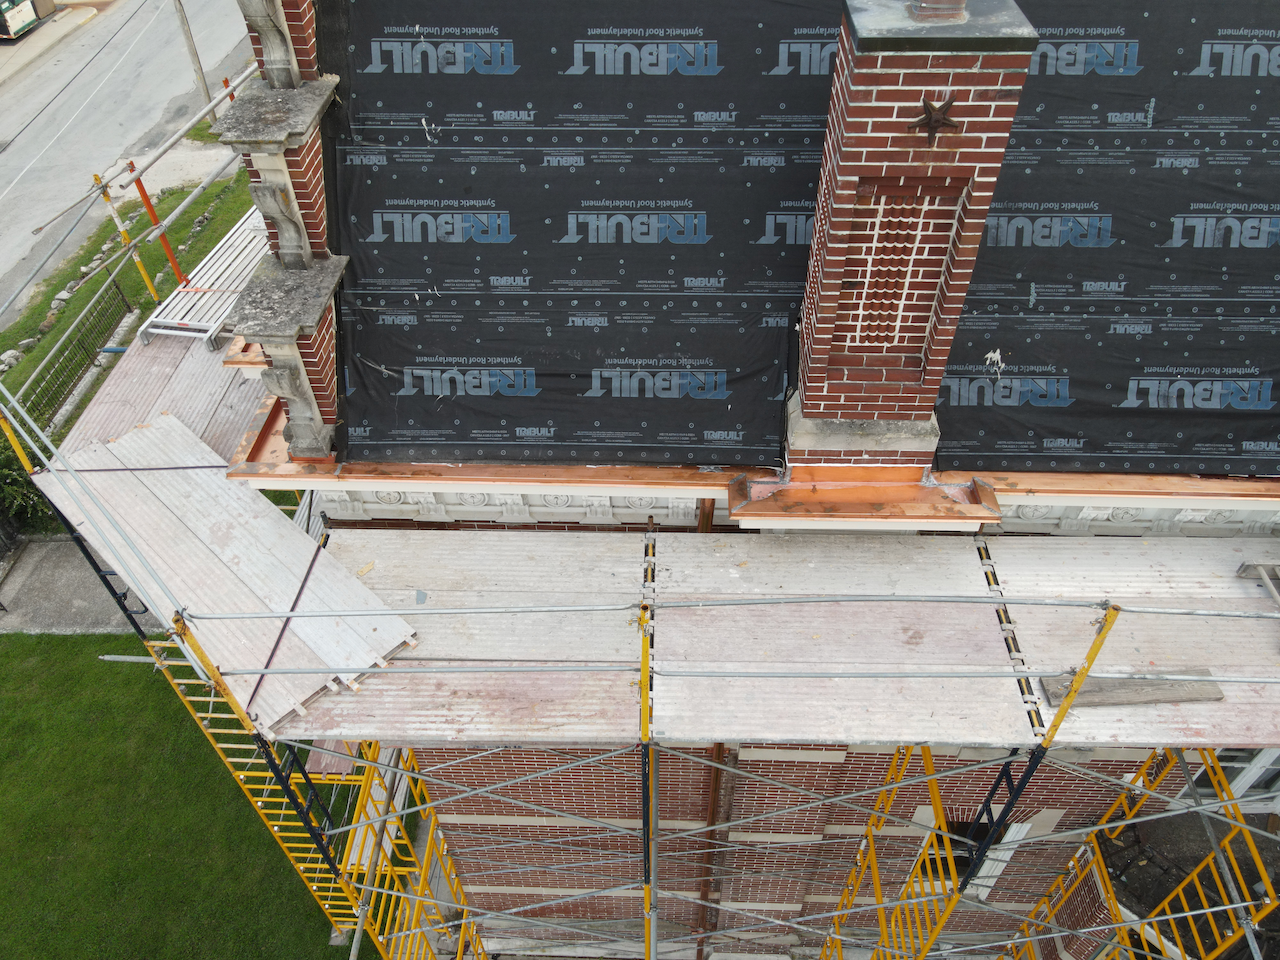
This post covers the rebuilding of the original architectural inlaid gutters that wrap the house at the lower cornice.
Introduction
Proper water management is critical for any building. Back in the 1990s, the original built-in gutters were covered, and k-style gutters hung on the outside. There were two major issues:
- The south side was not finished, so water had been rushing over the decaying soffit/fascia/brick for decades.
- The k-style gutters were insufficient in moving the volume of water produced by the mansard. The original built-in gutters are much larger, the original architect decided drainage.
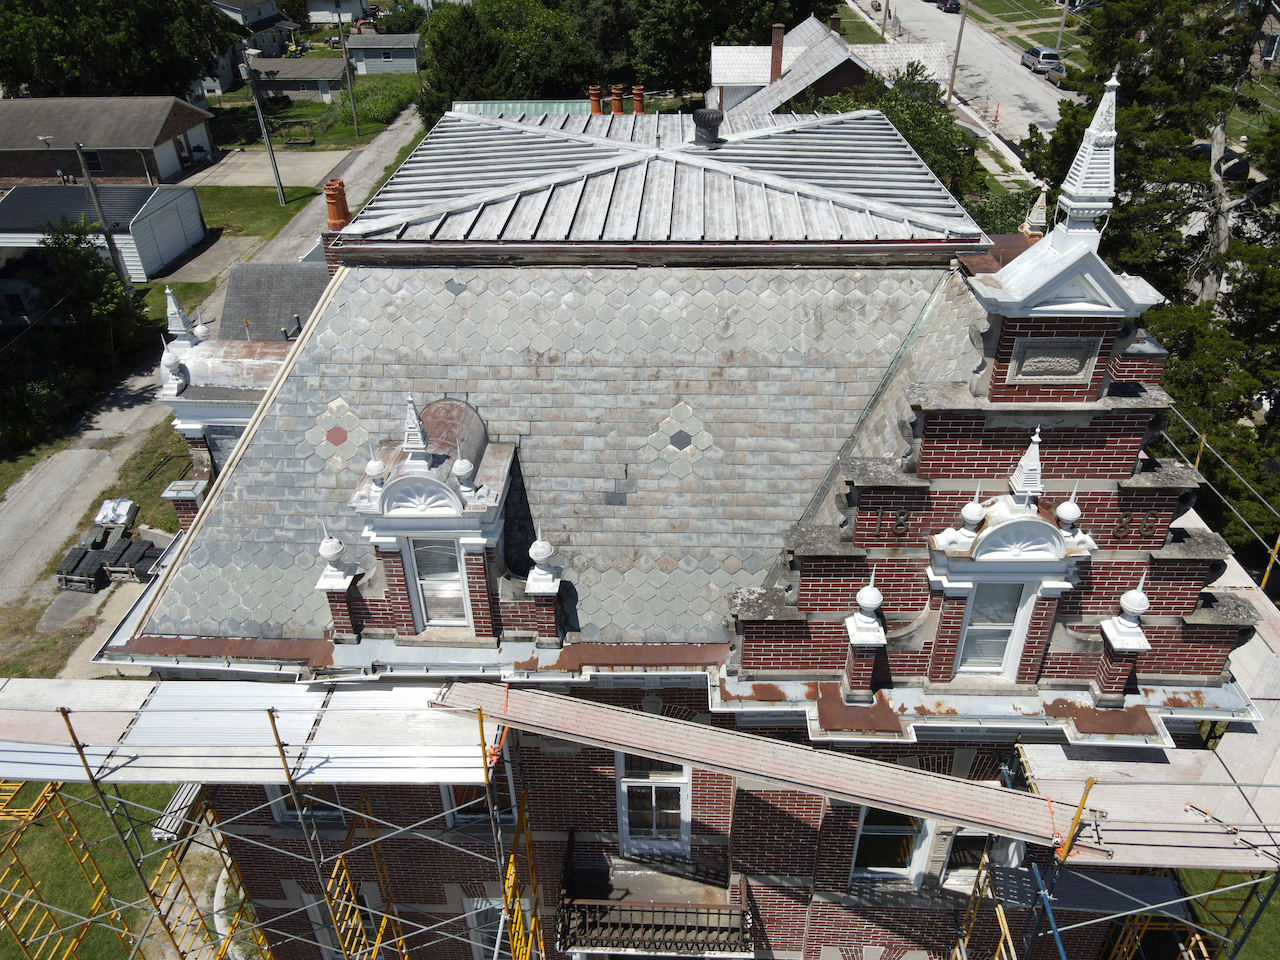
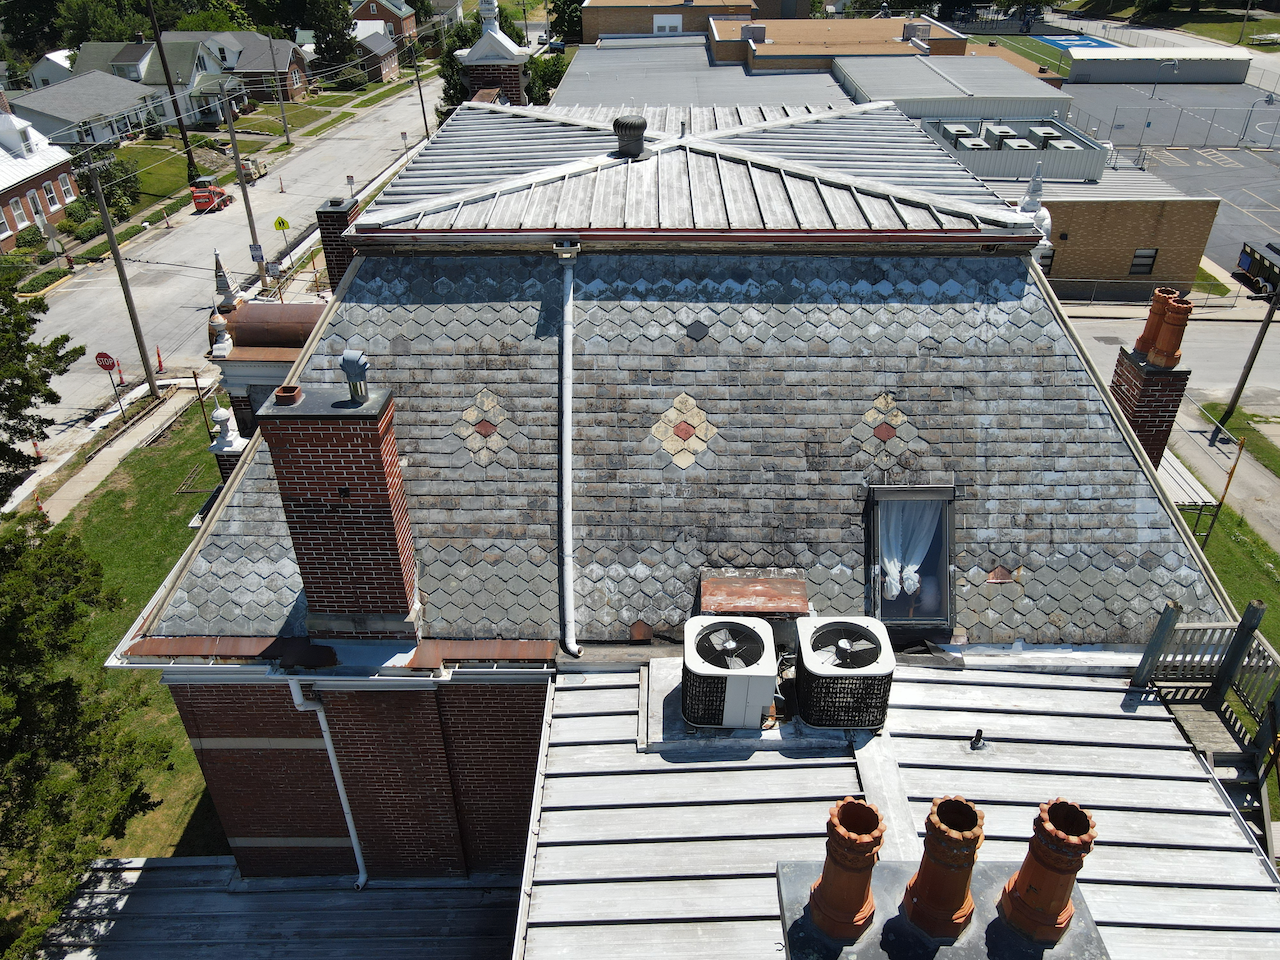
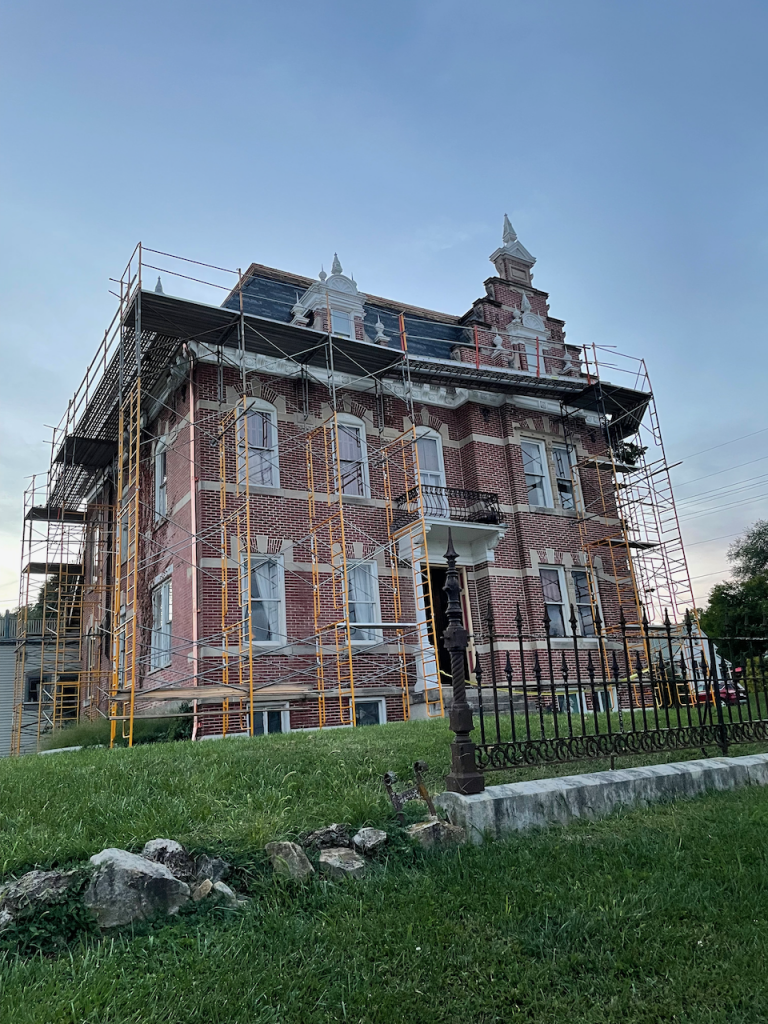
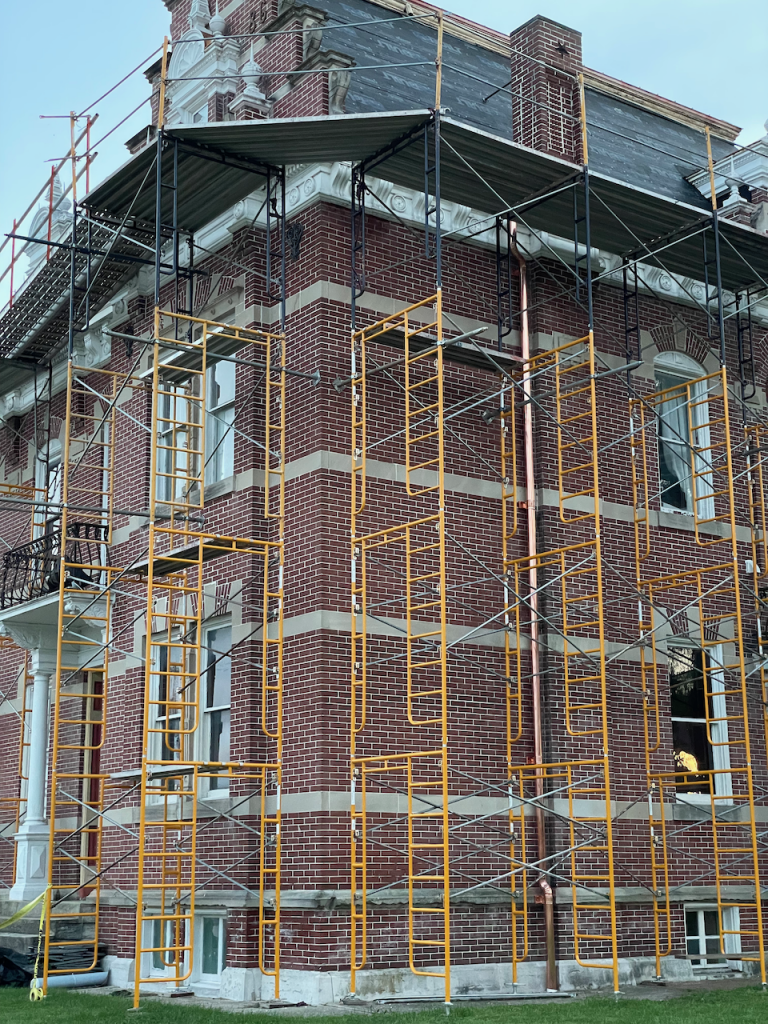
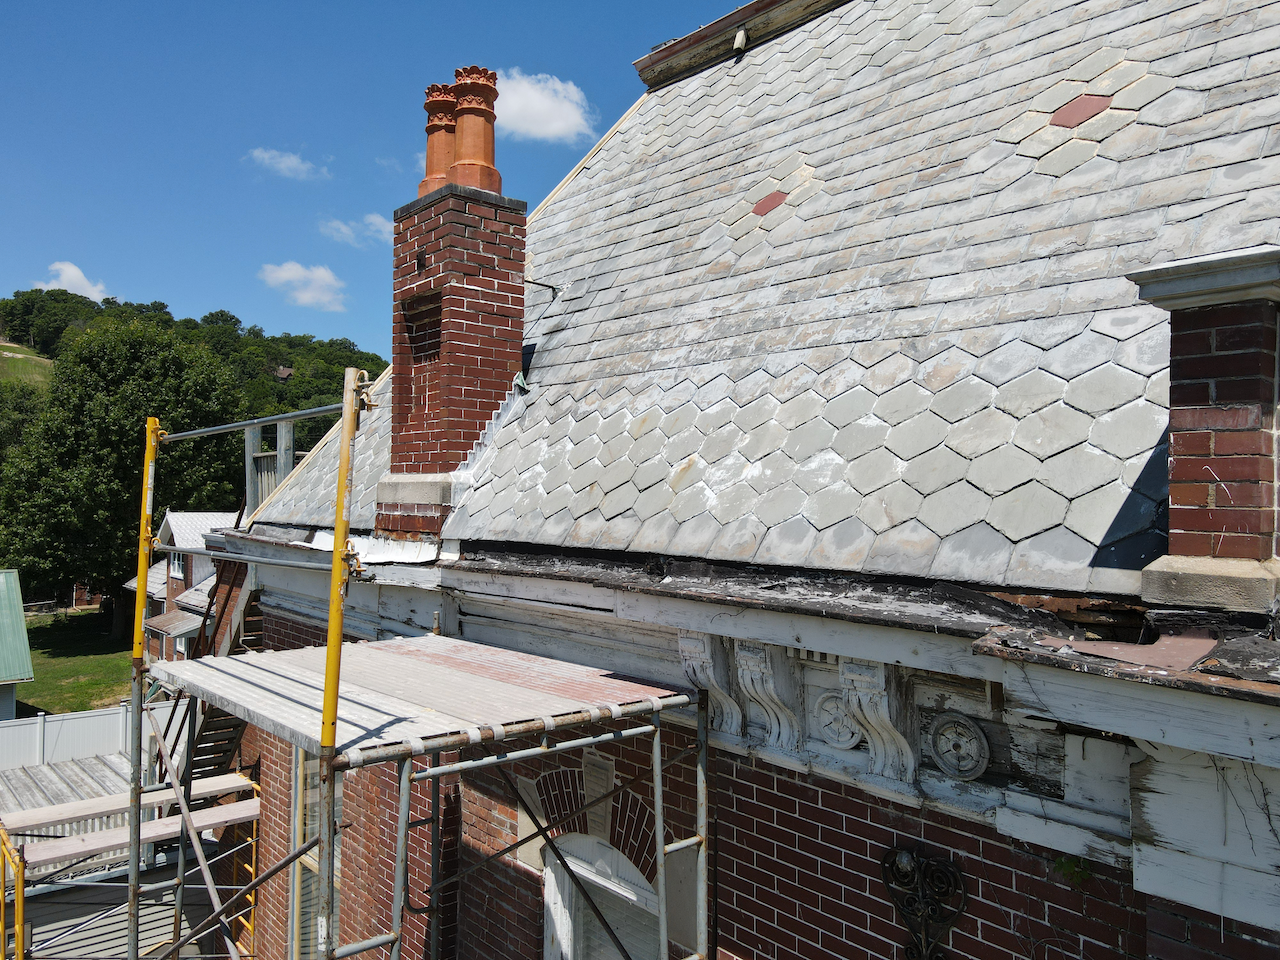
Before
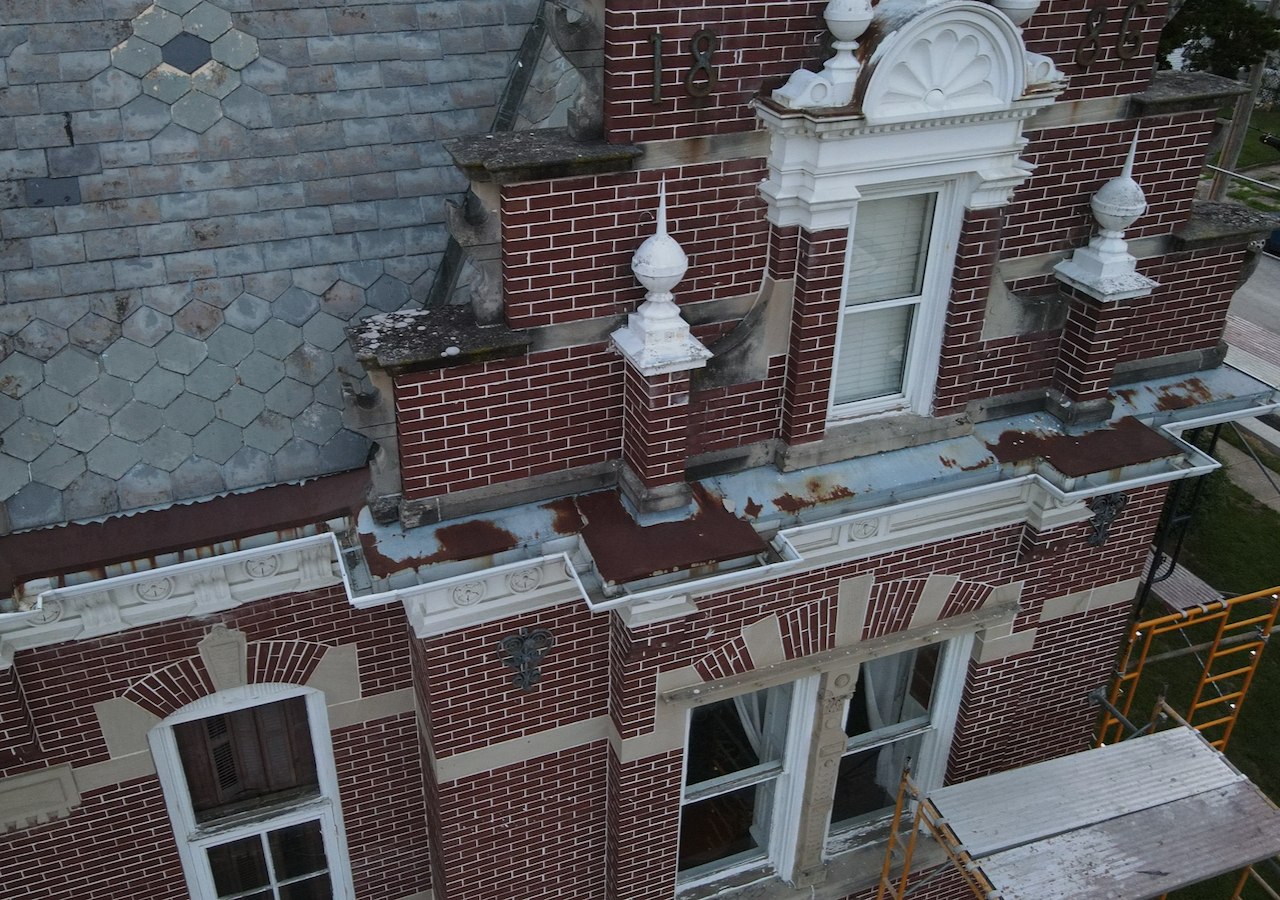
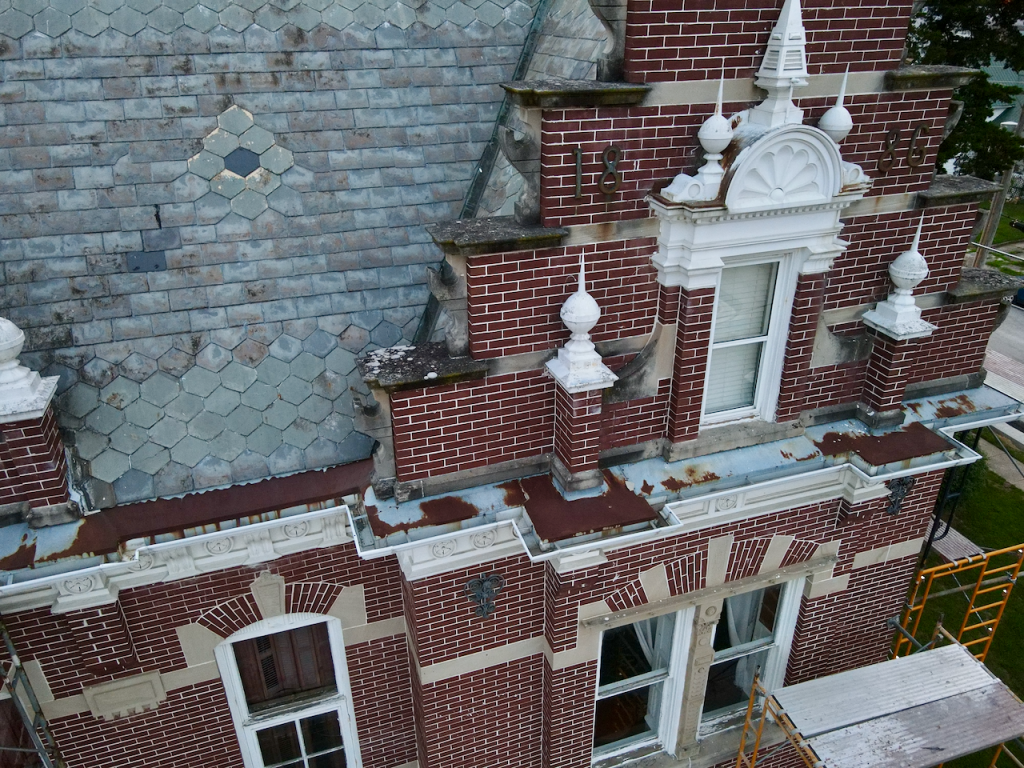
Here are photos of each side of the house with the covered gutters in various conditions, with the south side being the worst:


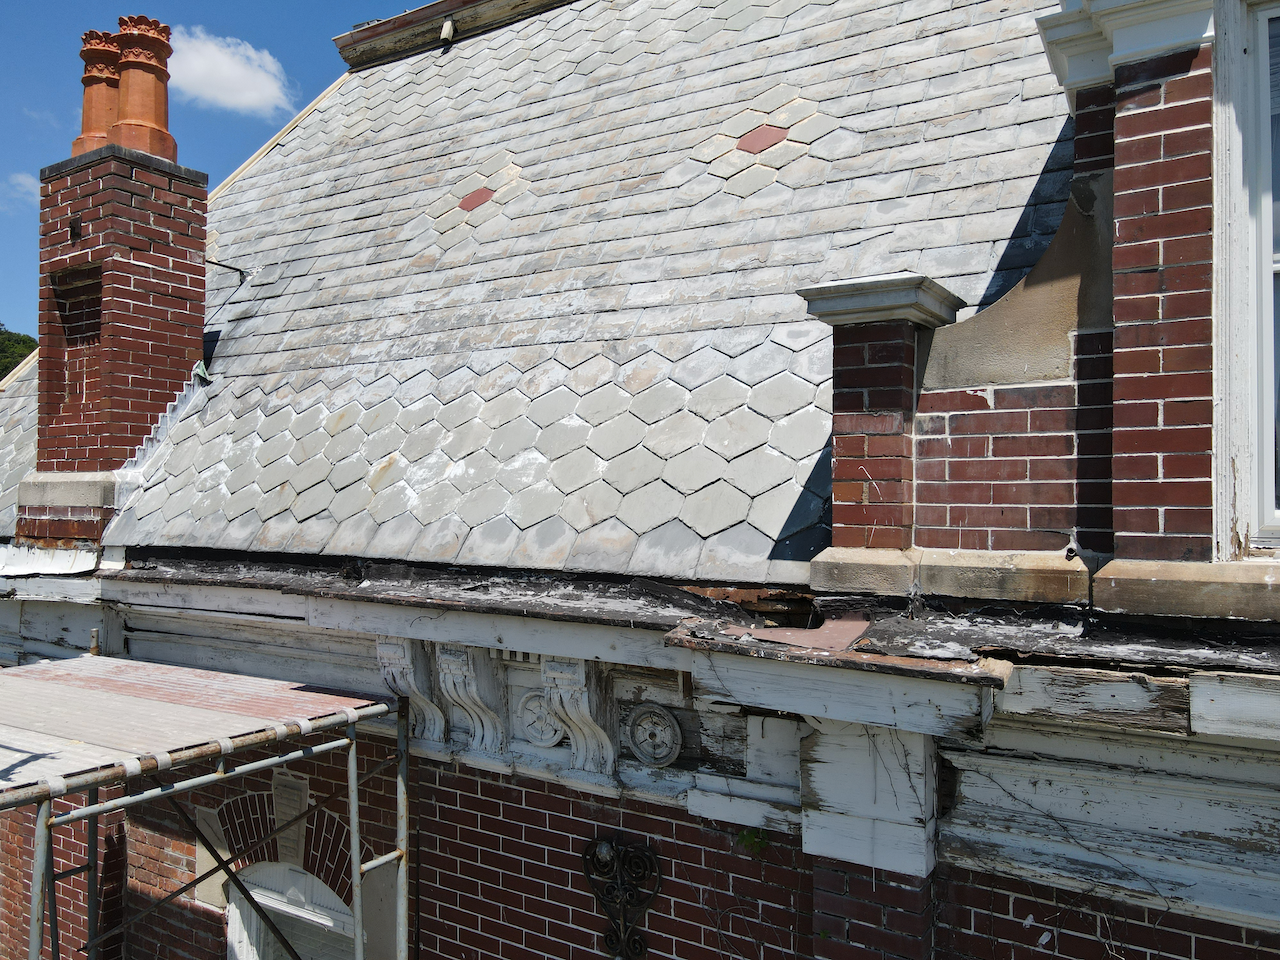
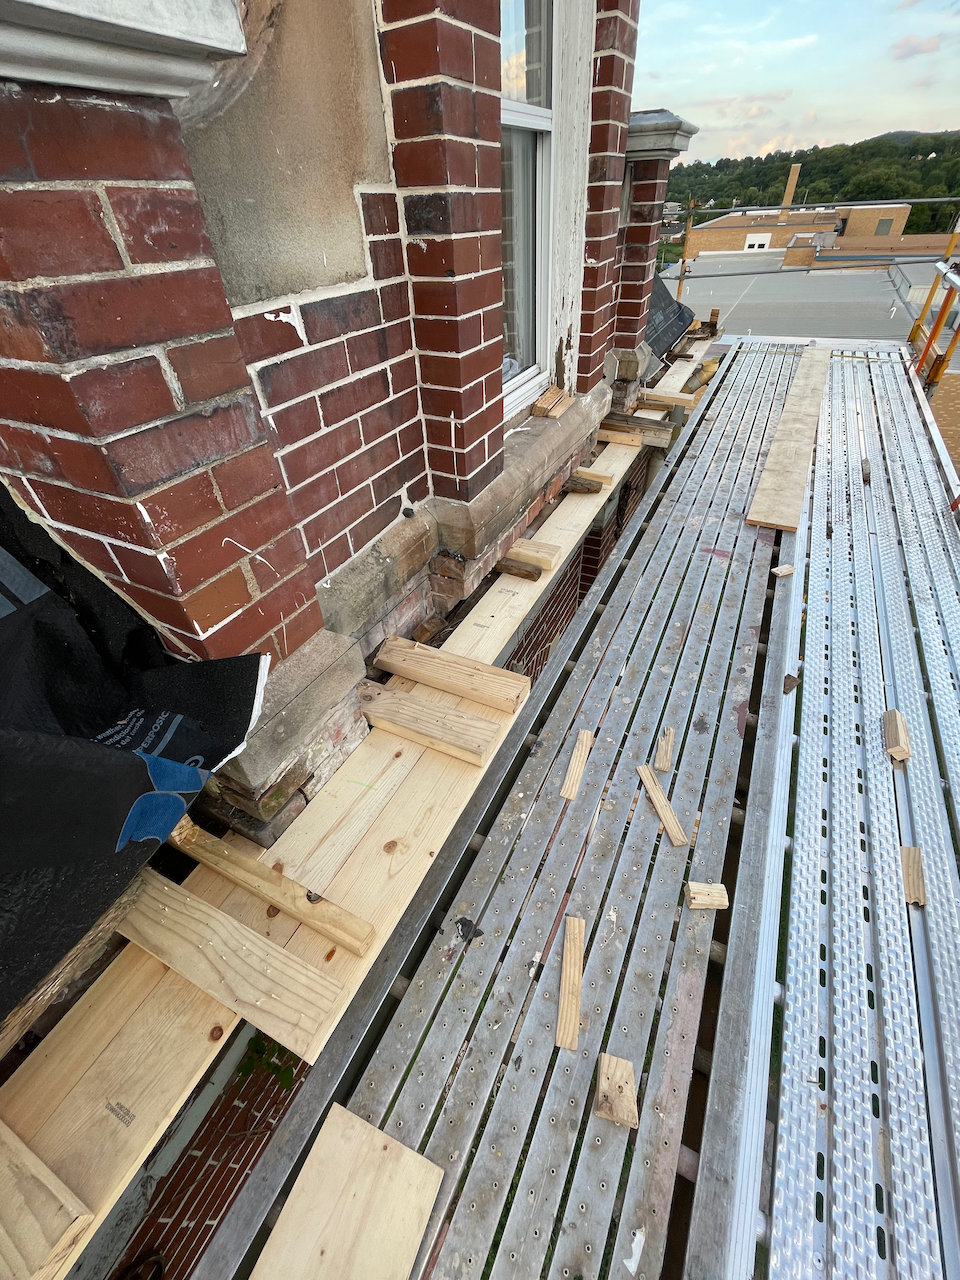
The most challenging and concerning aspect of this project was “the south side ruins”. Here are close-up photos showing the state of the inlaid gutters:


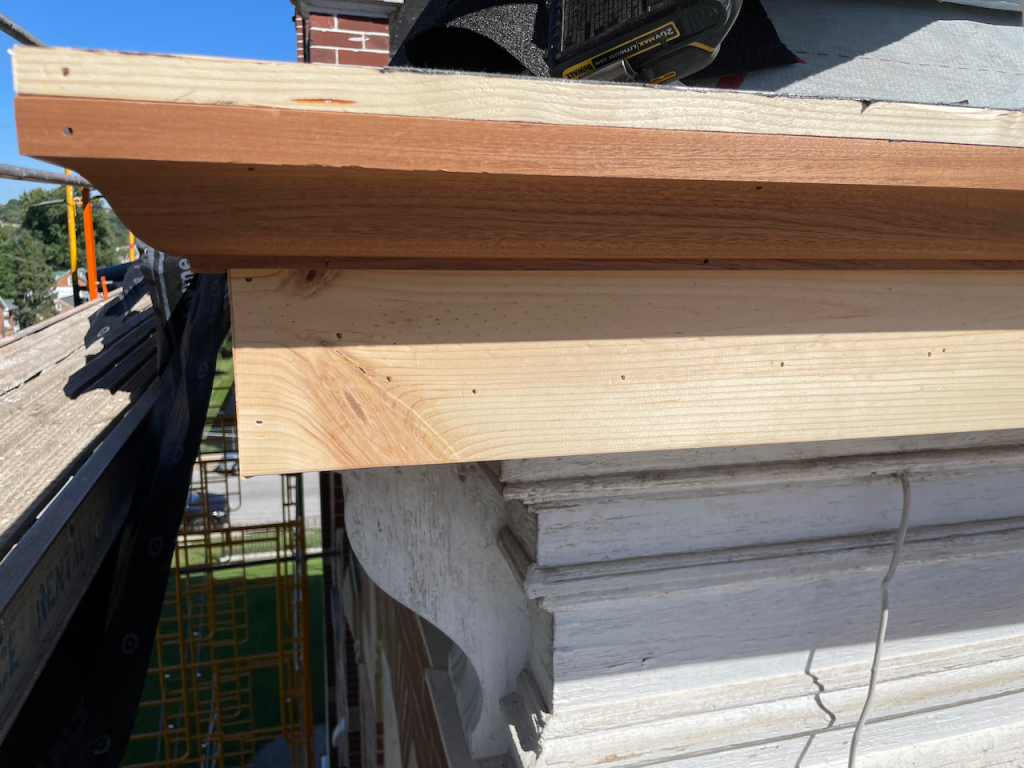
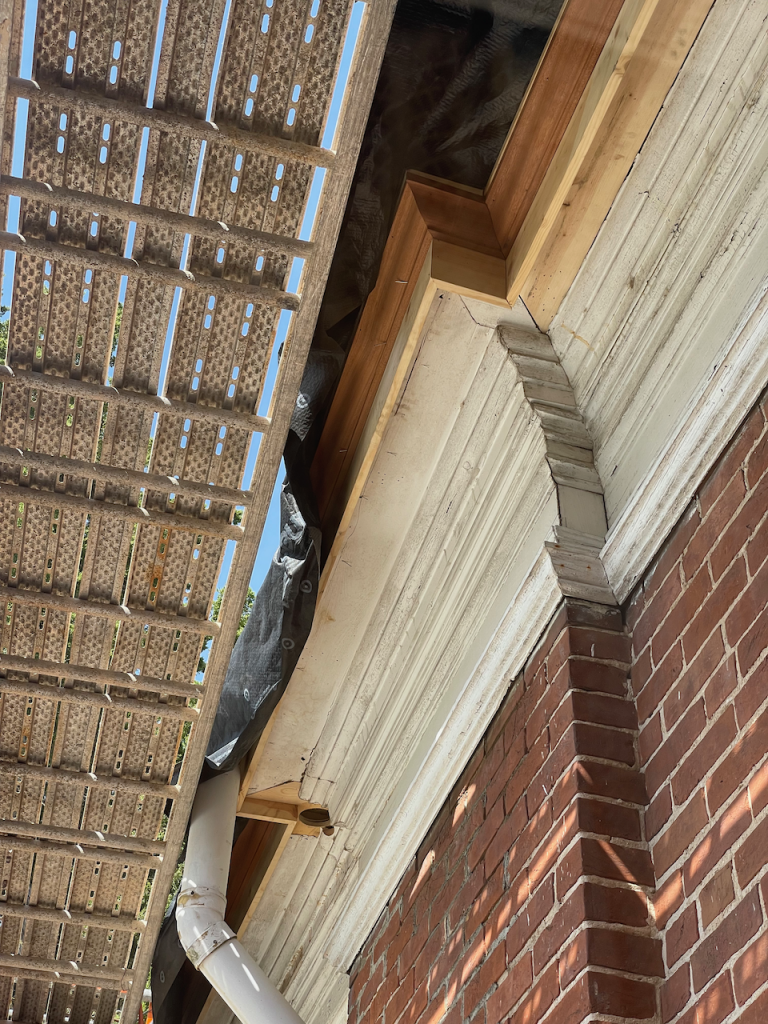
Carpentry
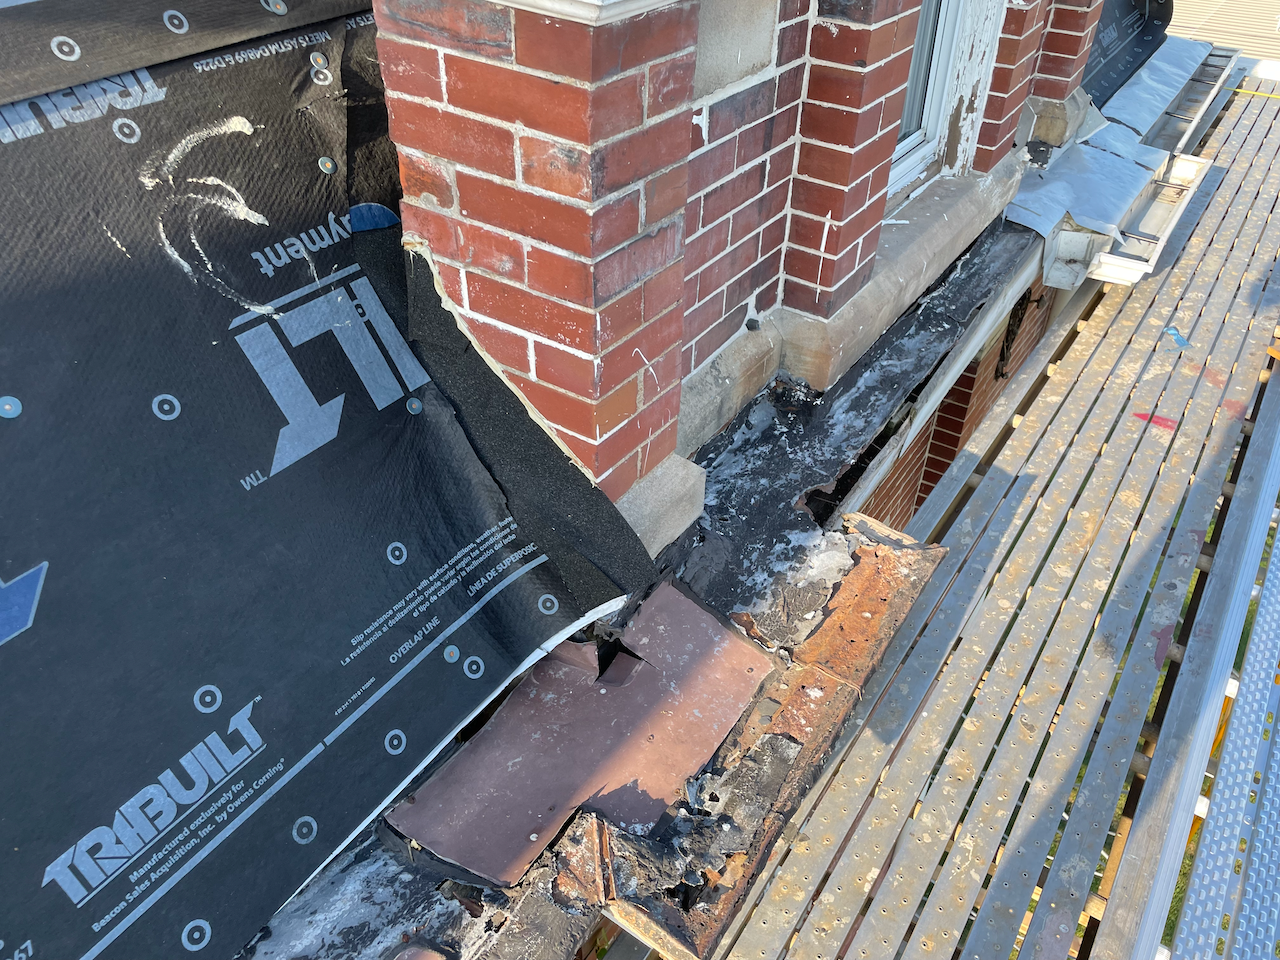
The team had to return to the rafters to bring the south side back to life. The rotted rafters were sistered to provide structure to build the new gutter boxes. Certainly, the biggest unknown going into the project.
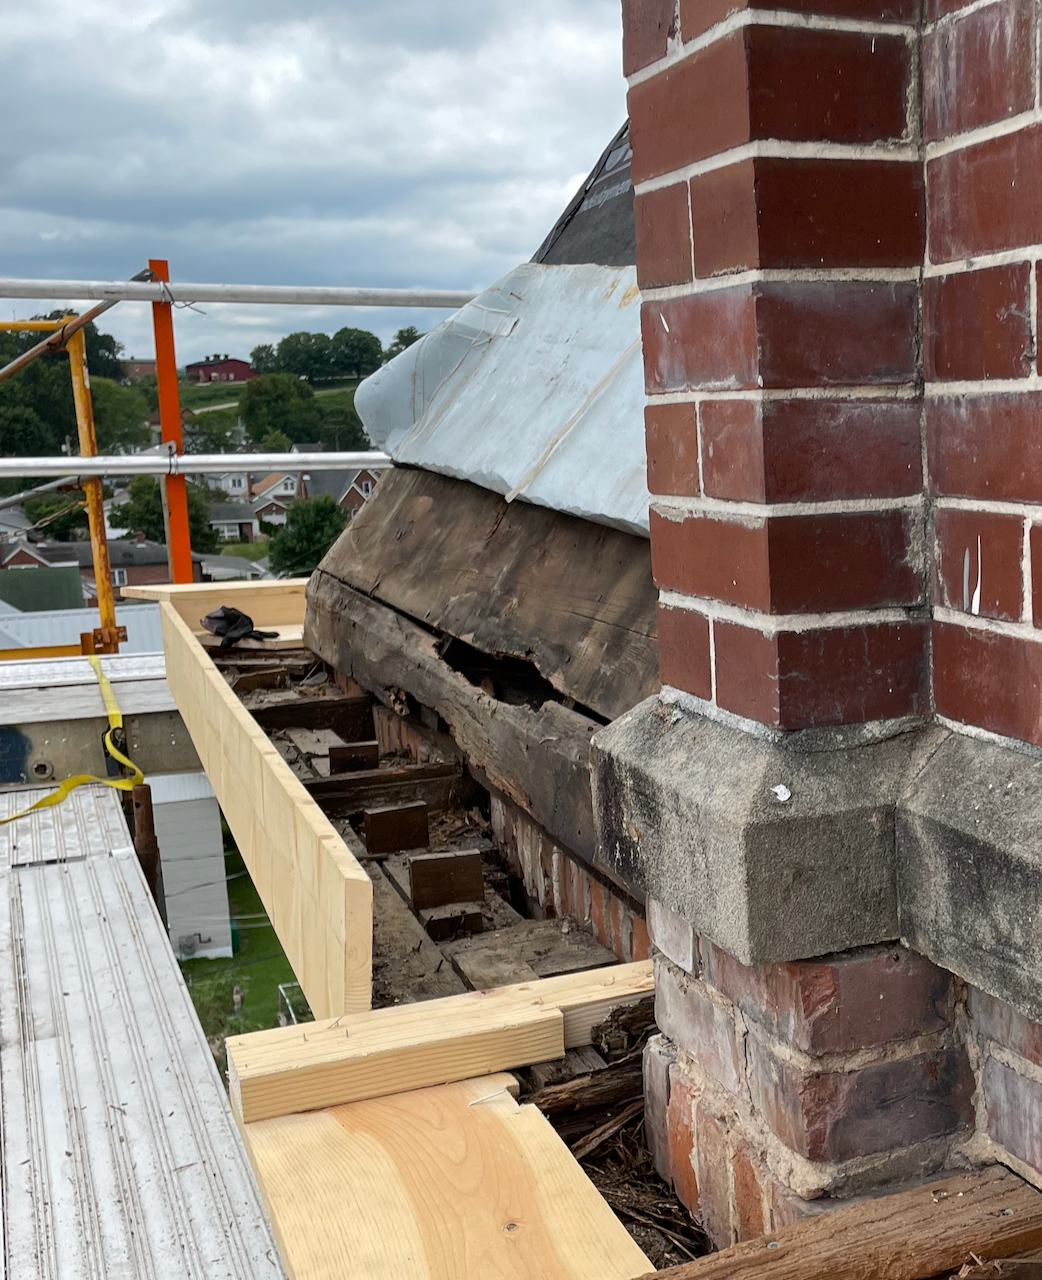
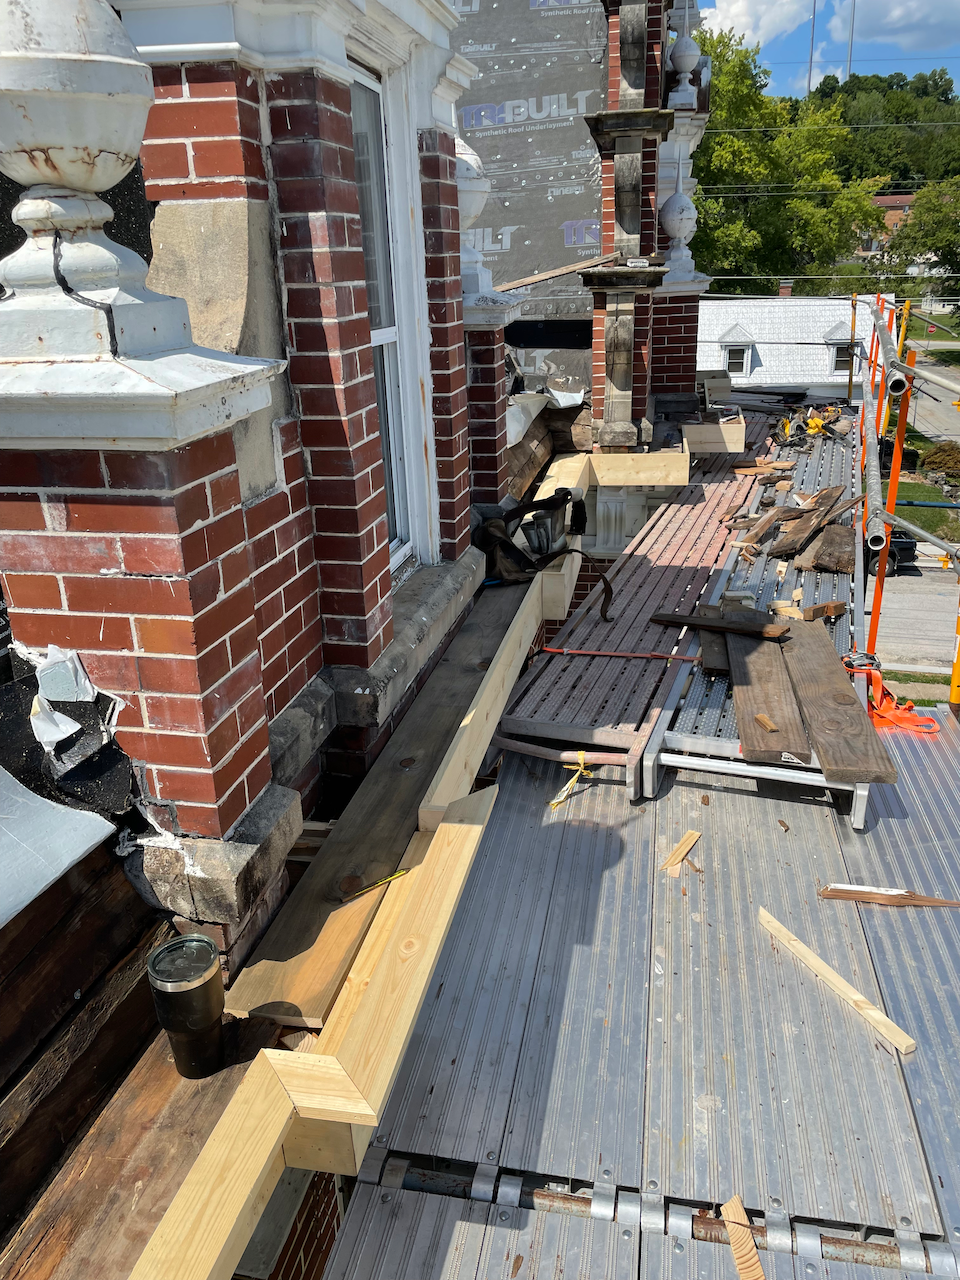


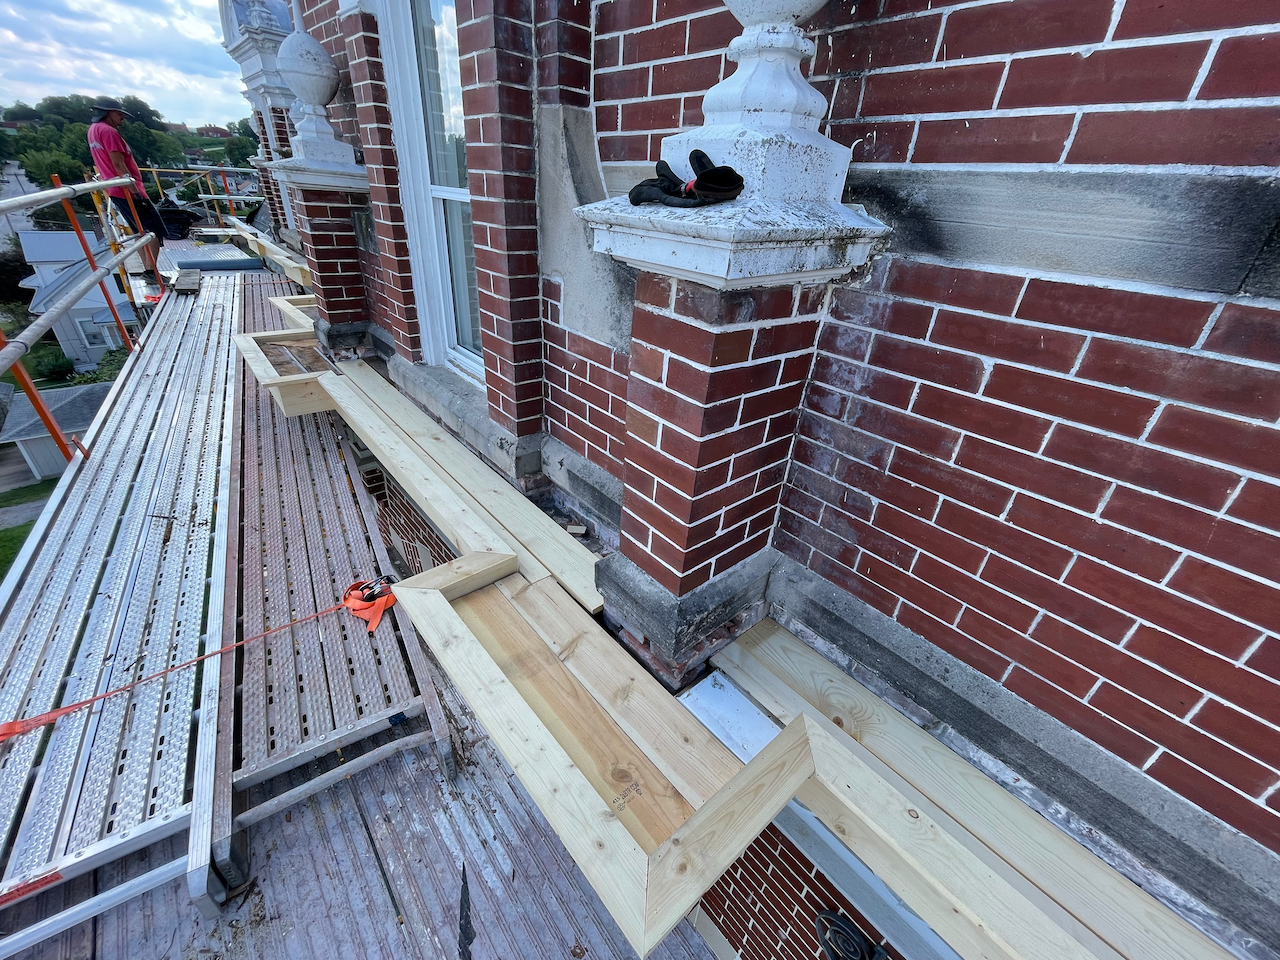


We discovered that the outside of the gutter box had been trimmed to provide a slope for drainage of the galvanized metal covering into the k-style gutters. With this, a decorative piece was lost. Not only did the entire parameter of the gutter need to be increased in height, but the decorative trim needed to be added.

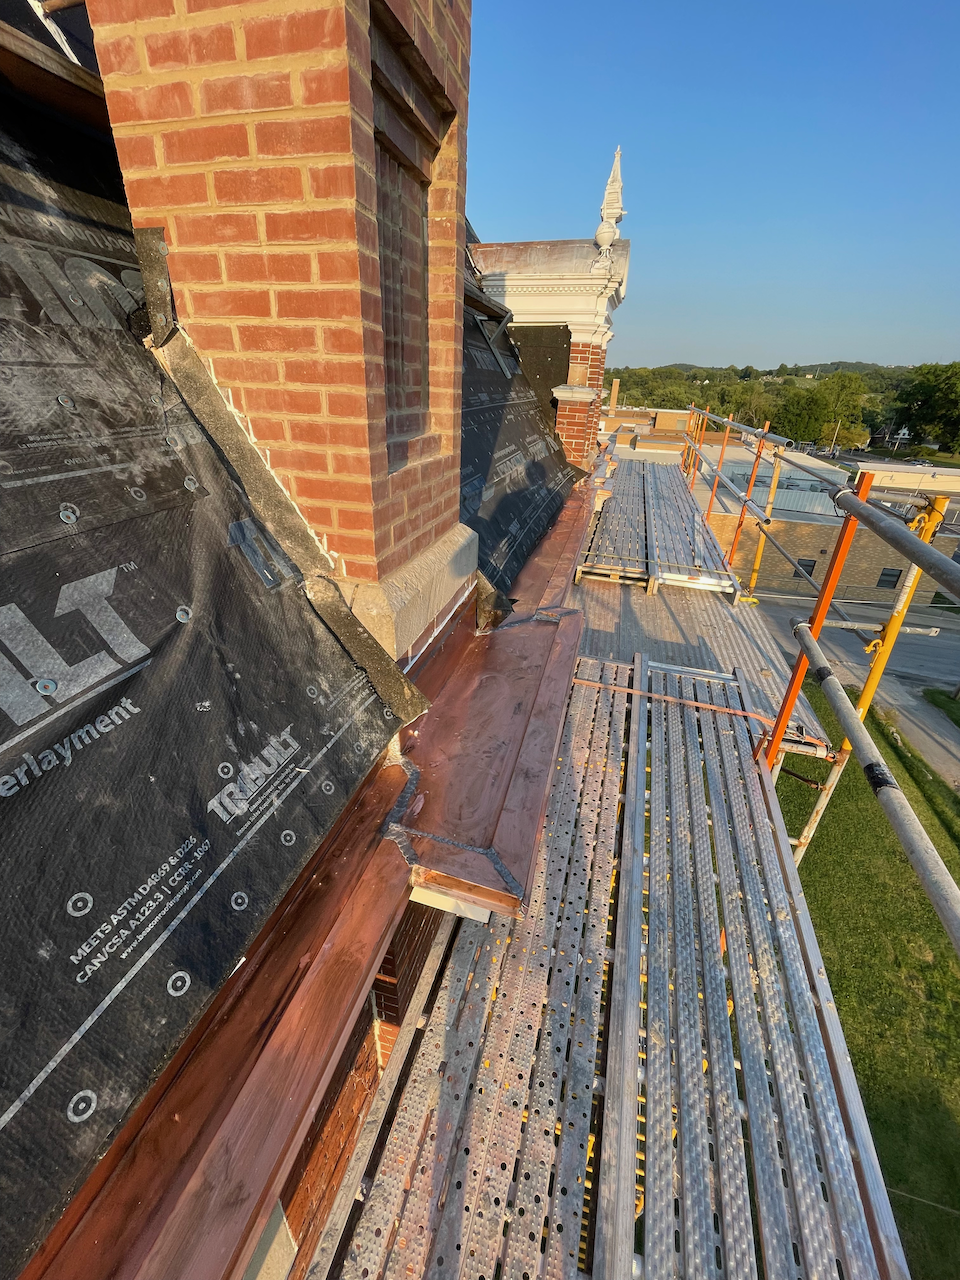
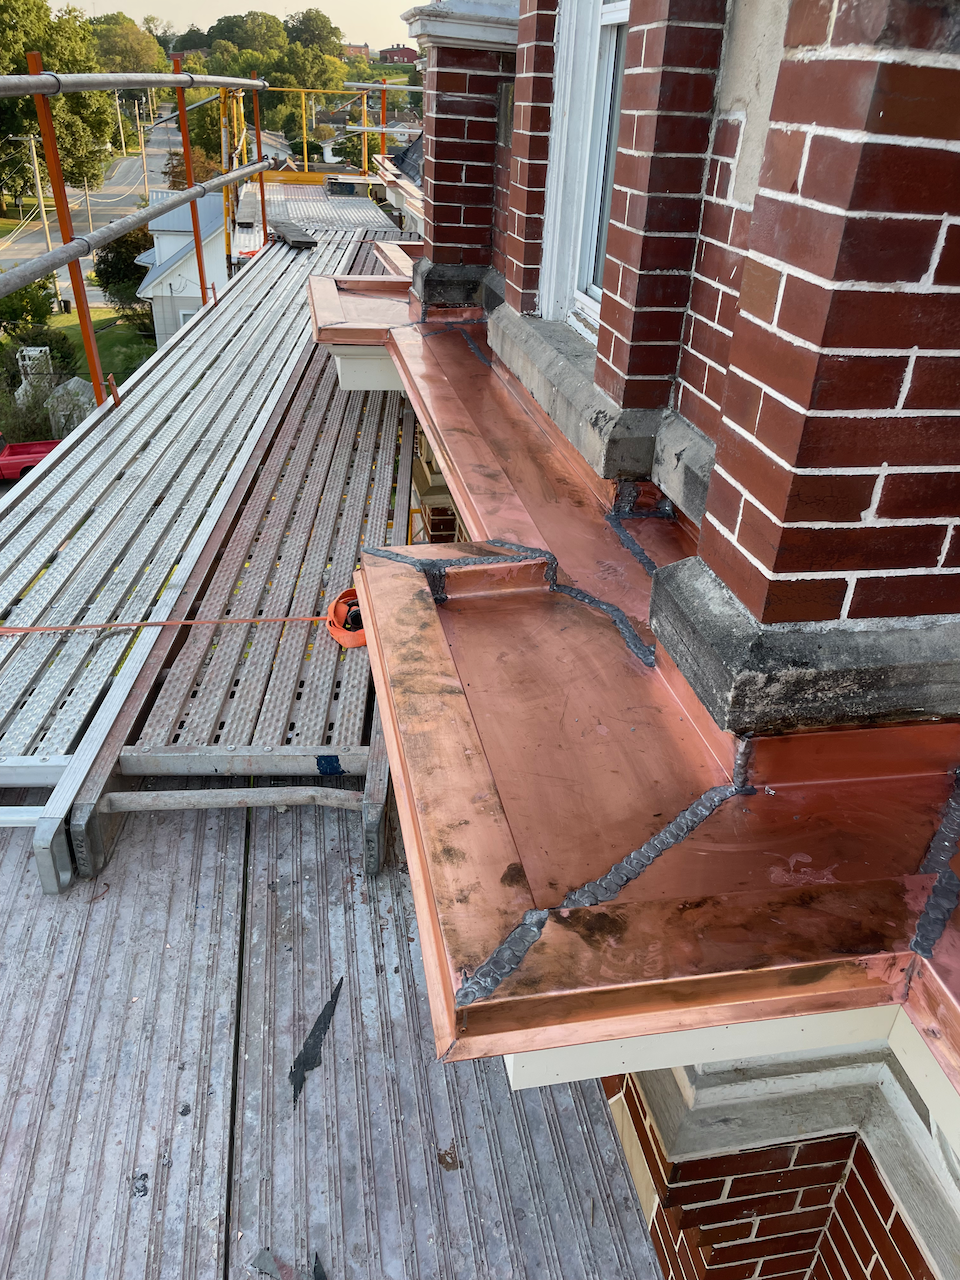
Once the parameter framing was replaced, we turned our sights to the crown molding. We worked with Wood Innovations of St. Louis to produce the trim. We went with a hardwood, Sapele, and matched as close as possible to photos from our archives.


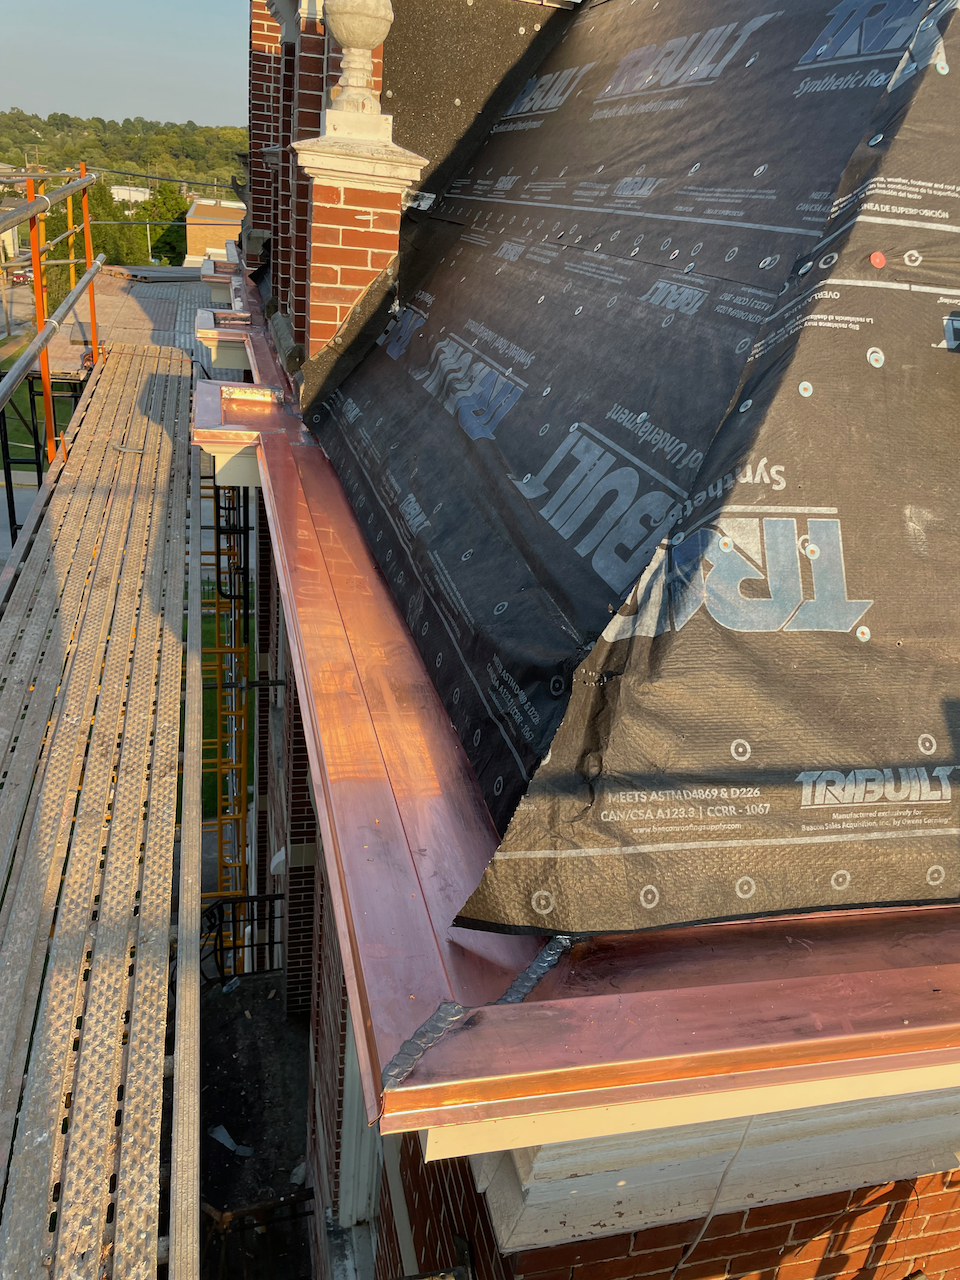
The crown molding serves more than decoration; it creates a structure for the copper cleat and drip edge.
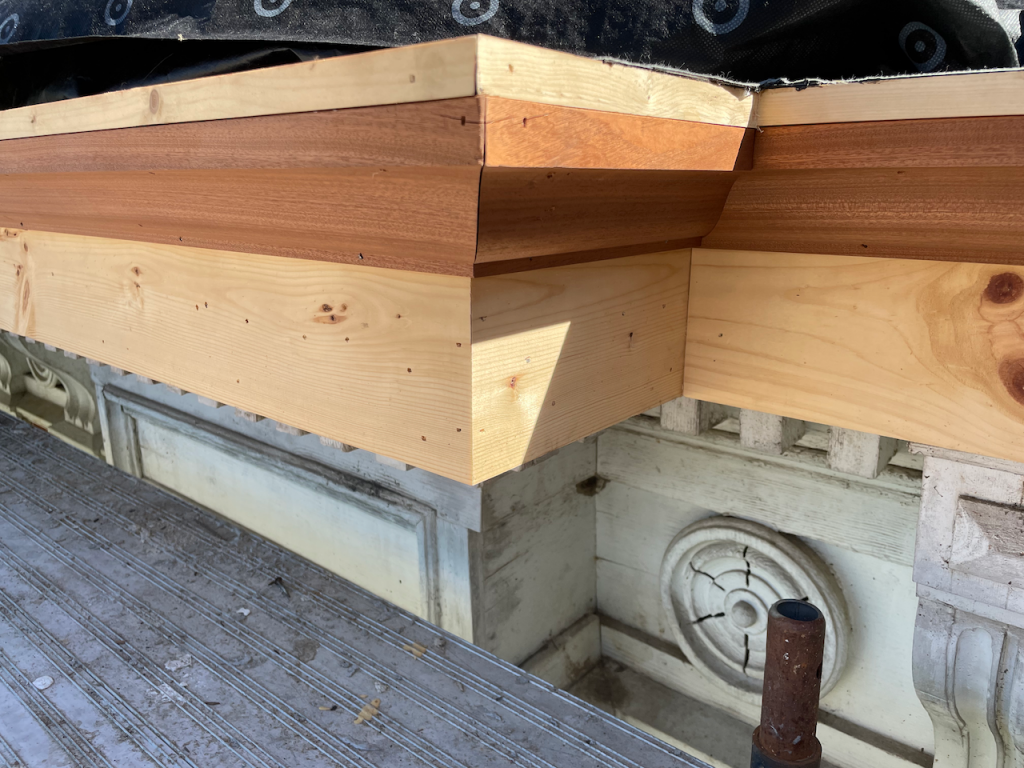

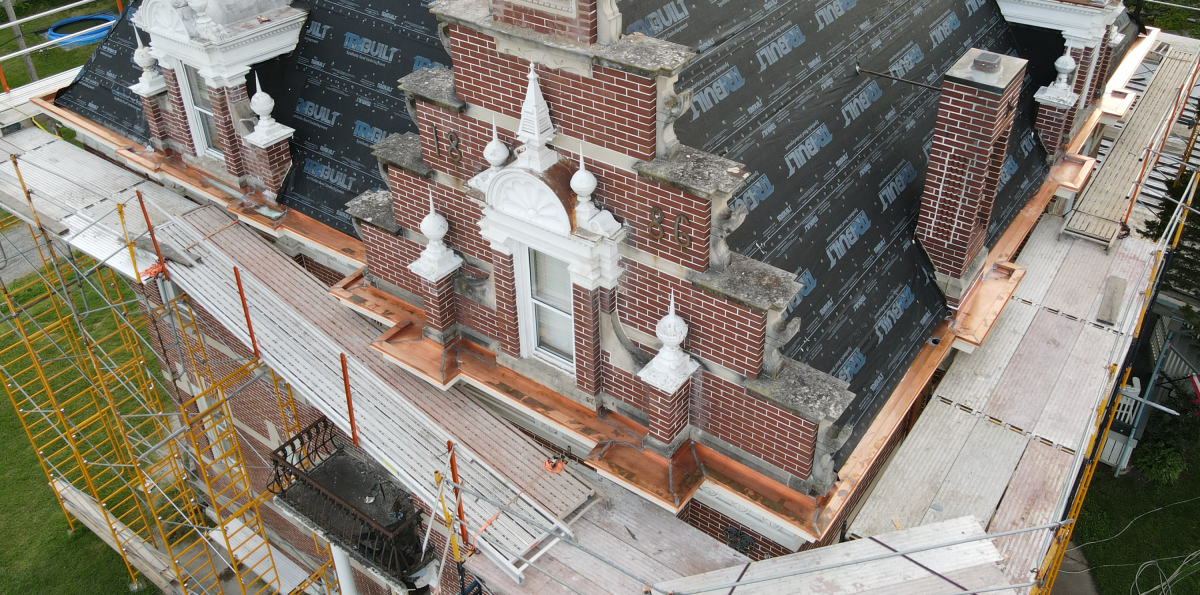
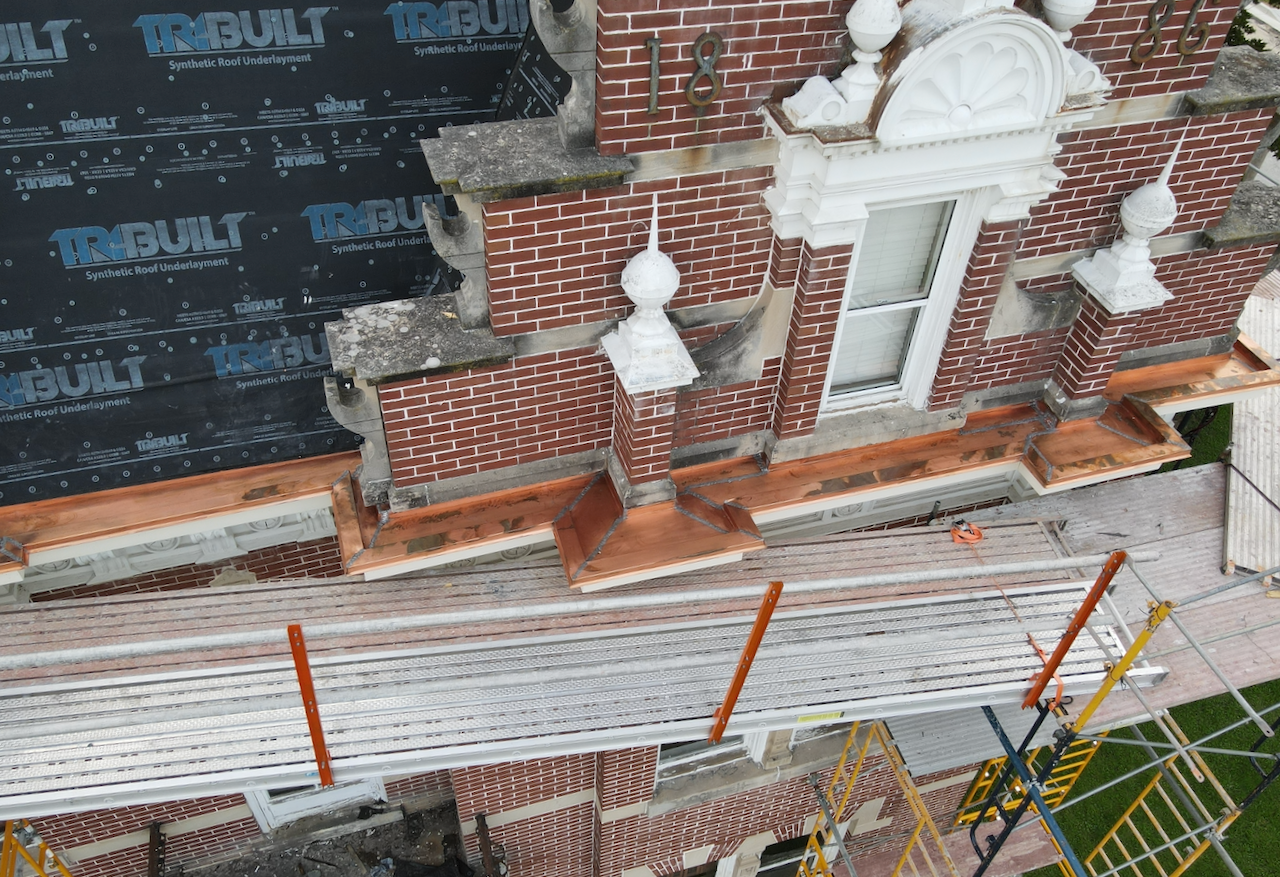
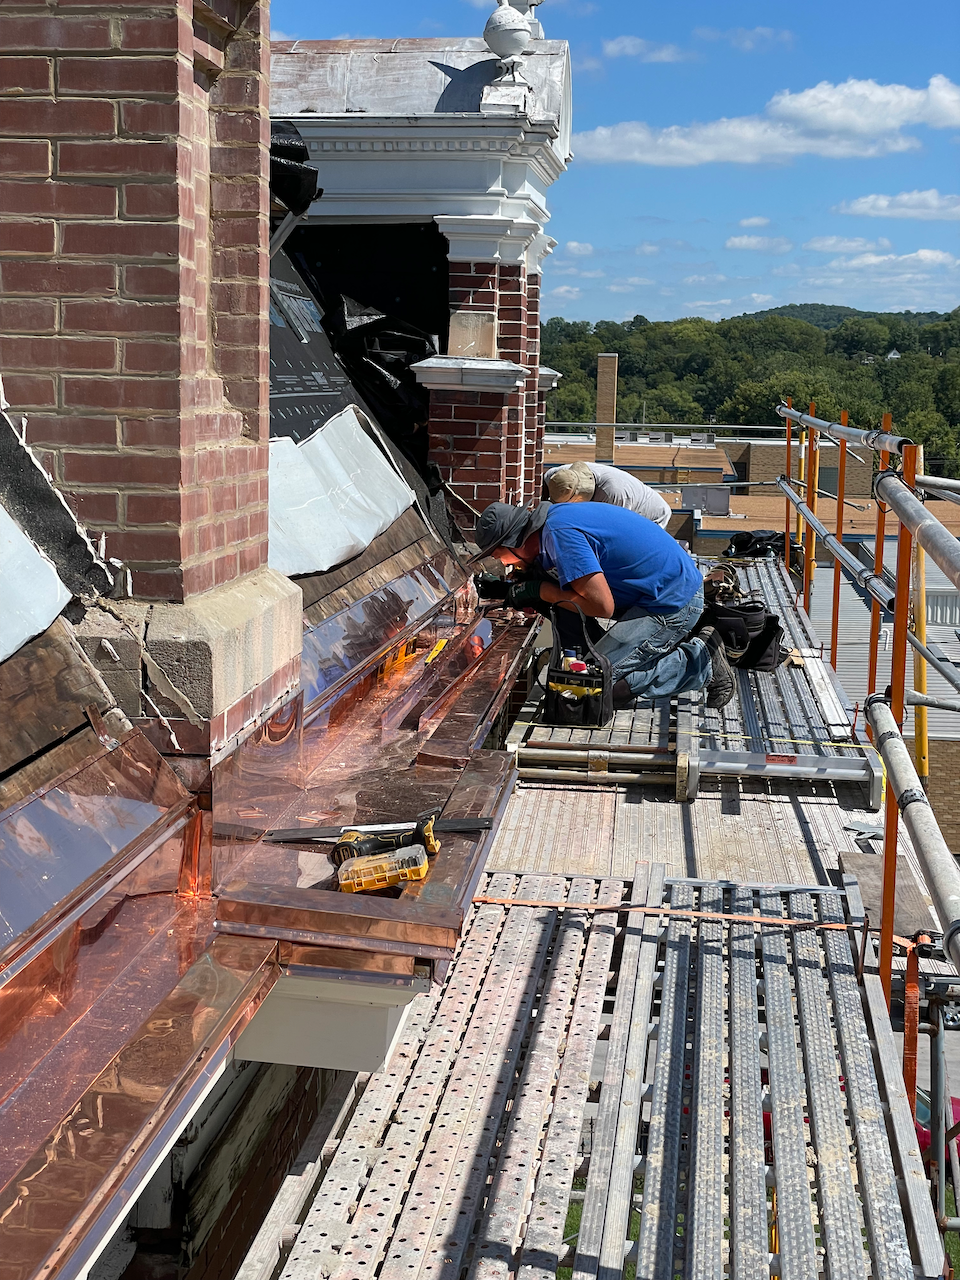
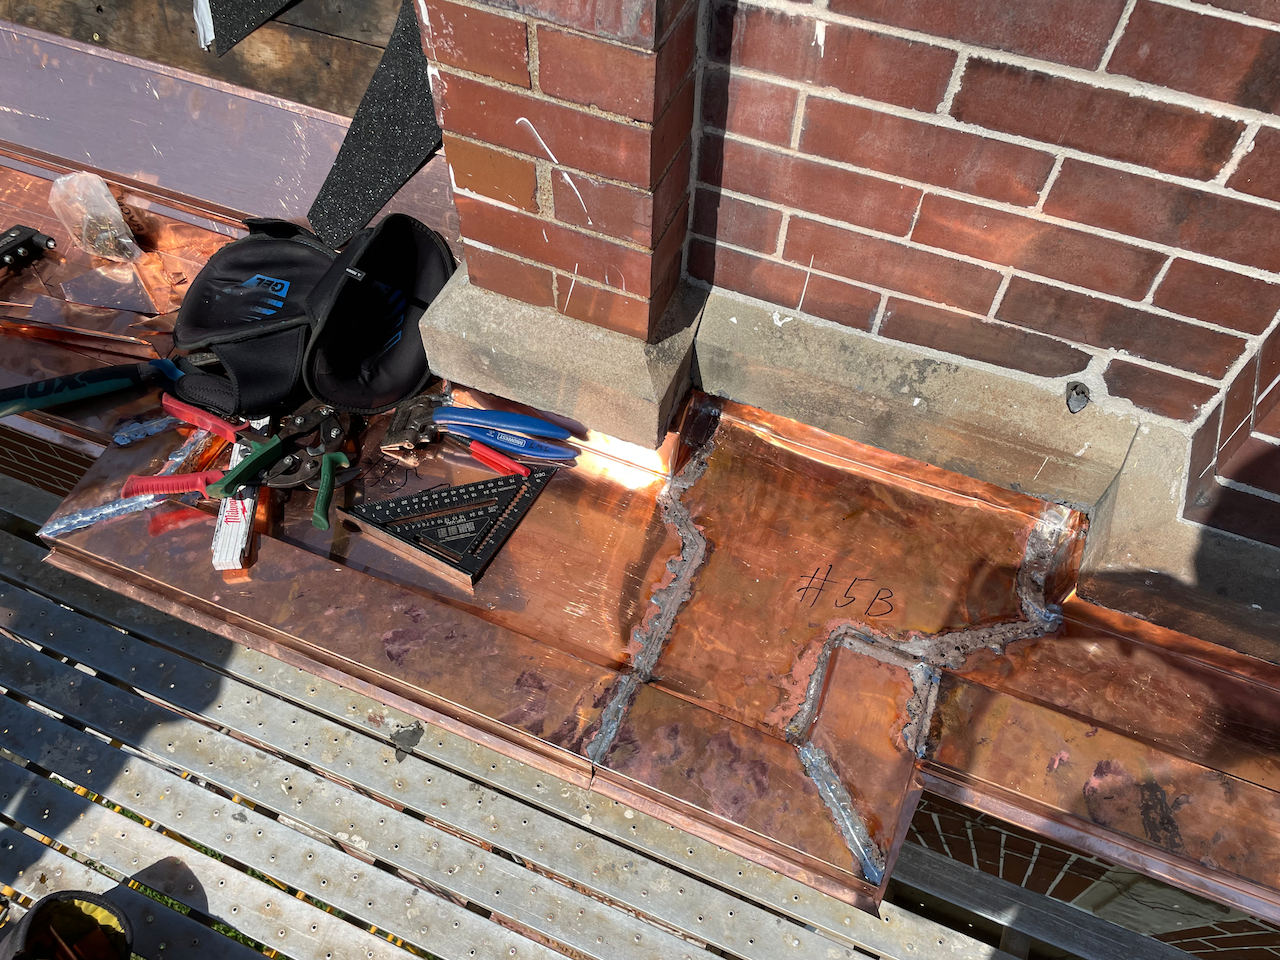
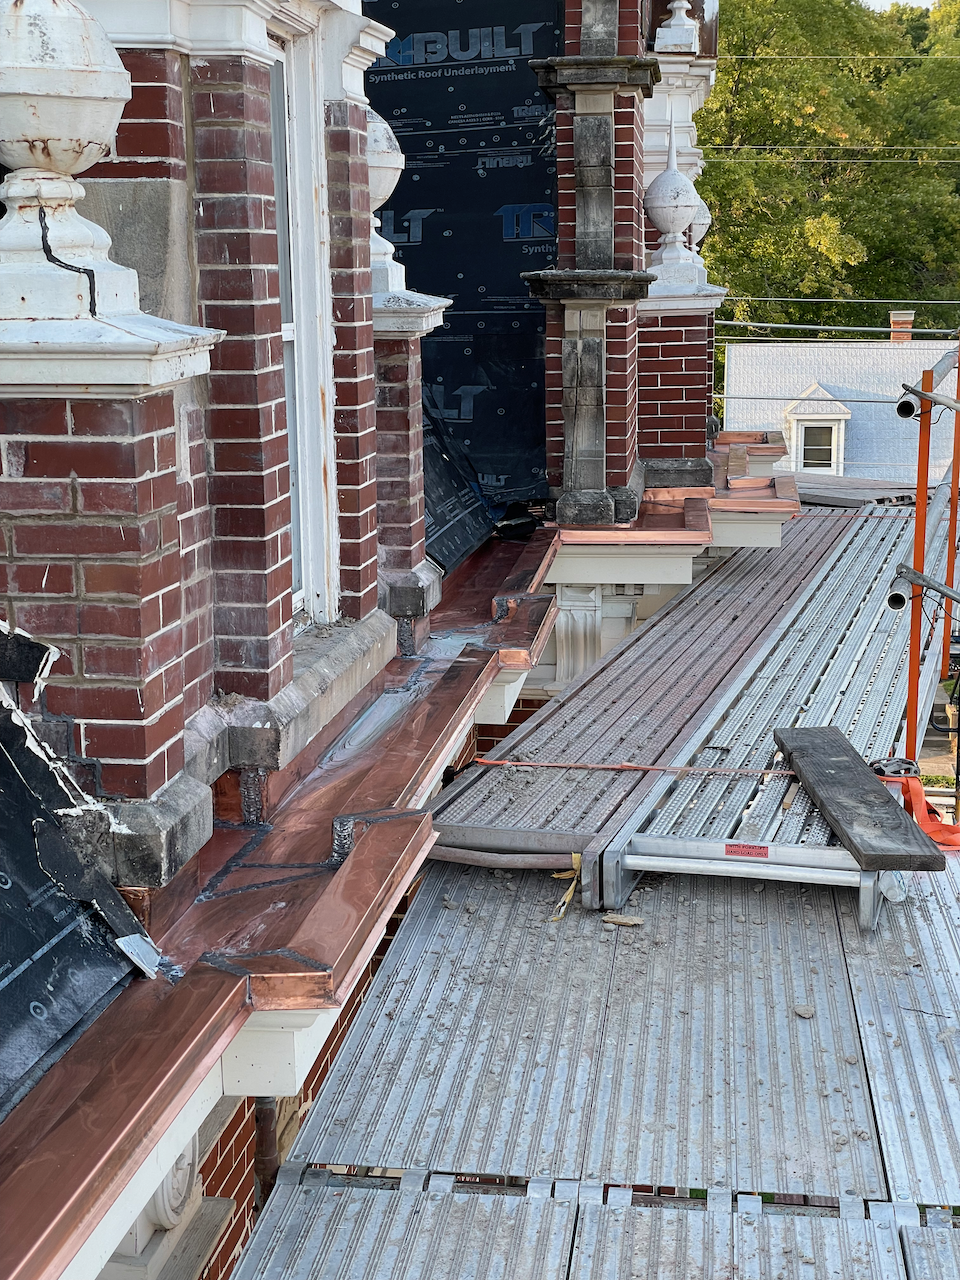
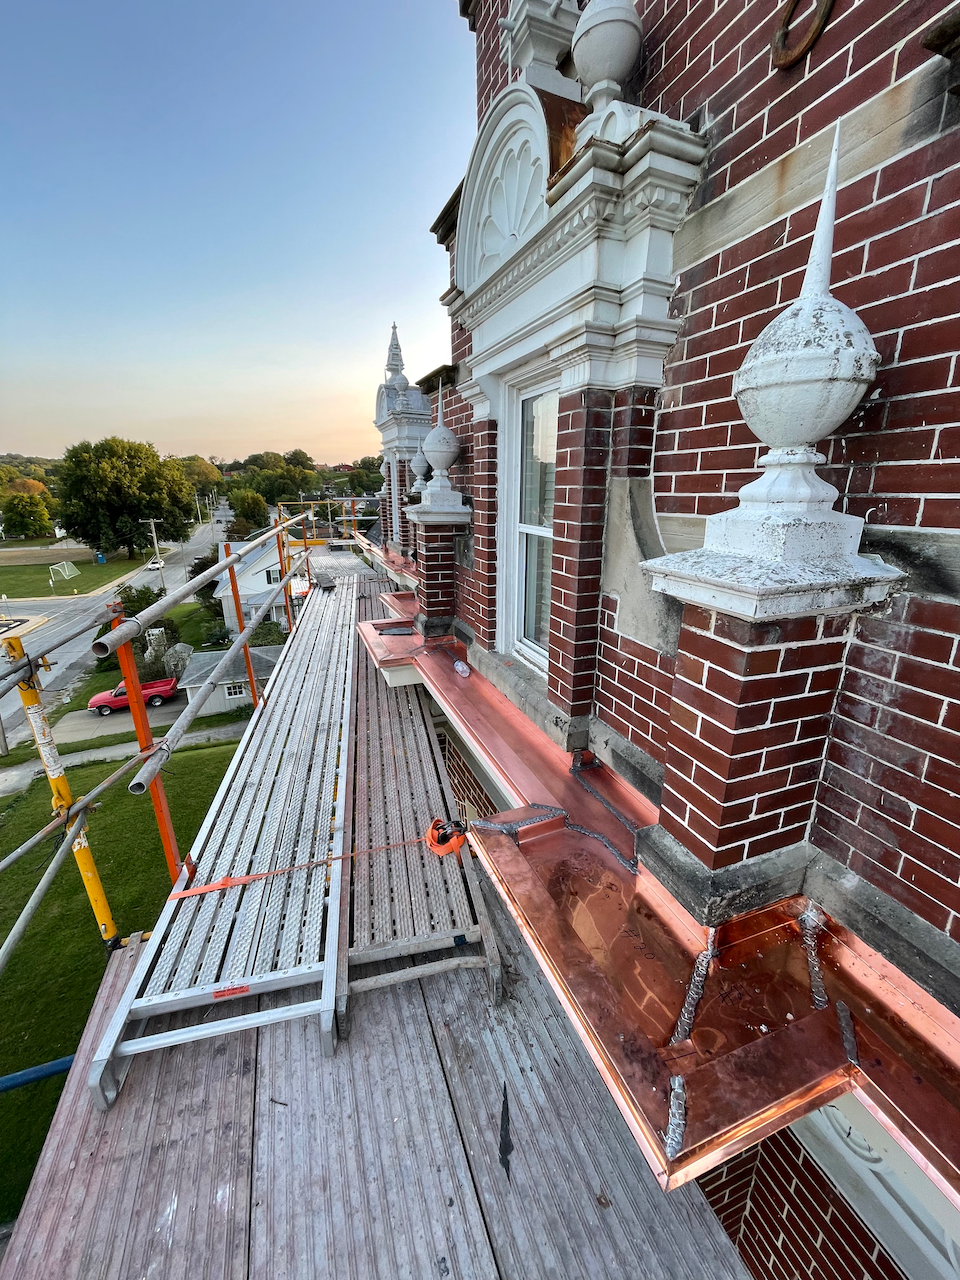
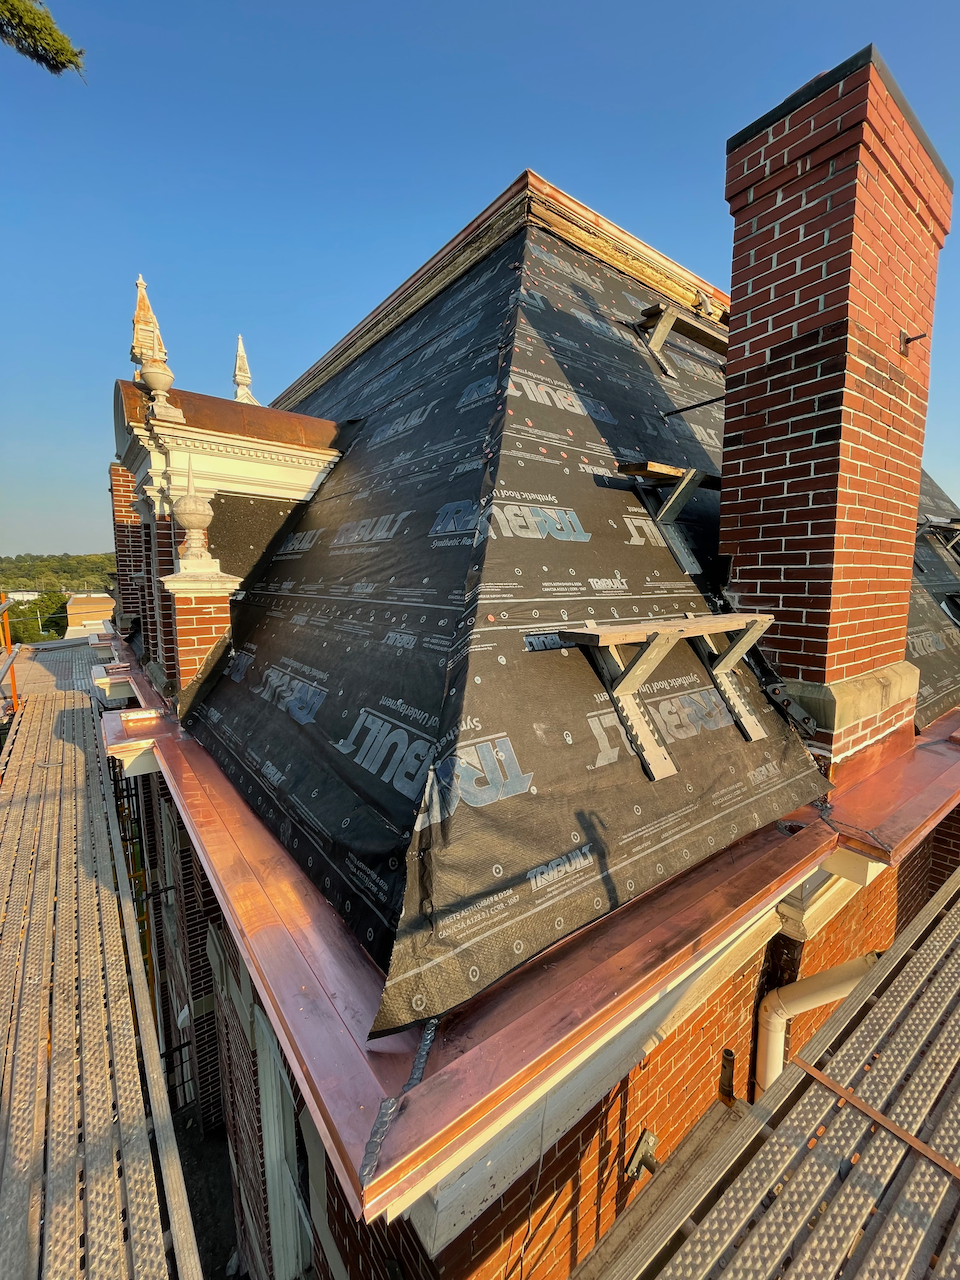
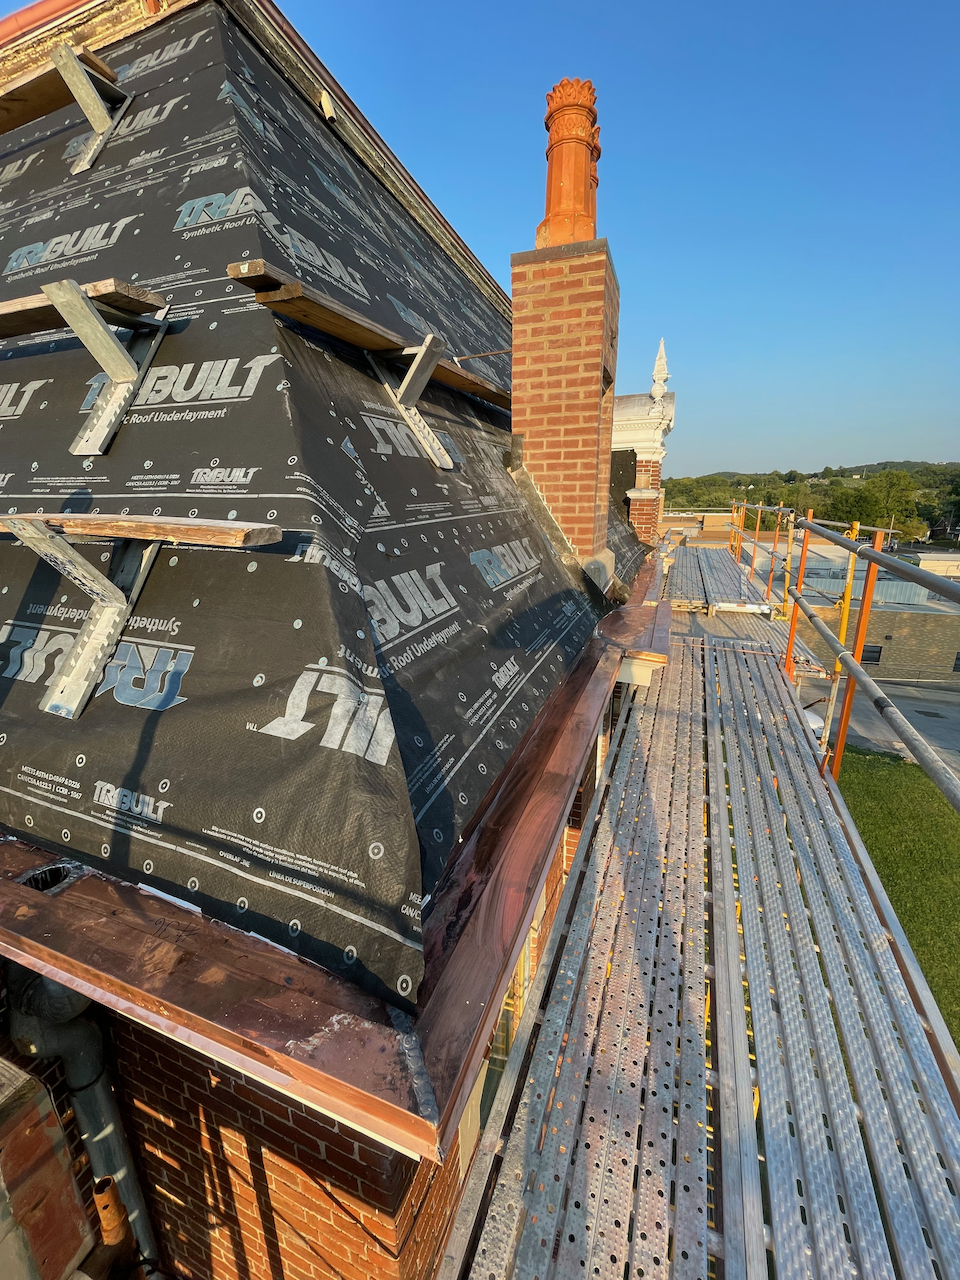
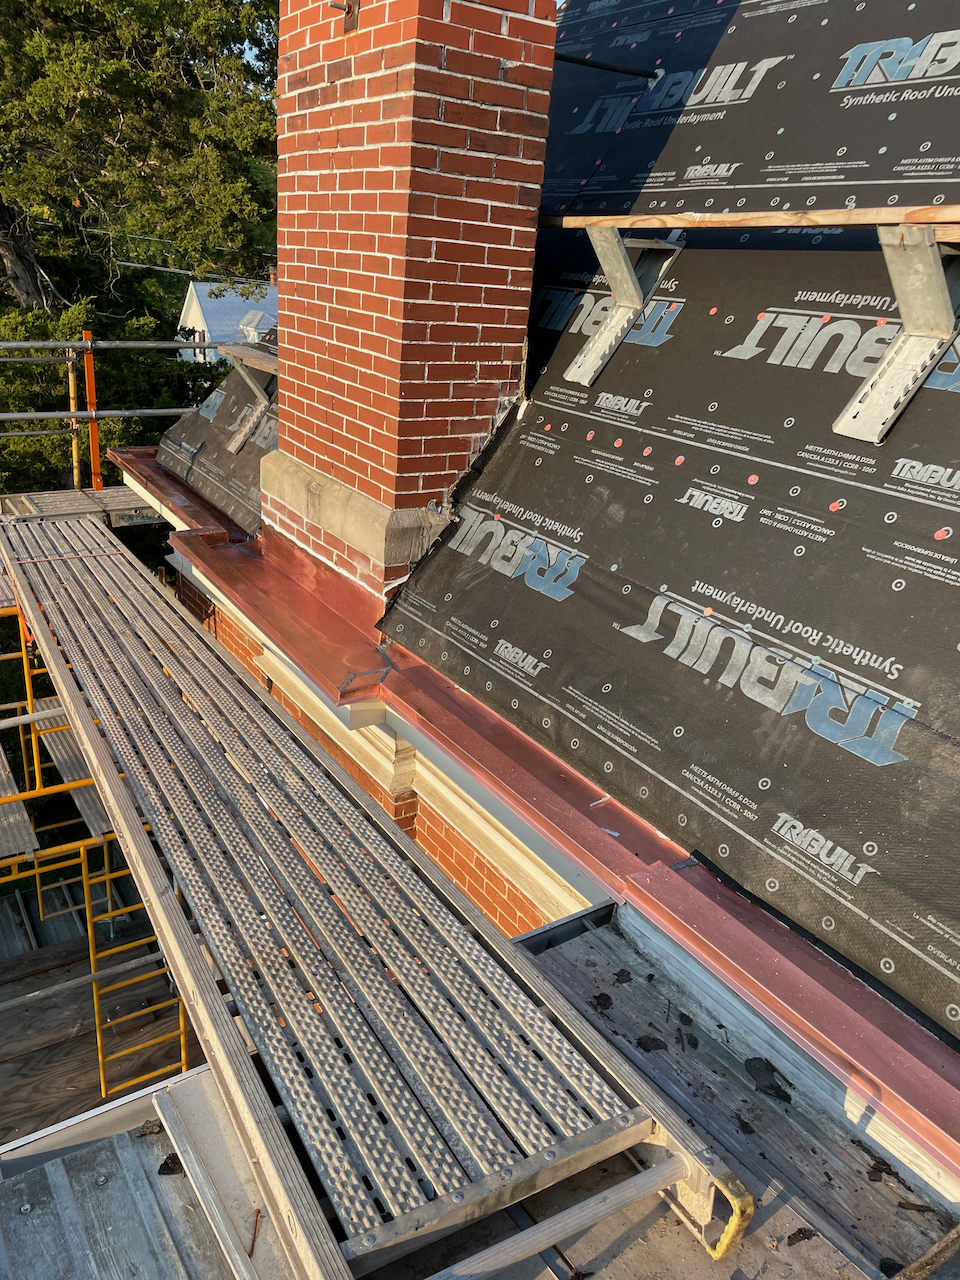
Copper Inlaid
Once the carpentry was complete, the focus shifted to the copper inlaid. The first step was installing the copper cleat around the parameter. Each section was custom fabricated to fit and then soldered into place. Every dormer and chimney has a box projecting out, creating a lot of miters. All of the copper used is 20 oz.
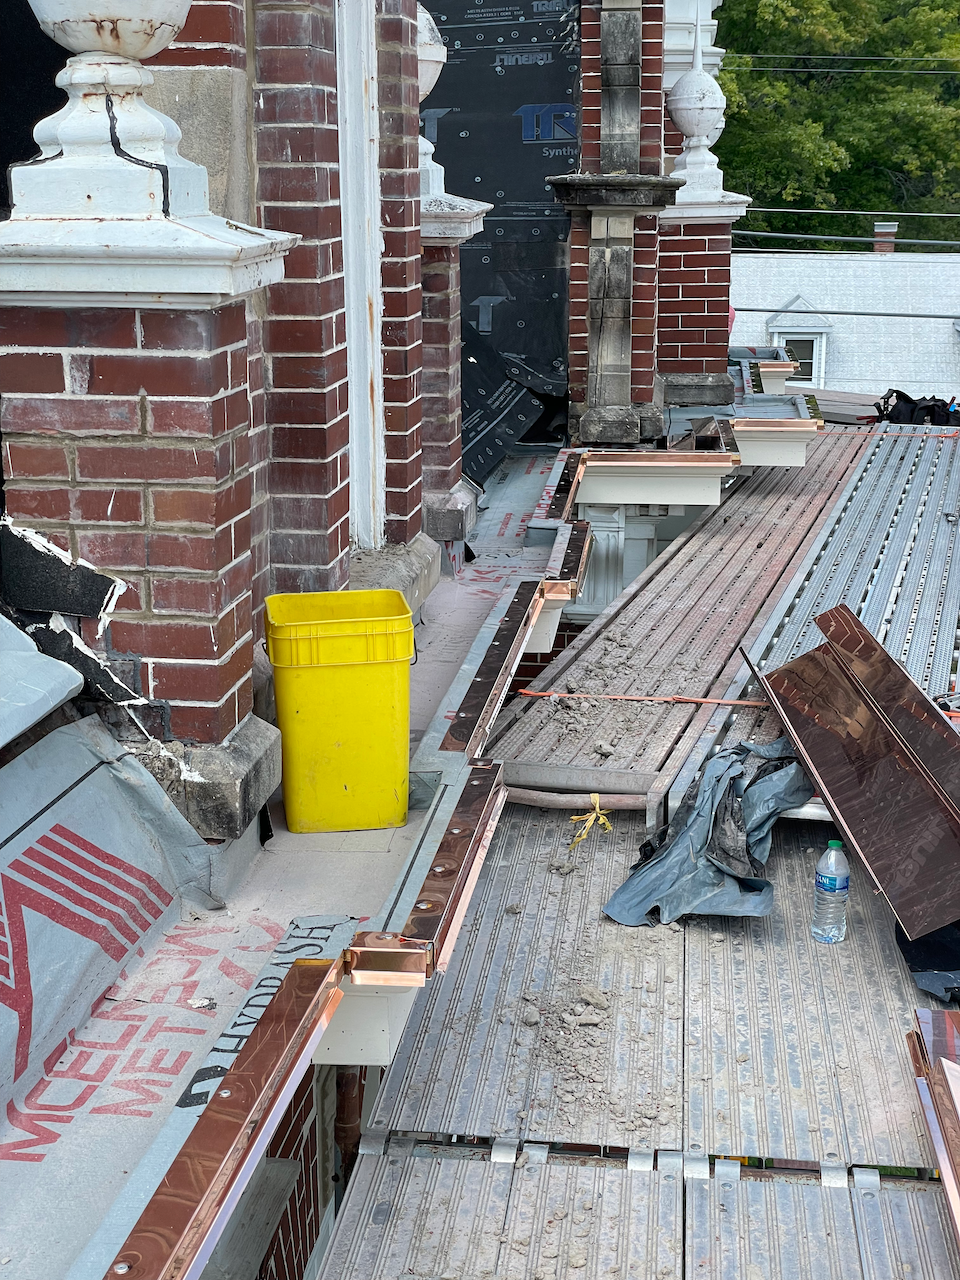

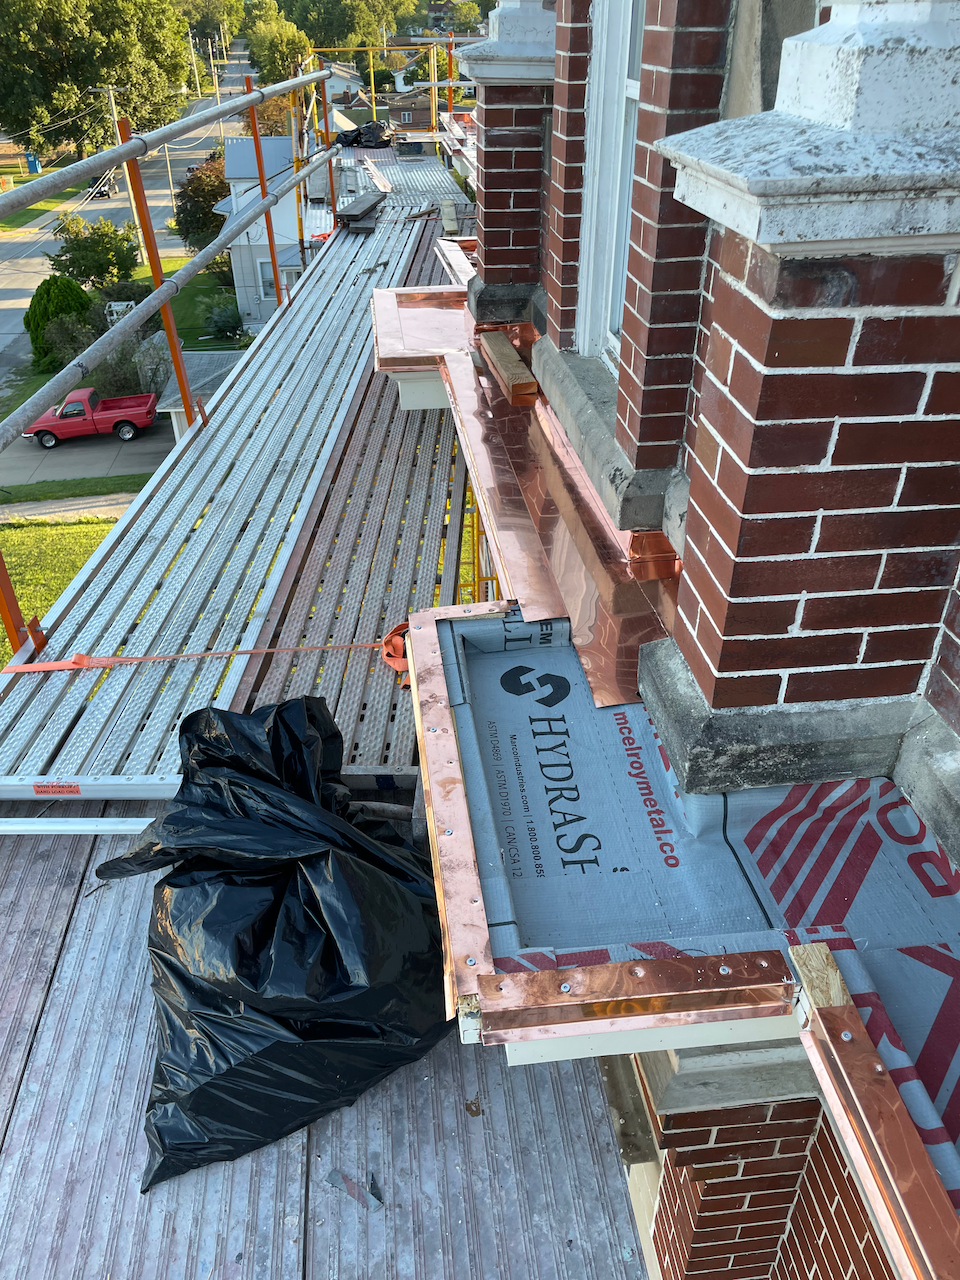


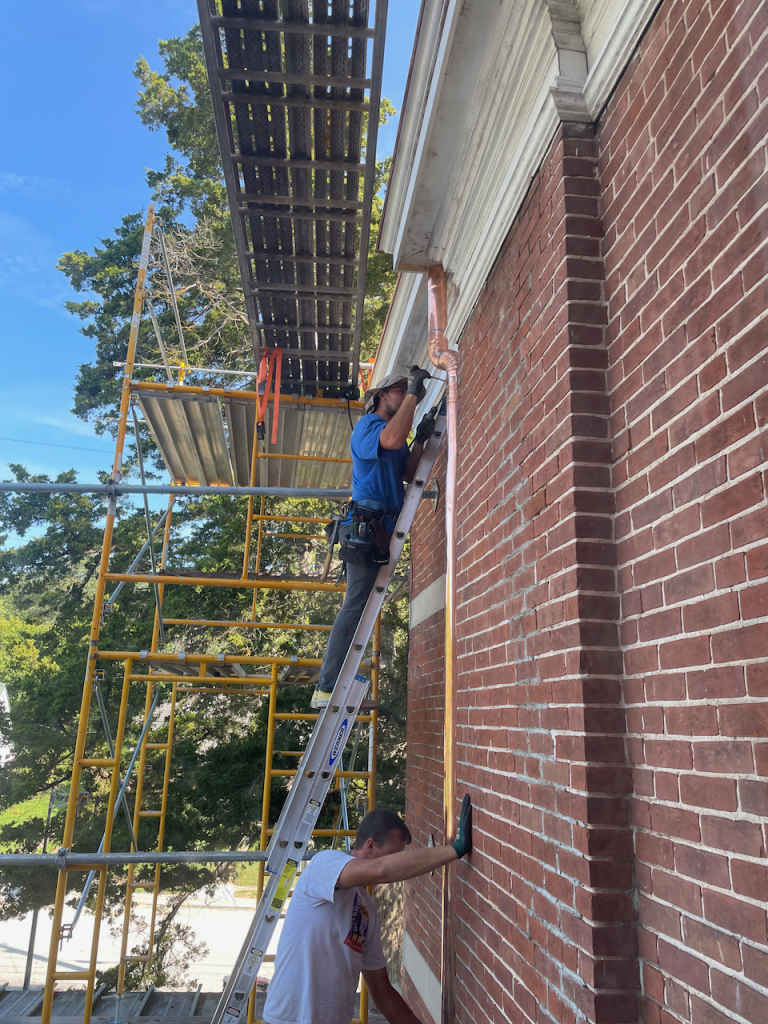
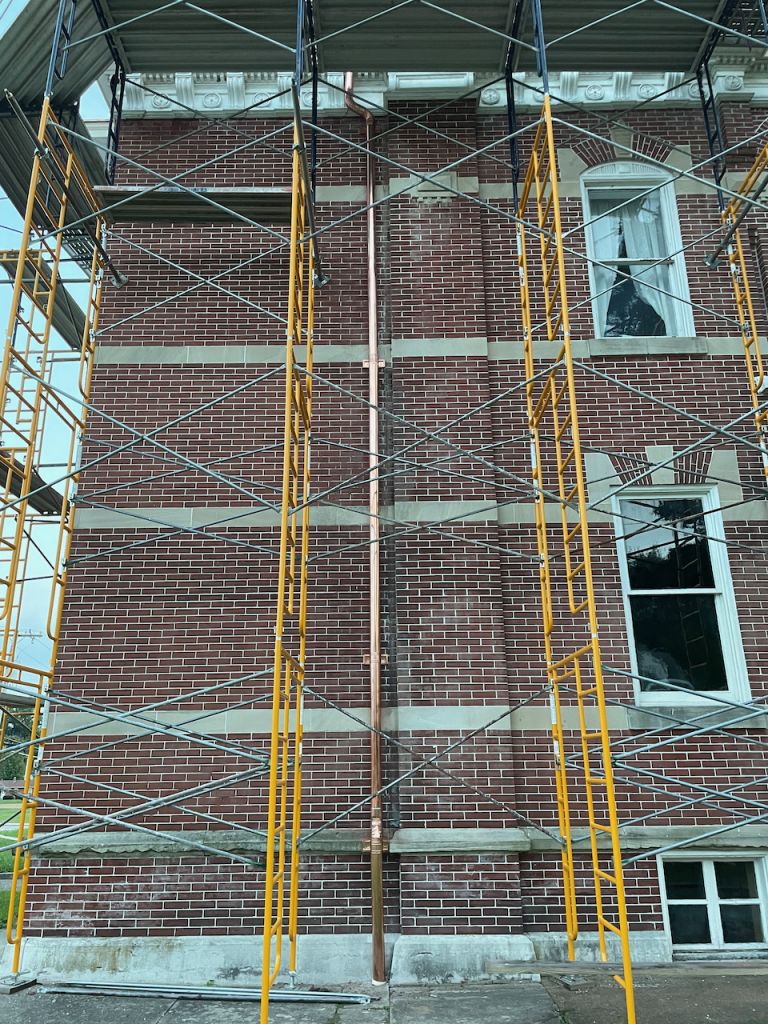
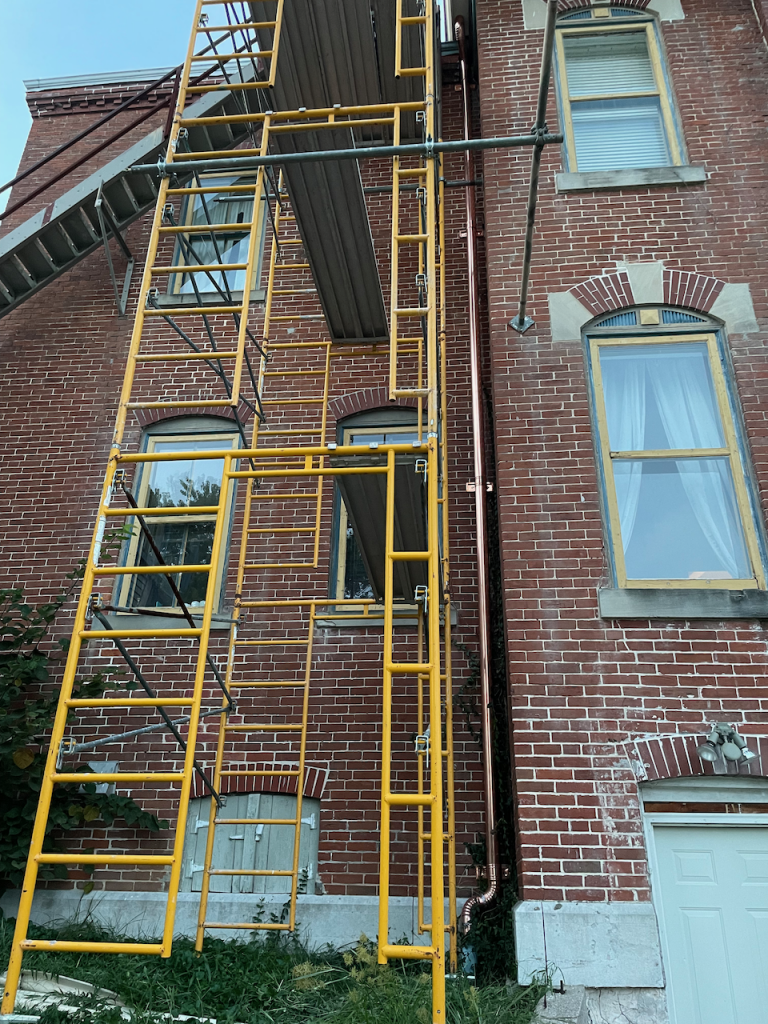
Downspouts
With the architectural inlaid gutters brought back to life, all four of the downspouts were replaced with copper. Over the years, the downspouts had been replaced with PVC, and there was a mashup of different brackets.
After
The video starts with the downspouts, showing the new copper gutters surrounding the house, and ends with the new lower cornice with molding.
Photos of the rebuilt inlaid gutters:


How did the scary south side turn out? Here’s a before and after:
Conclusion
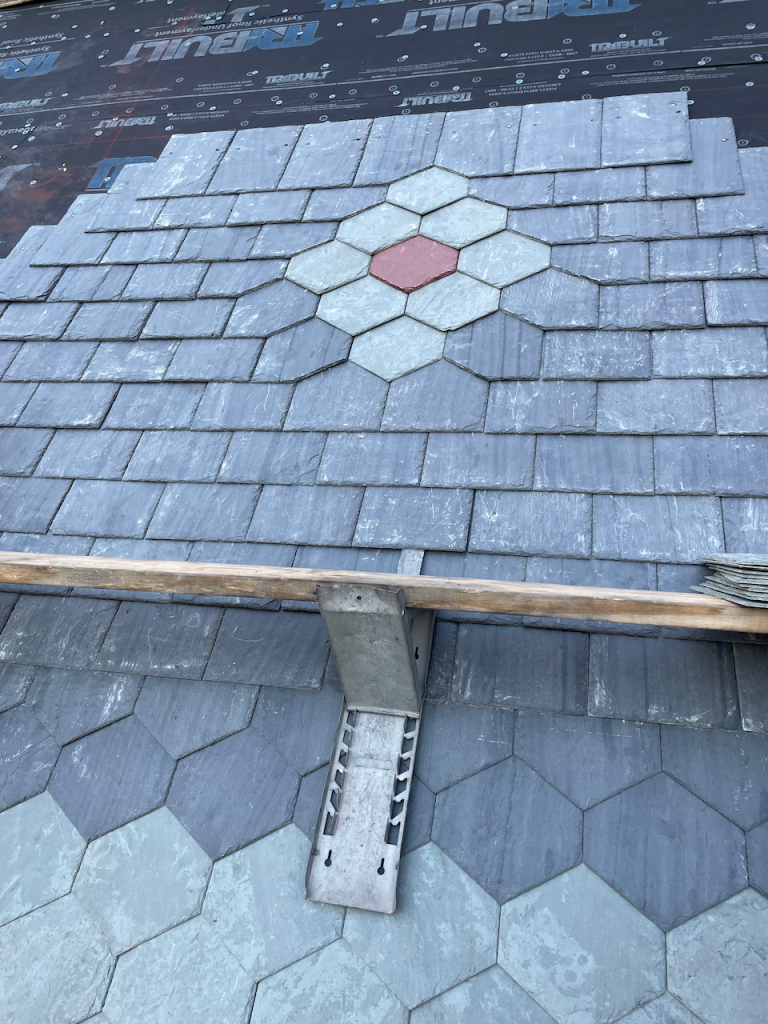
In order to protect and preserve this historic home, it all starts with water management. We couldn’t be more thrilled about what is next, the new slate roof!
At the time of writing, the team is halfway through laying the new slate. Here is a preview:
Thank you for reading, Michael and Alexandria Morgan
Continue reading Part 3: Slating the Roof.