Check out Part 1: History & Planning and Part 2: Architectural Built-in Gutters in our series covering the mansard roof restoration.
This post covers laying the slate, painting the barrel dormers, flashing, and the new skylight install.
Slate
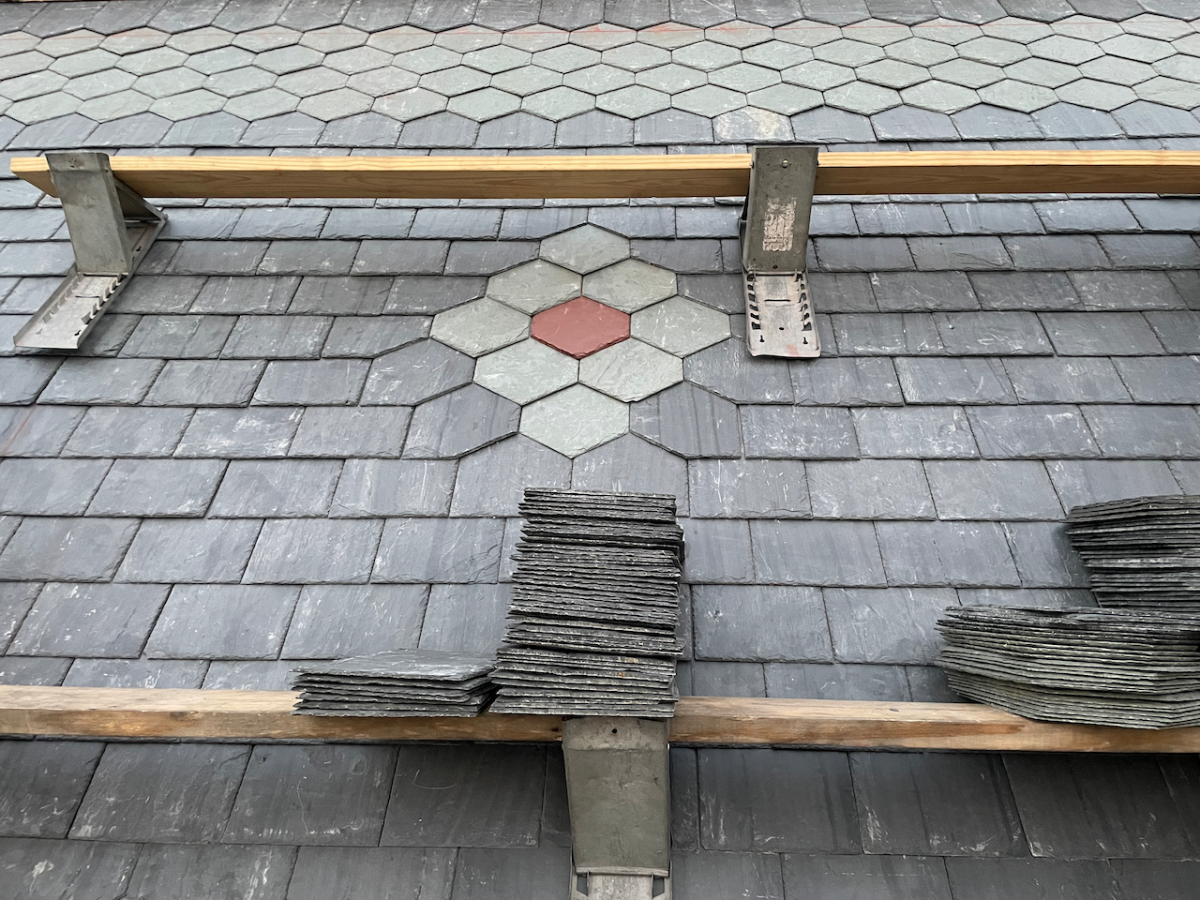
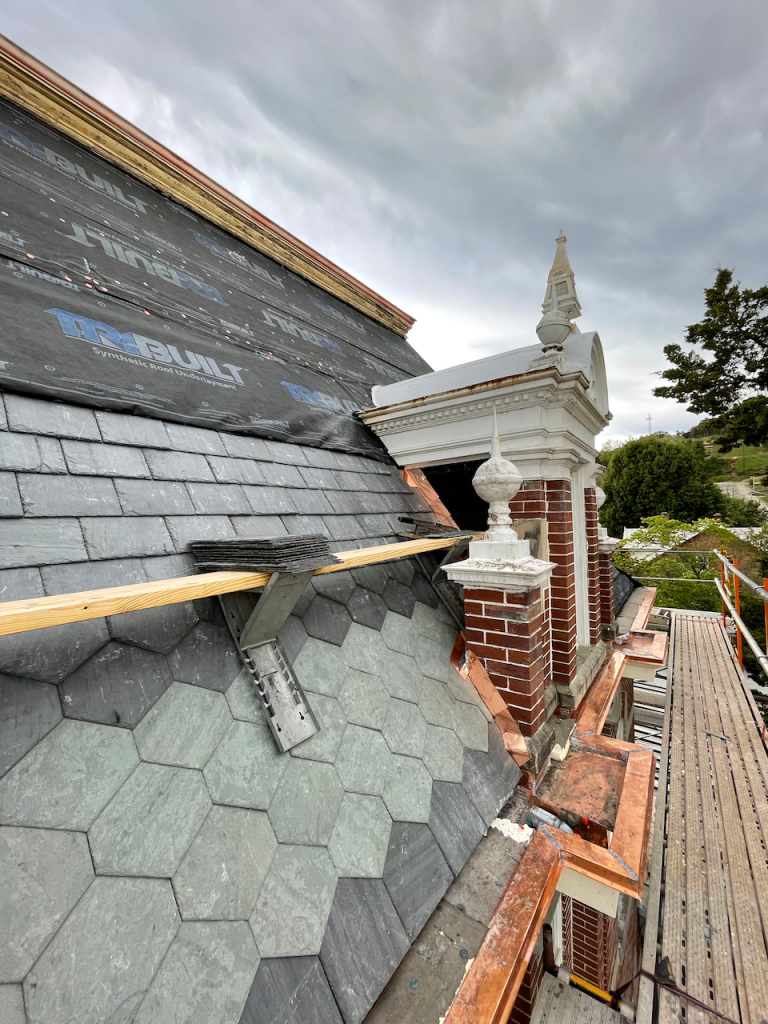
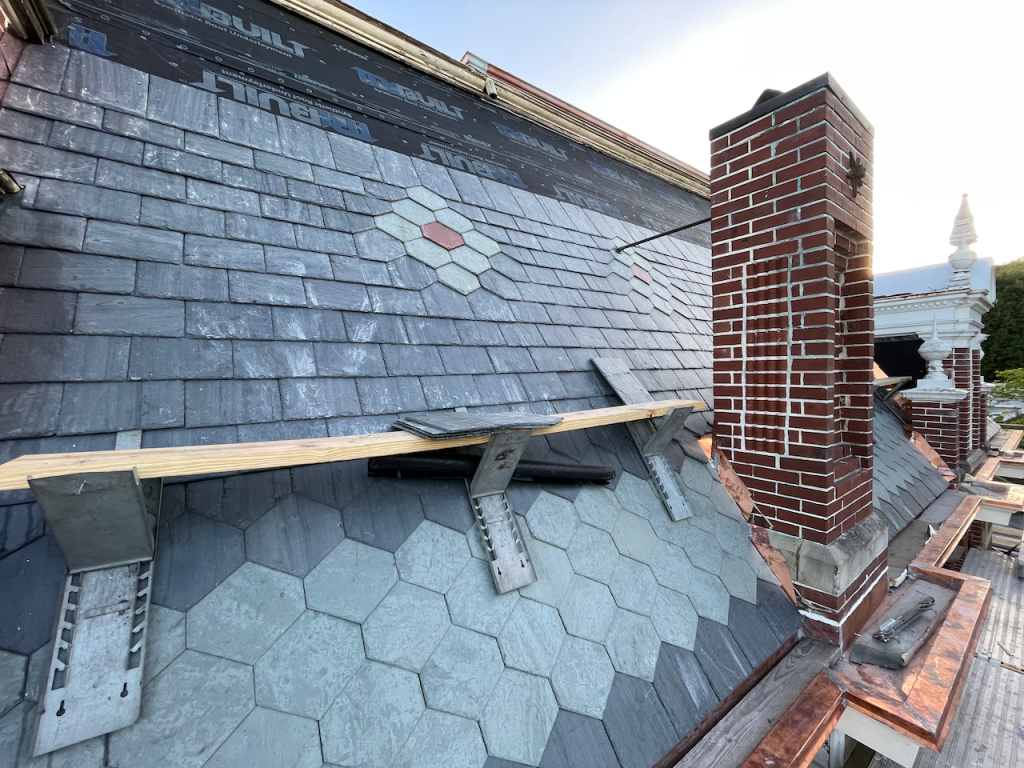
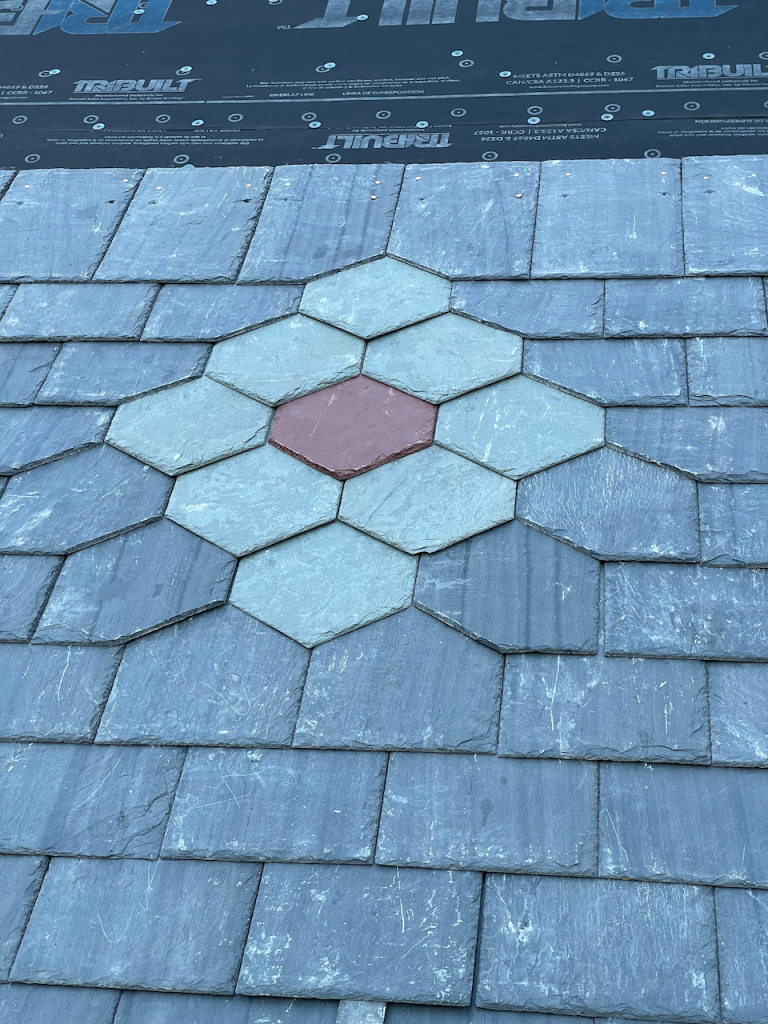
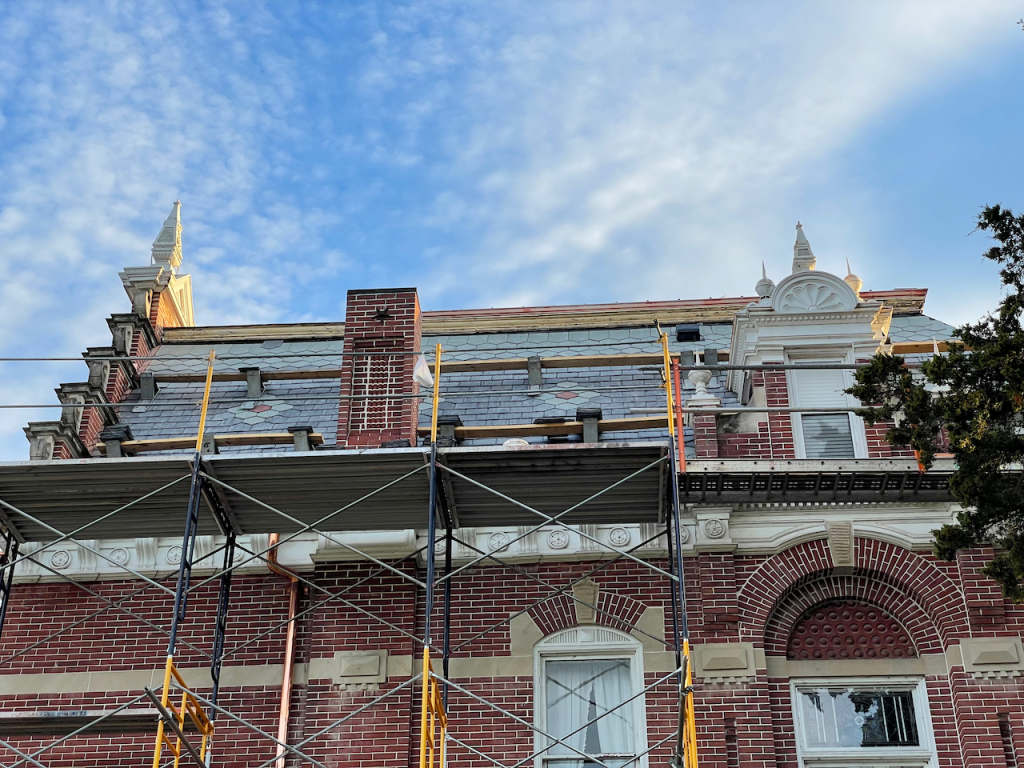
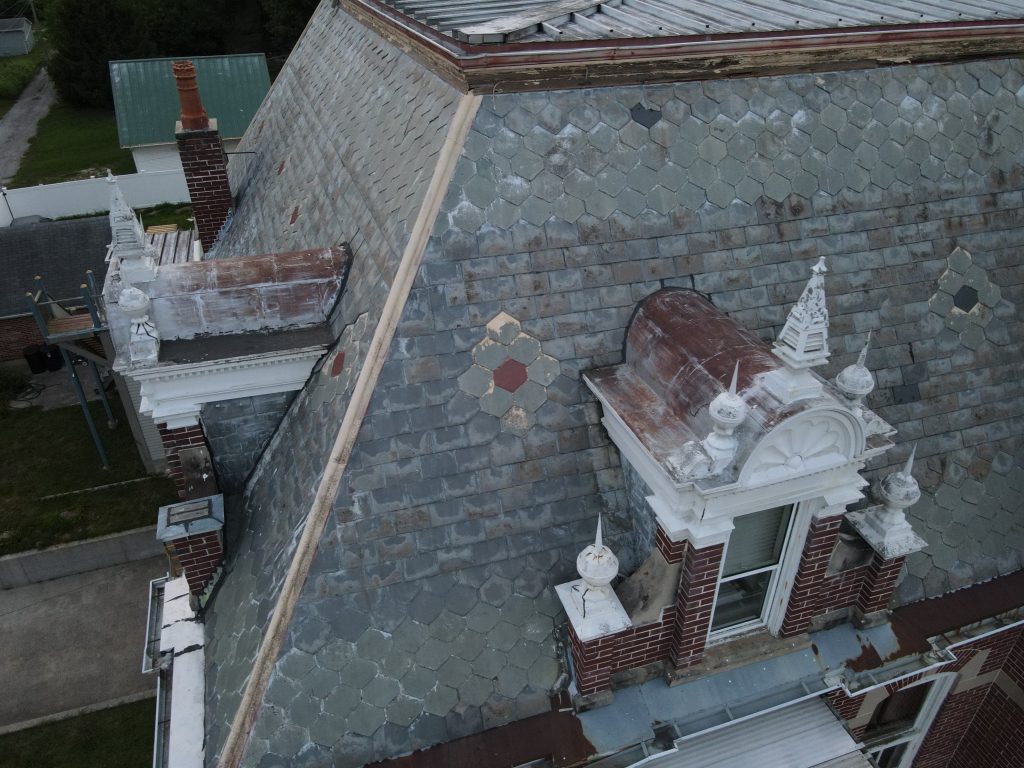
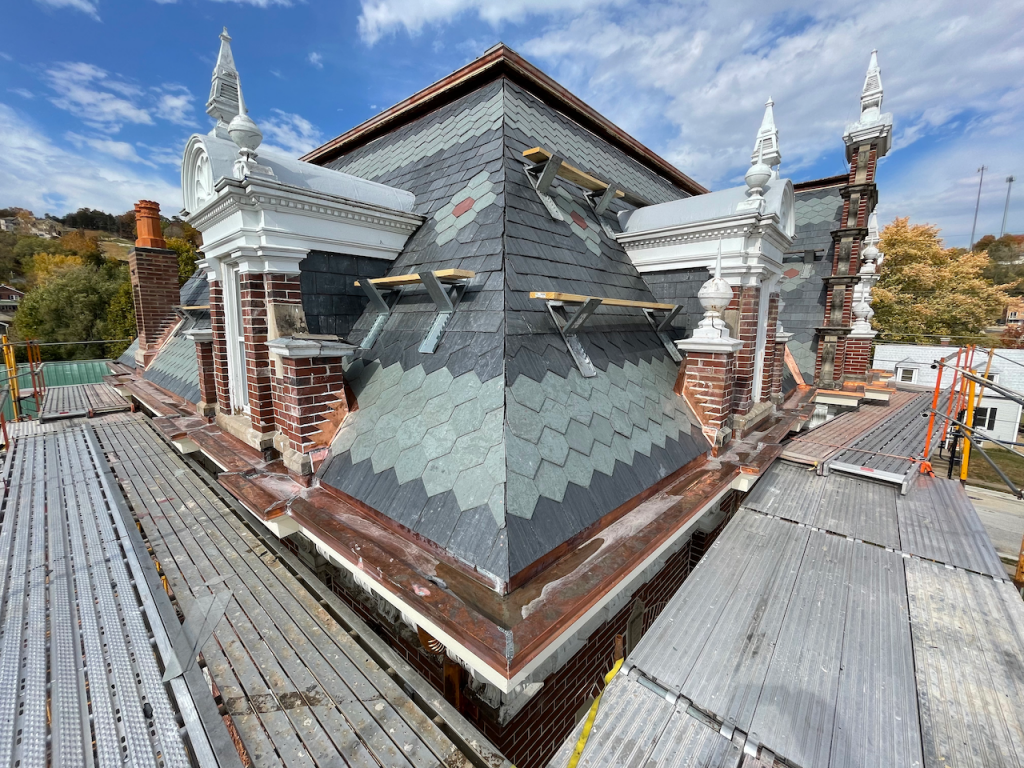
With the architectural gutters brought back to life in Part 2, the next step is laying the slate. The goal is to match the original pattern as closely as possible.
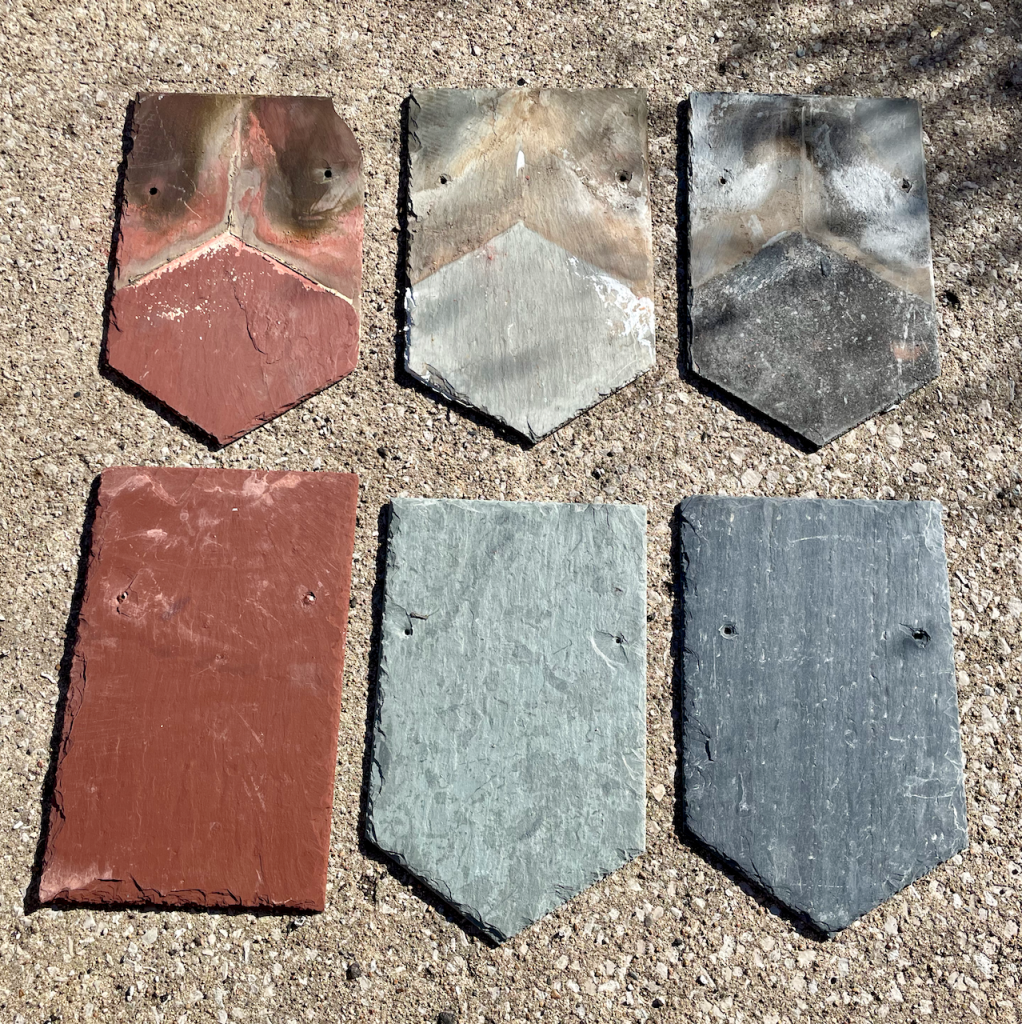
We are using a Vermont S1-grade slate in unfading green, red, and Vermont black. Here is a photo comparing the original slate to the new slate:
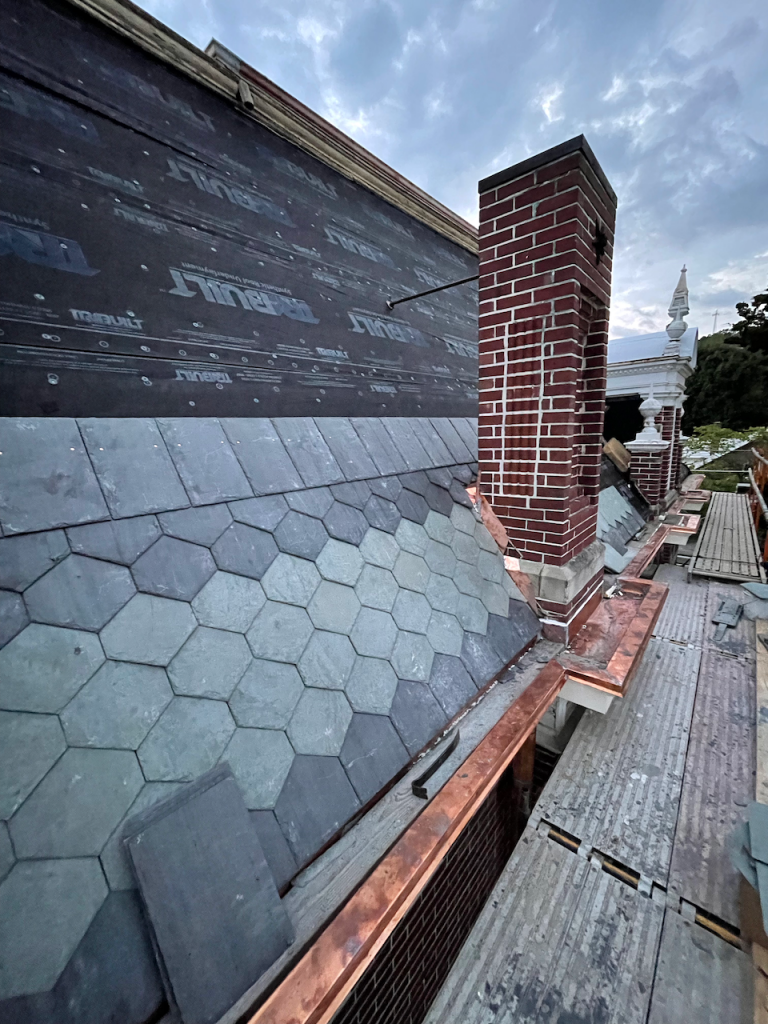
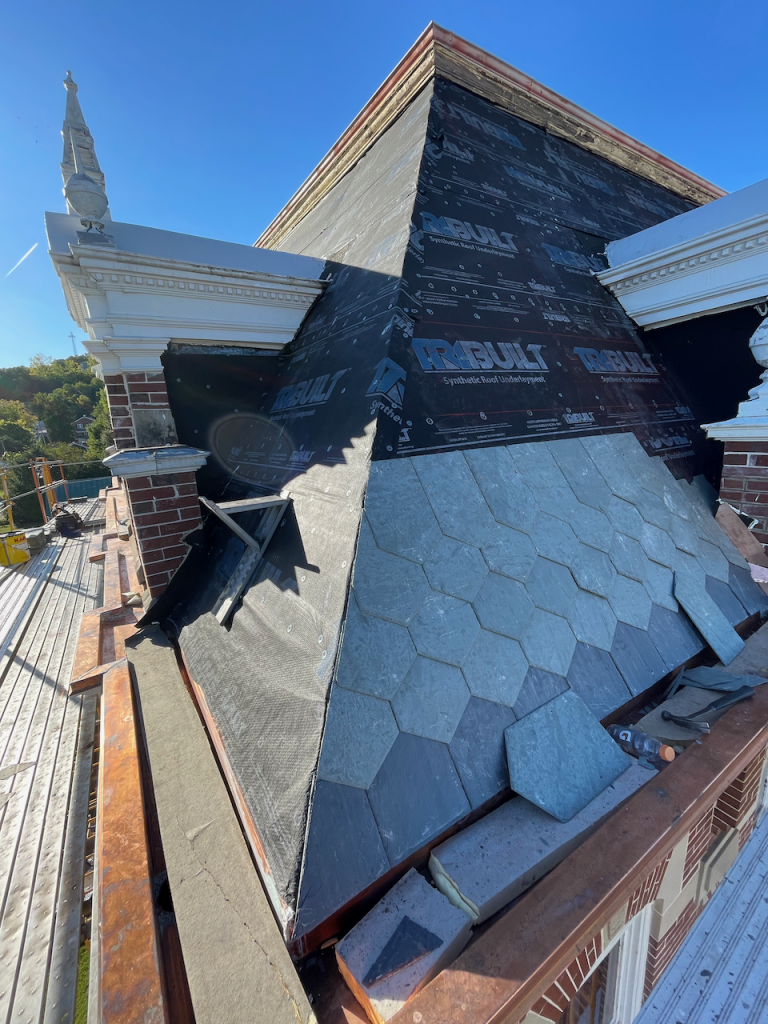
Slating the roof began on the north side, then the east, west, and finished on the south.

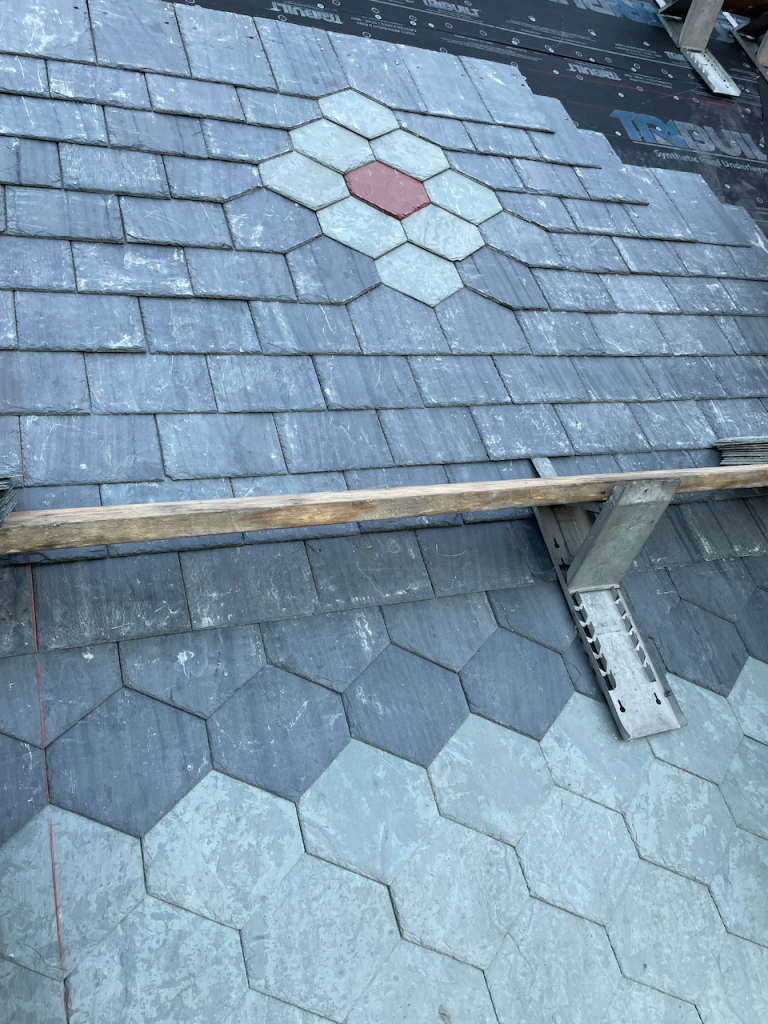
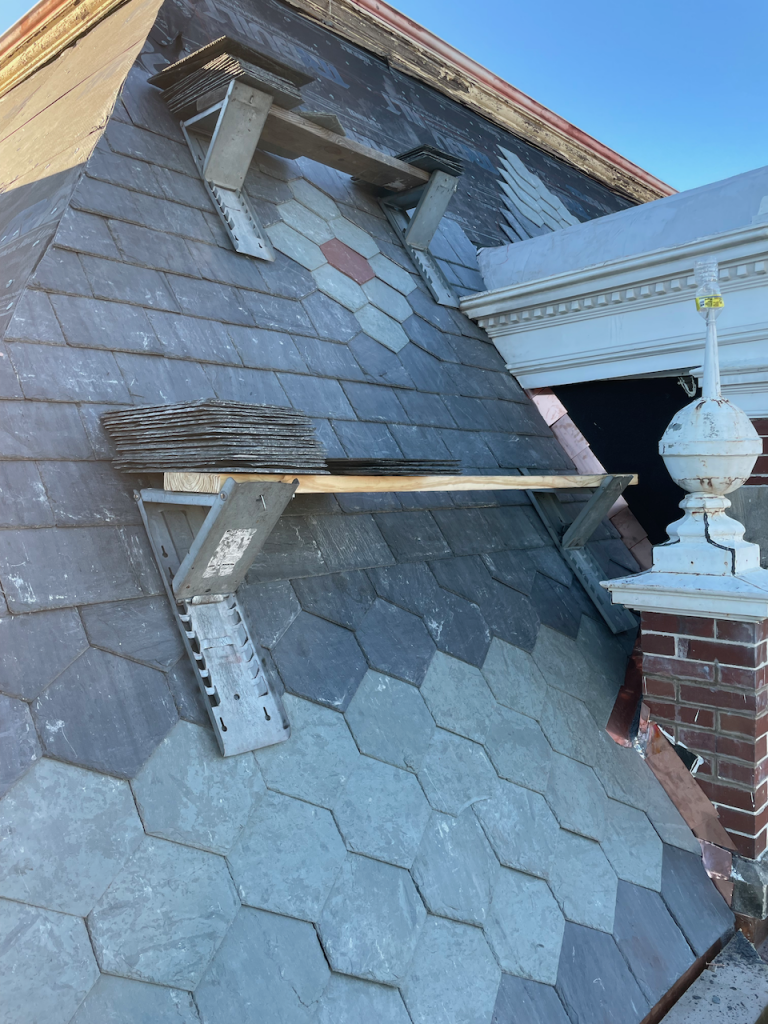

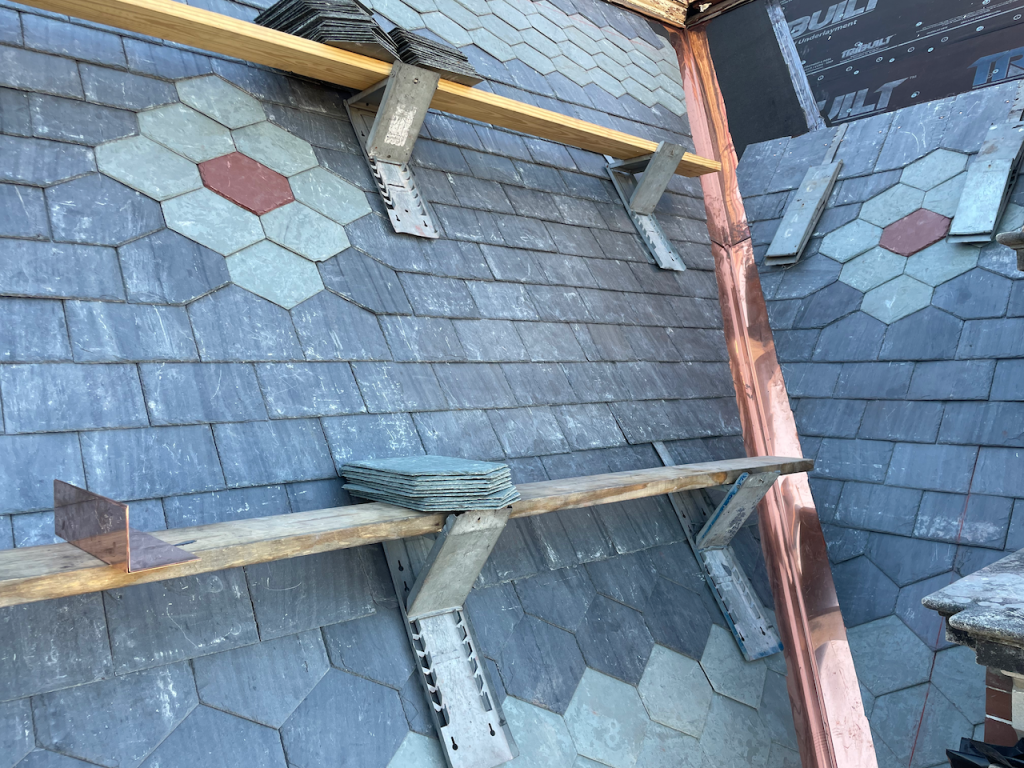
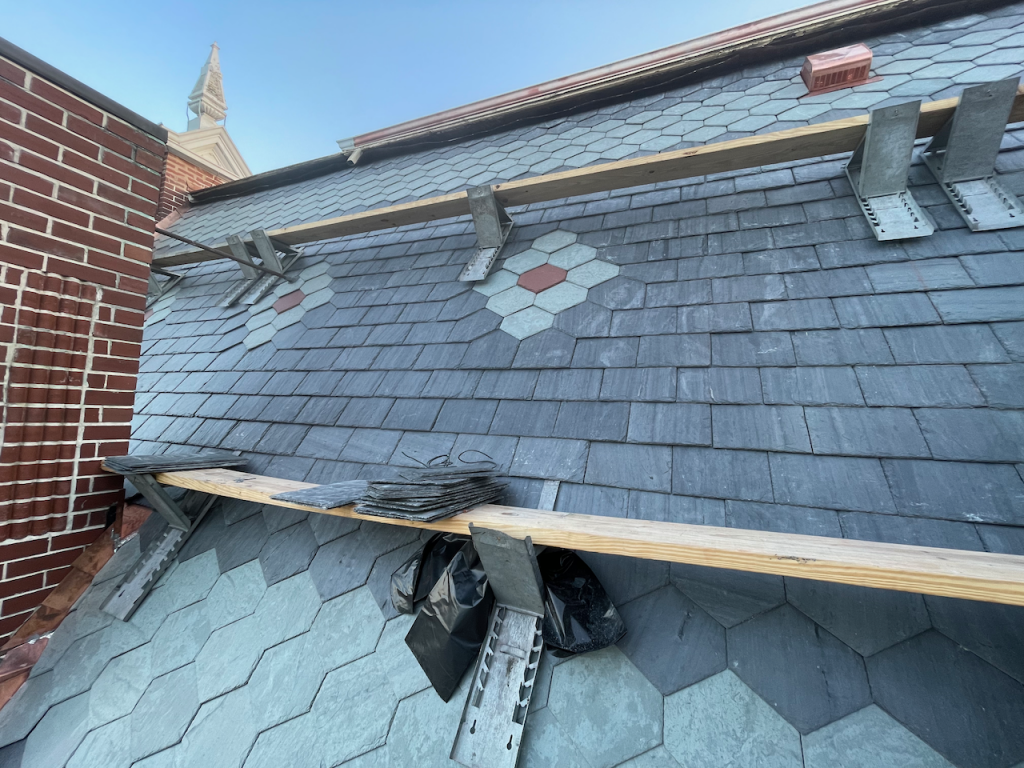
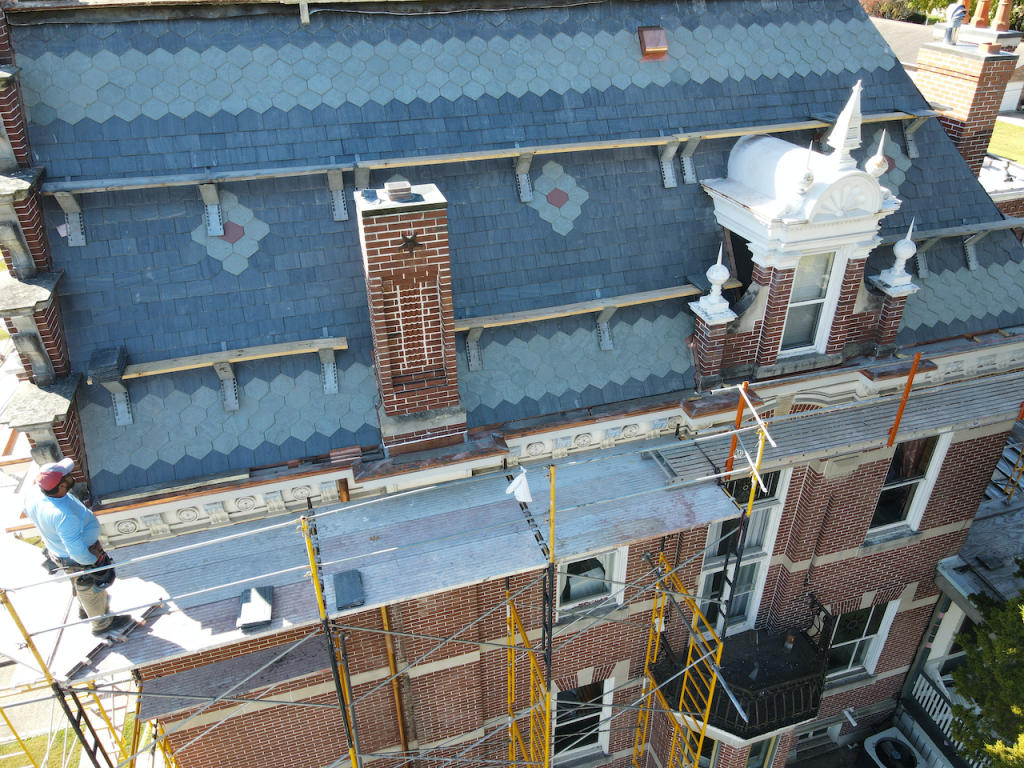
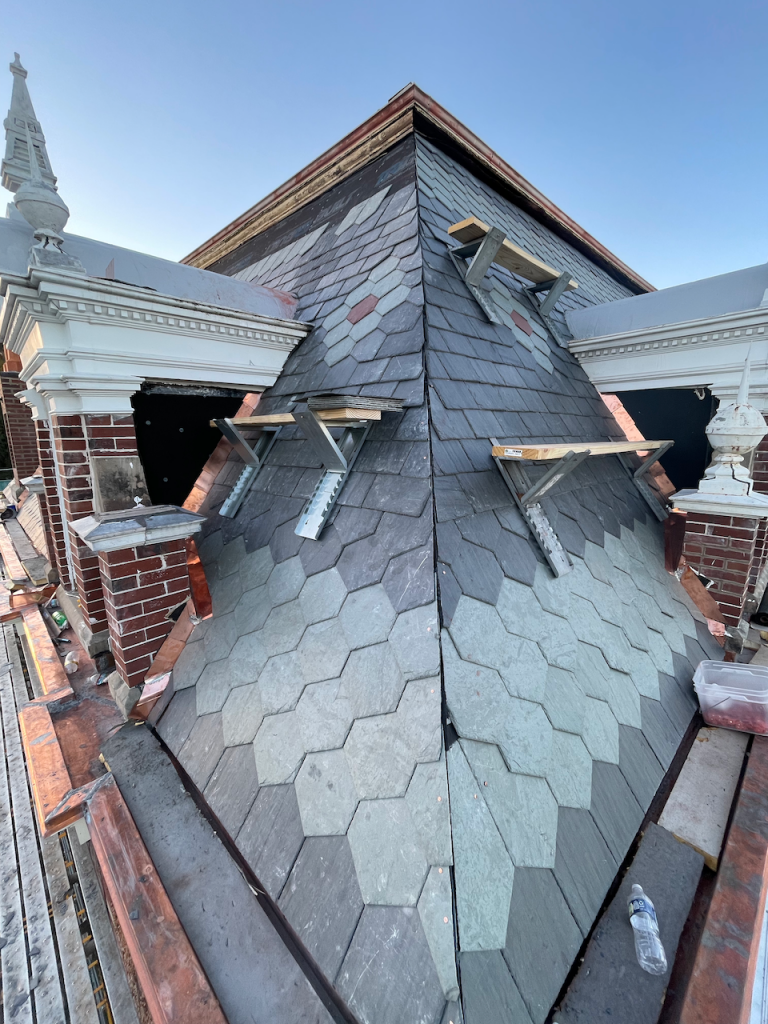

Cutting slate creates a fair amount of dust. We will see even more contrast between the different slate colors with a few good rain showers.
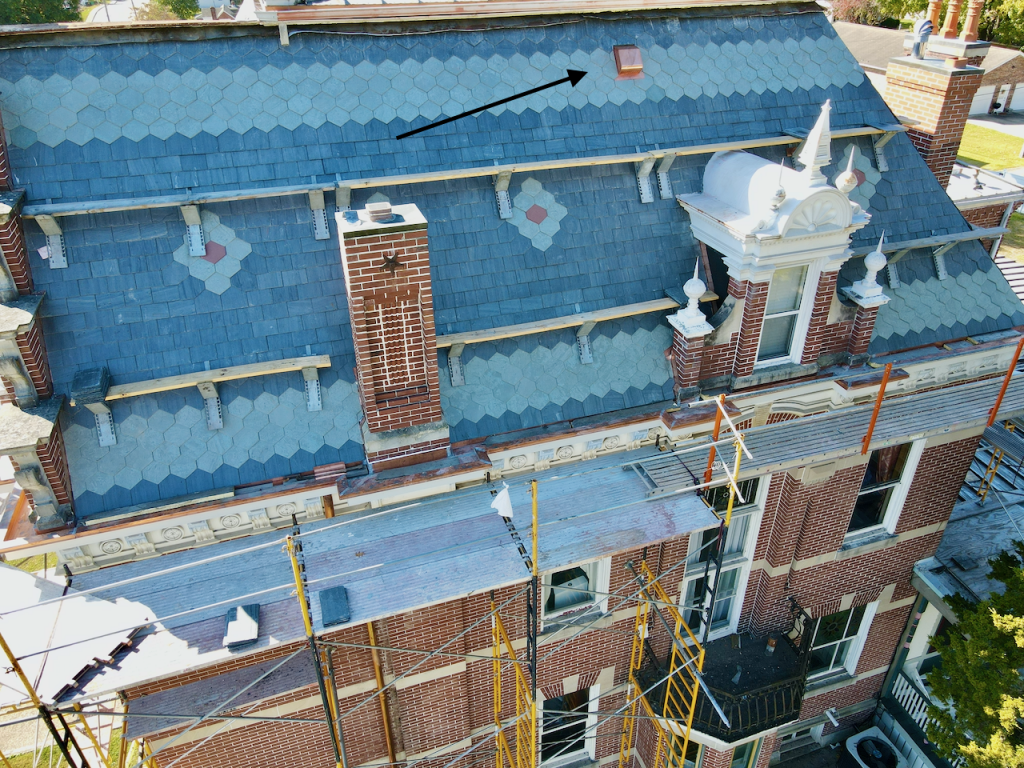
Flashing & Vent
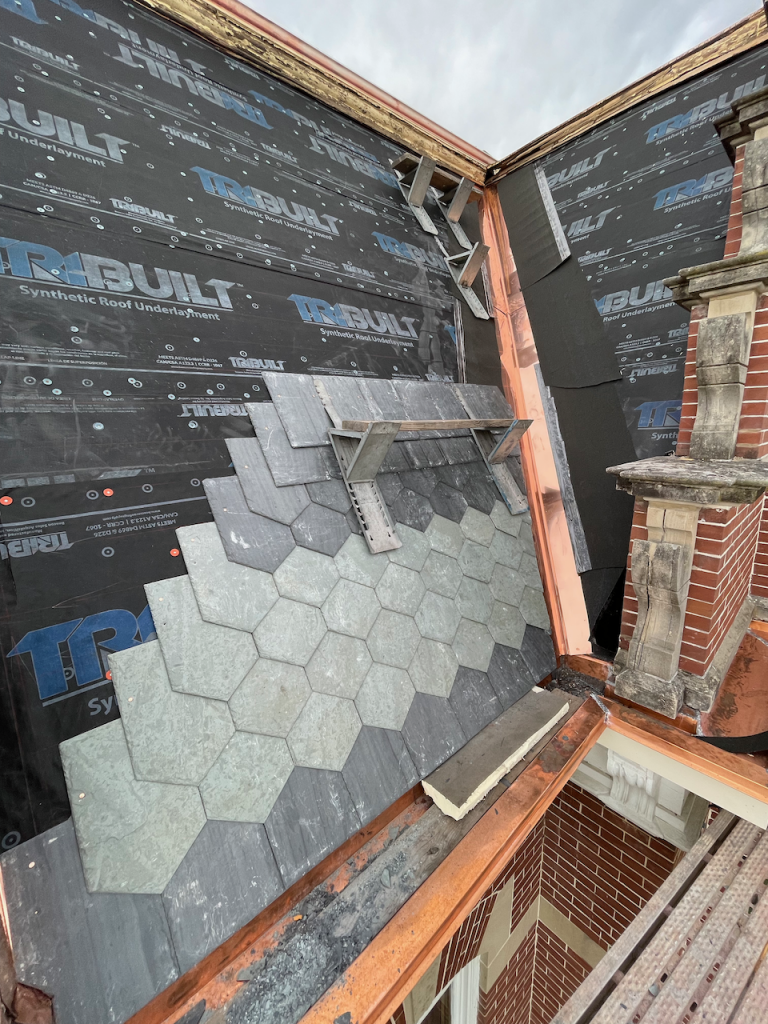
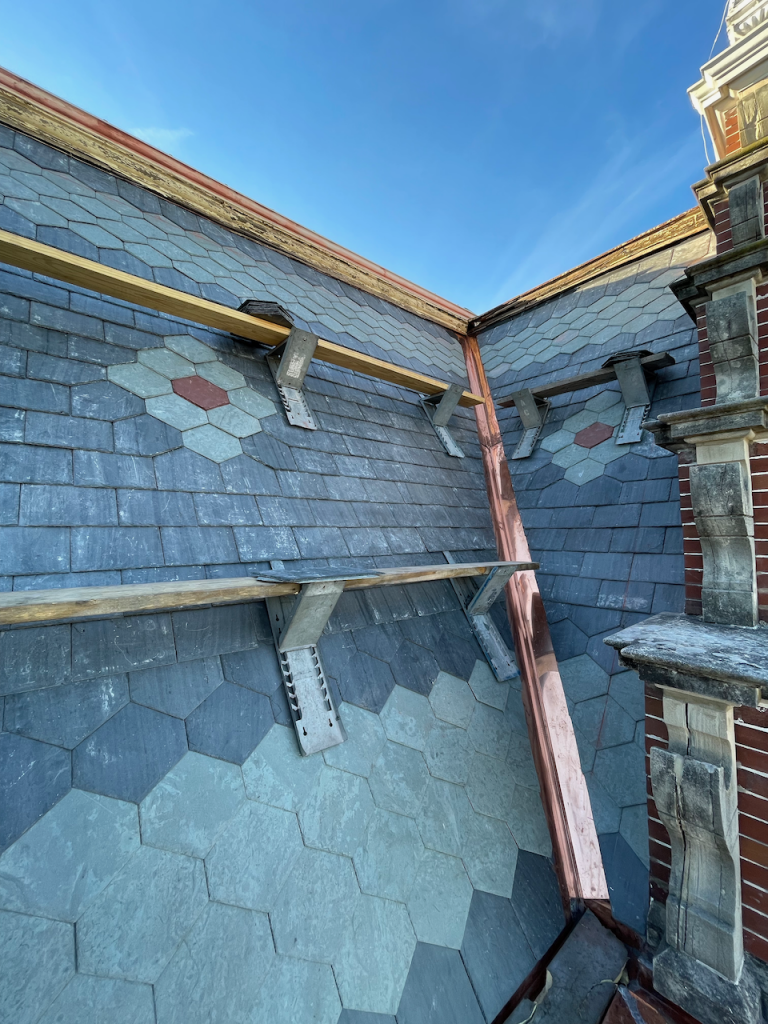
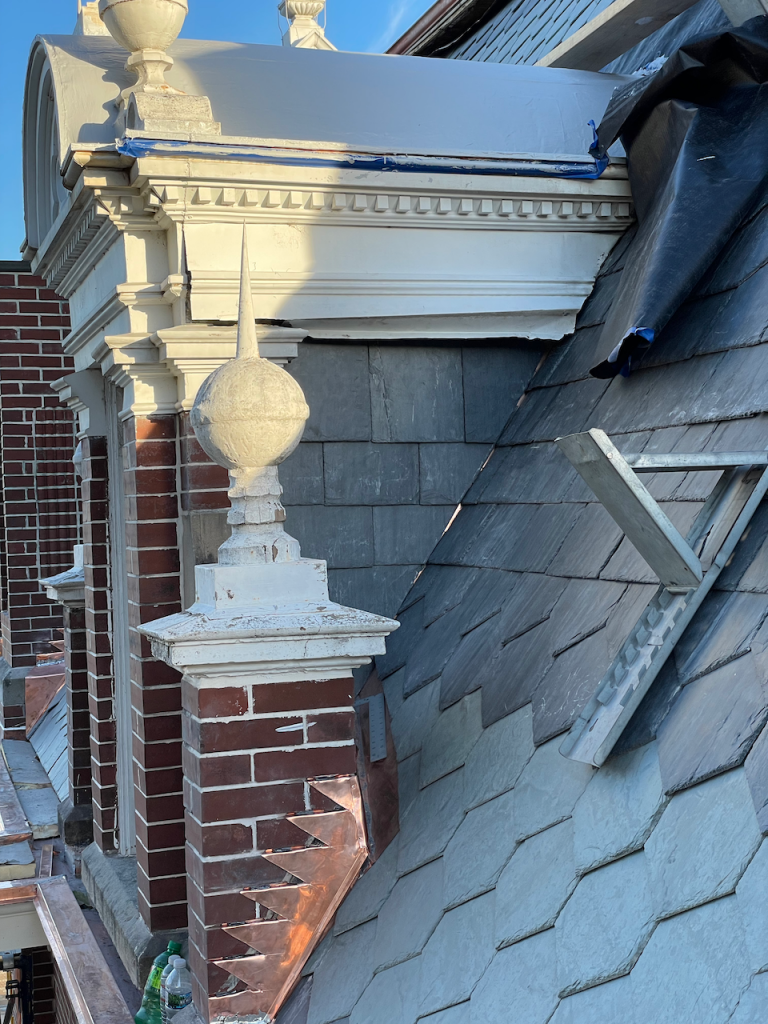
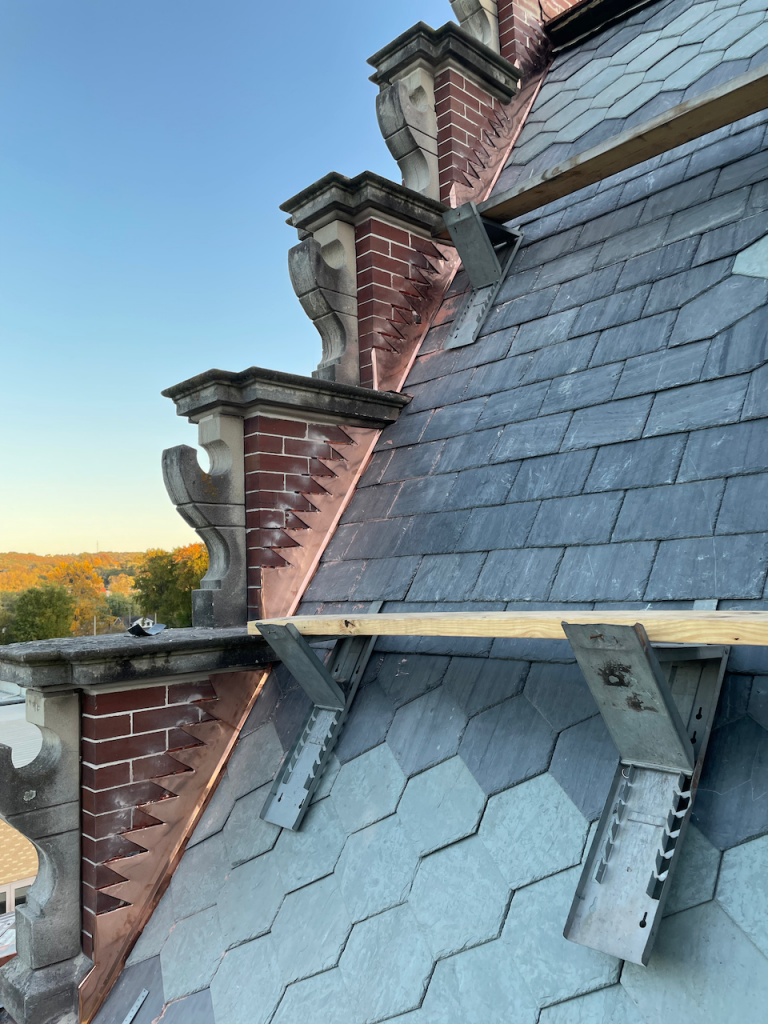
With three chimneys and the parapet, there is a fair amount of flashing and counter flashing. An area that turned out more beautiful than expected was behind the parapet:
The vent on the south side is a Lomanco Copper Exhaust Roof Louver (Model 750). Finding model 750 in copper was difficult, but from a maintenance standpoint, we are happy we tracked it down.
Most of the metal used throughout this project has been copper. The exceptions are aluminum for the skylight and for a drip edge for the upper roof line.
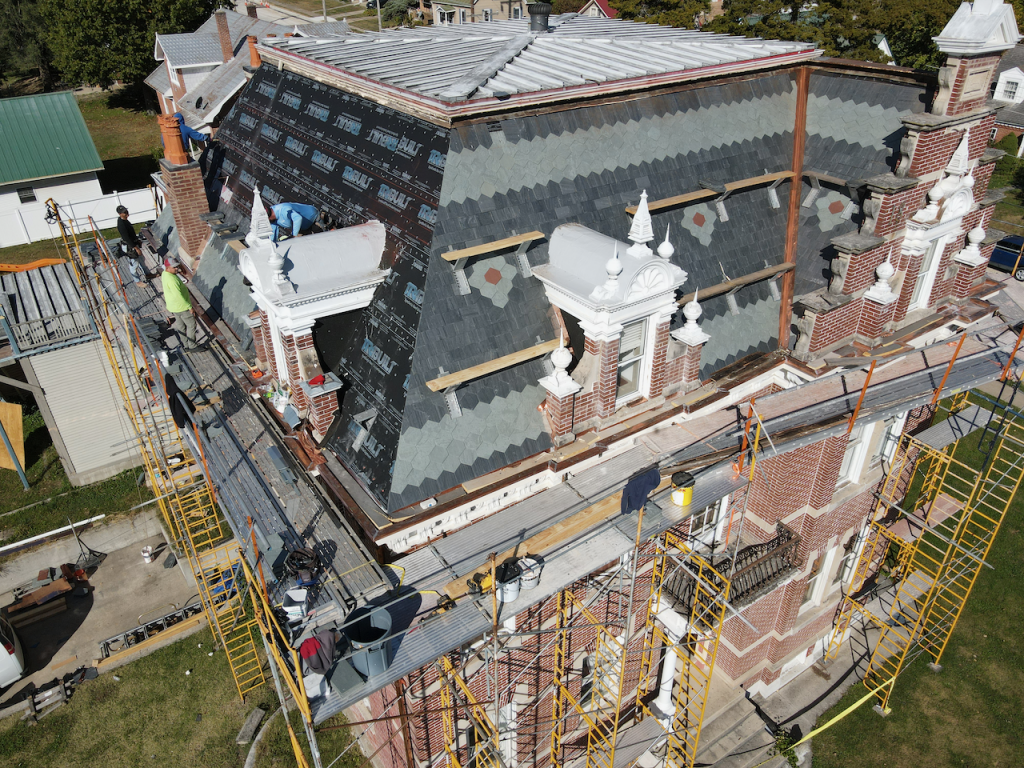
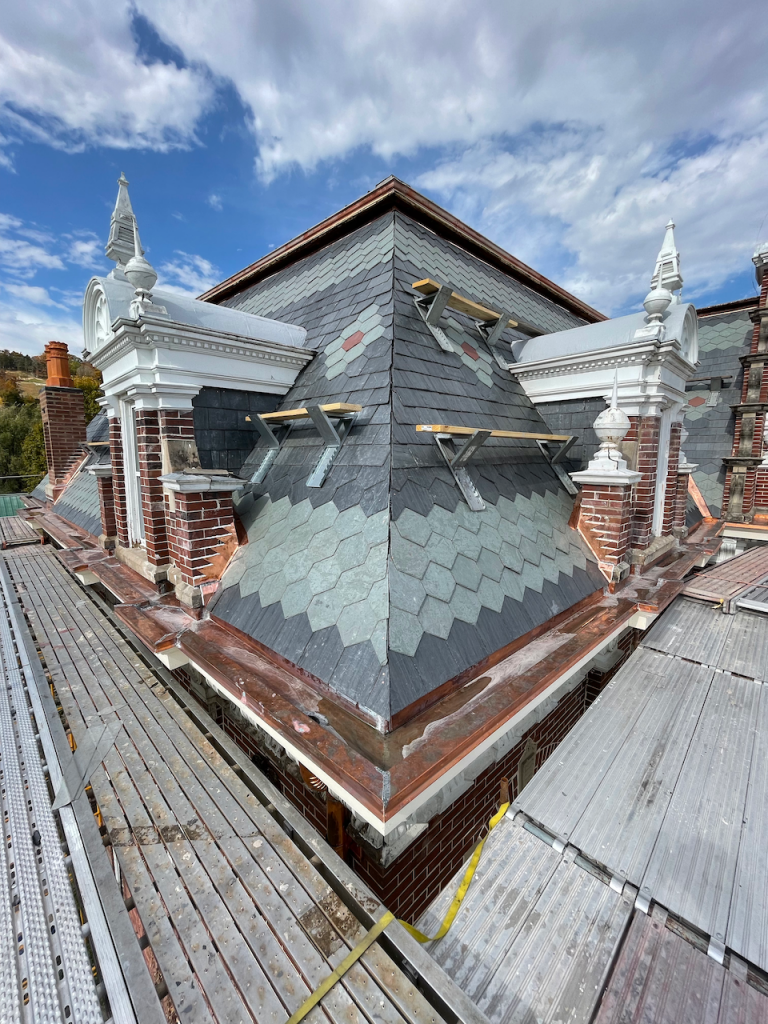
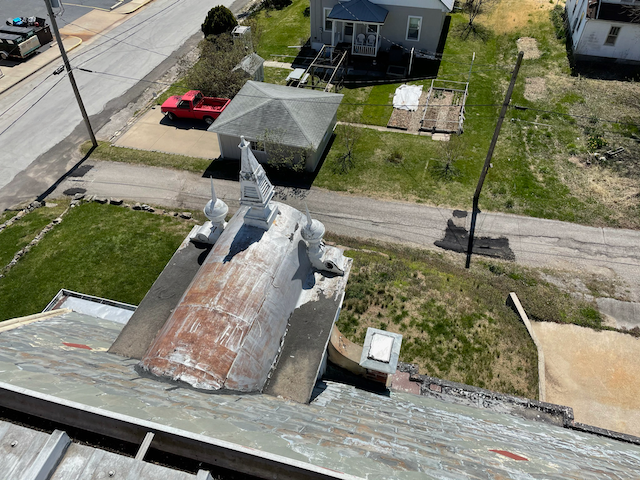
Barrel Dormers
The roof has three barrel dormers which are terne-coated steel. All three dormers are structurally sound but showing signs of rust. We aim to preserve as much of the original architectural elements as possible. Each dormer was cleaned, a base coat applied, and then several top coats. A Karnak elastomeric system was used, which is comprised of a cleaner, base, and finished coats.

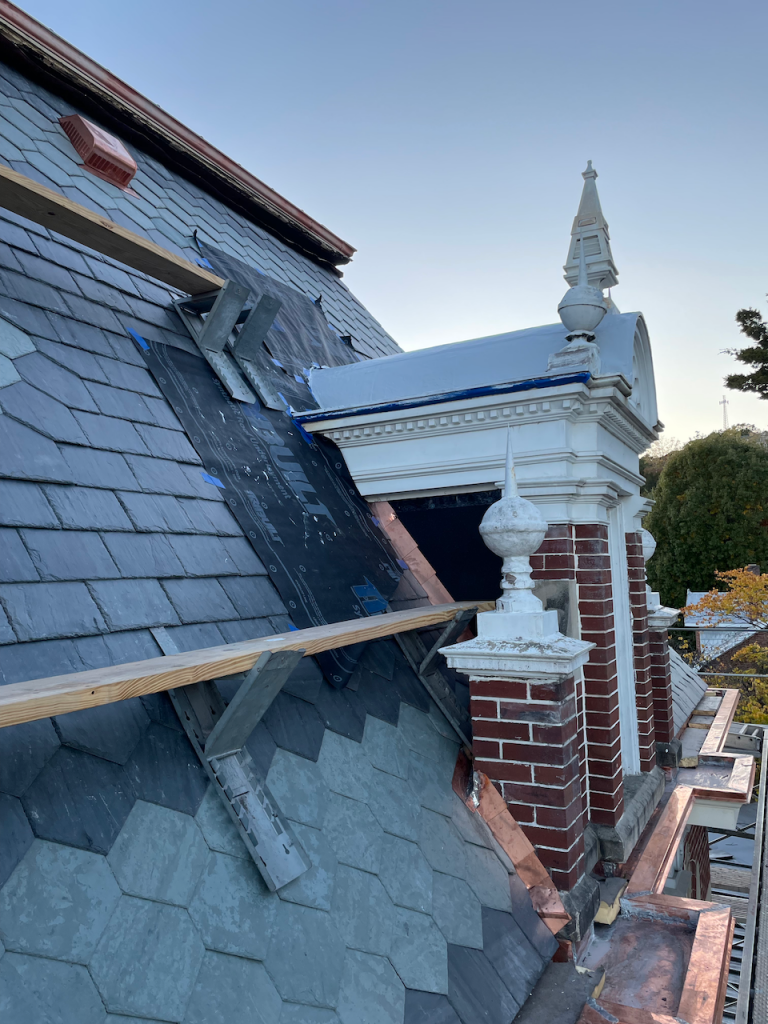
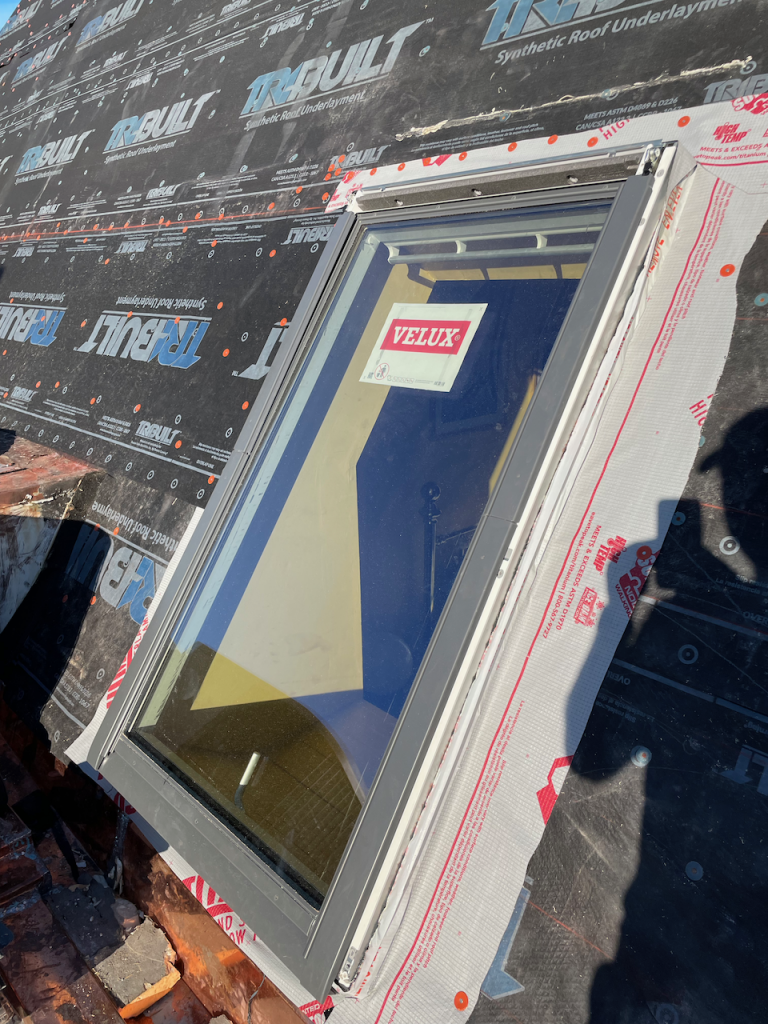
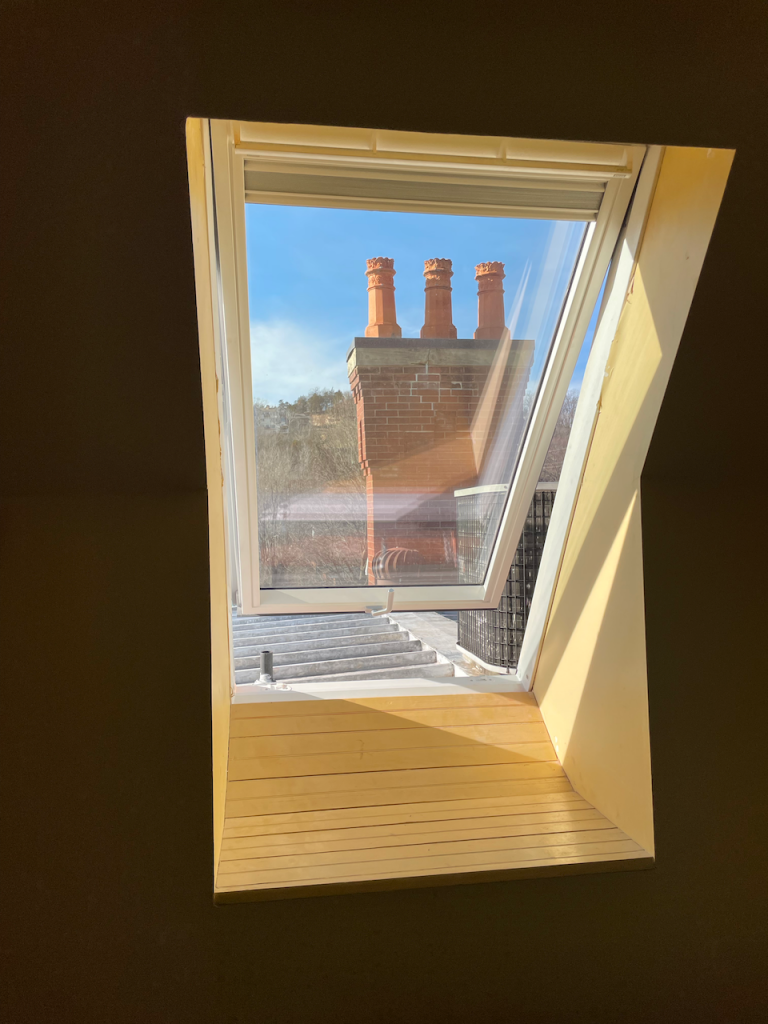
Skylight
The west side of the house had an aging skylight. The skylight was added sometime in the 1980s when the third floor was converted to four bedrooms. It is an important skylight, given that it is the emergency exit for the third floor and the only window for one of the four rooms.
Conclusion
With the slate laid, the next step is the upper roof line, radius hips, and parapet ridge cap.
Thank you for reading, Michael and Alexandria.
2 replies on “Mansard Roof – Part 3: Slating the Roof”
I enjoyed reading this and looking at the pictures. Thank you for sharing.
This is a fascinating project and I loved reading about every step taken. All the research that was completed to restore this home to its original beauty is impressive.
The workmanship is exquisite. I’m sure everyone who is a part of this incredible restoration is elated with the outcome and proud to say they helped. This was a huge endeavor of love. Congratulations!!