
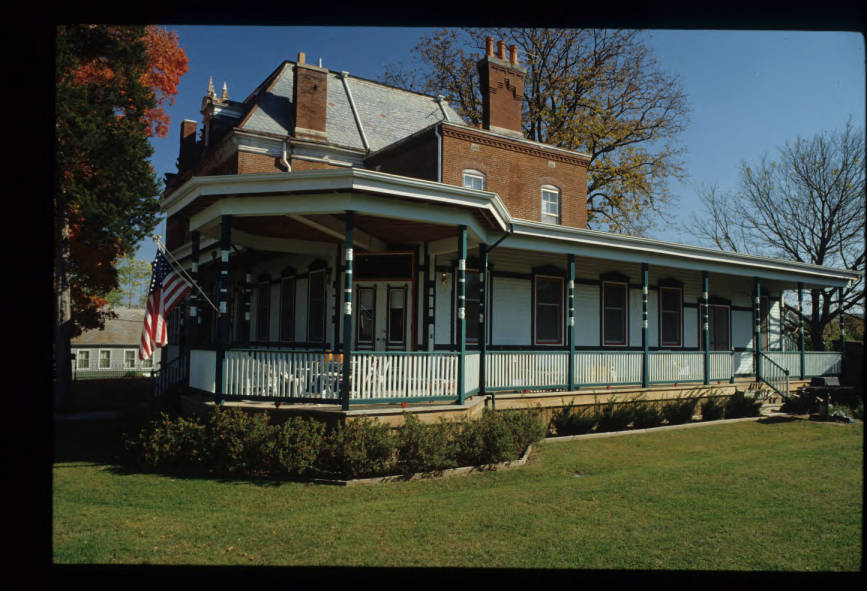
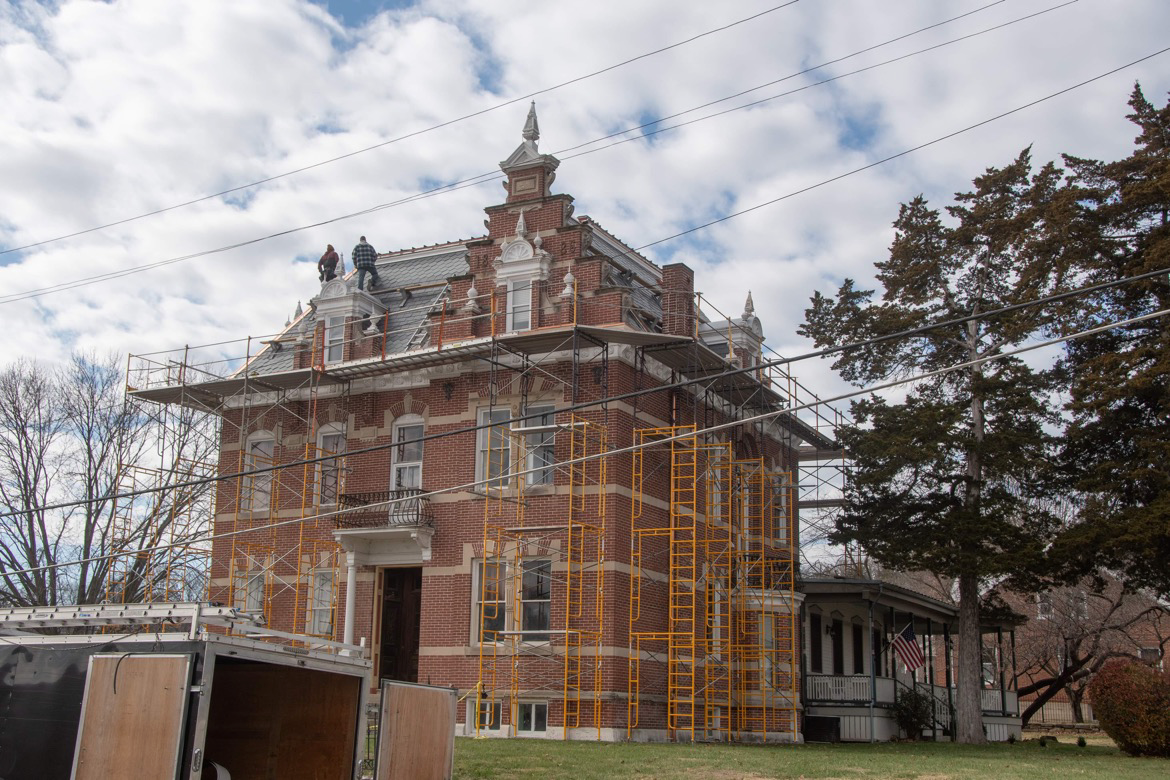
This is the fourth part of the mansard roof restoration. Check out Part 1: History & Planning to start from the beginning. The previous in the series is Part 3: Slating the Roof.
This post covers the upper roof line, including the crown molding and upper gutter. It also covers the radius hips and parapet ridge cap.
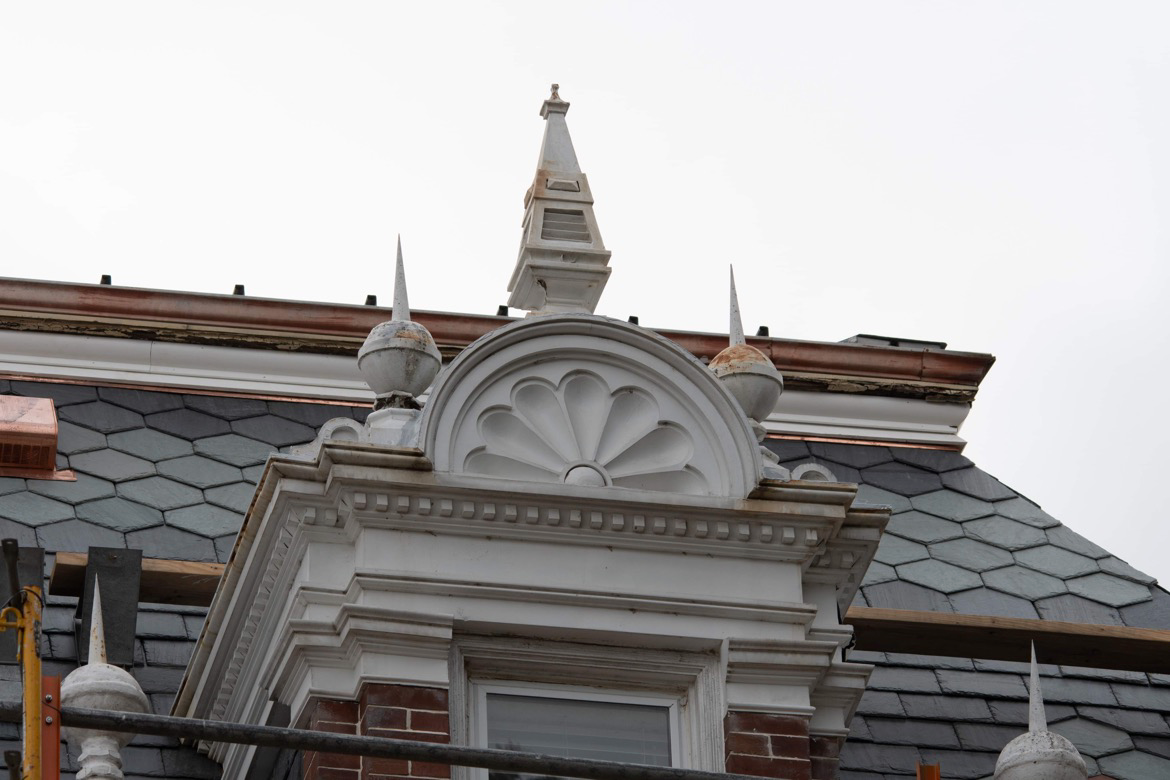
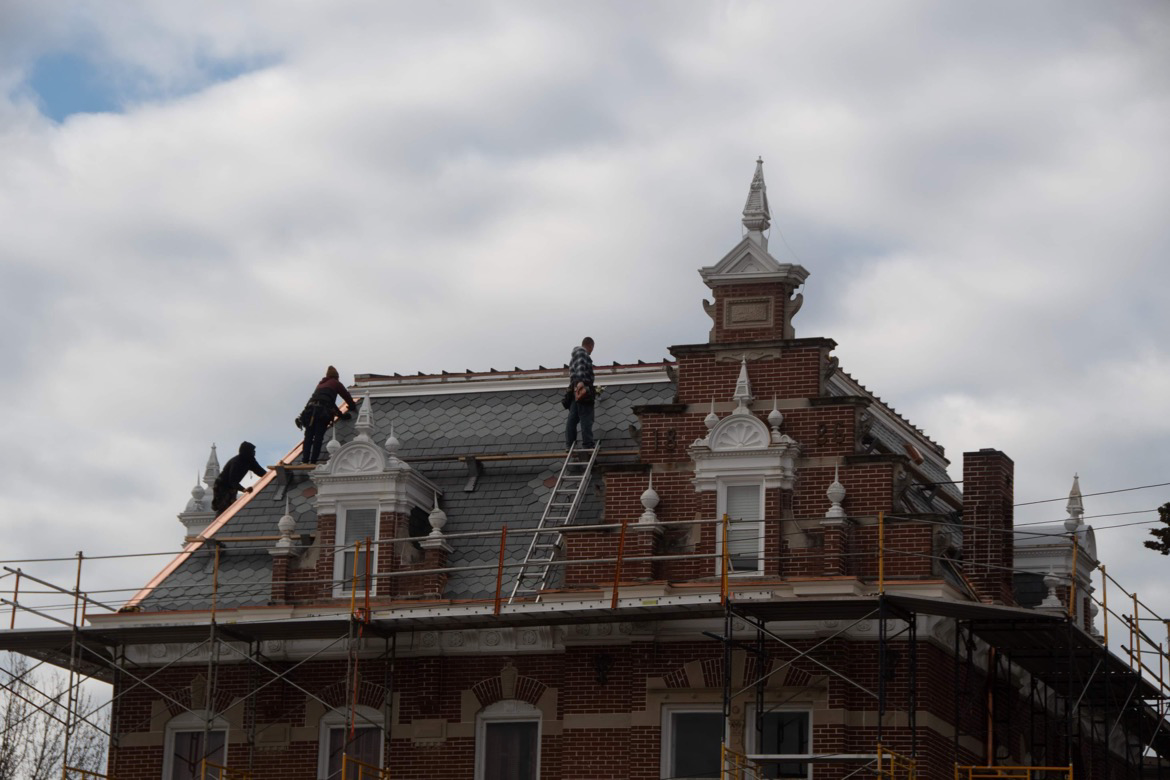
Crown Molding
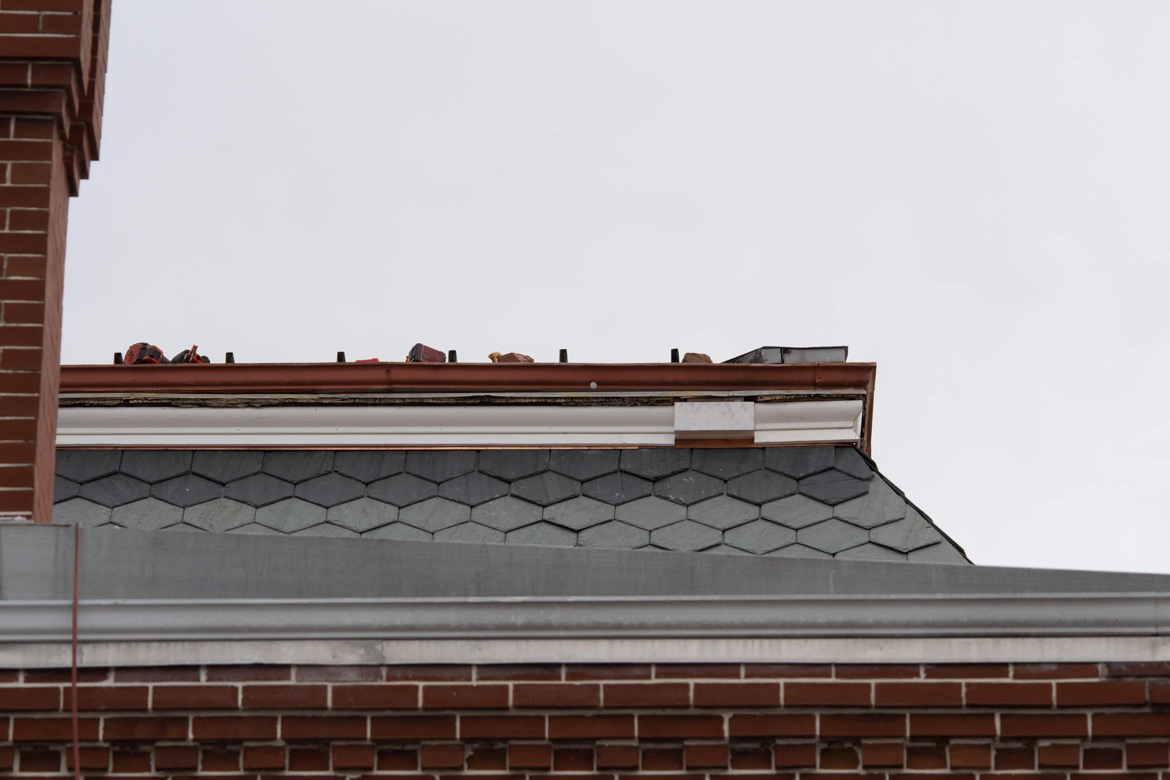
The crown had seen better days and was one of the worse eye sores for the roof. As bad as it appeared, we were still surprised that it was original. During planning, we contemplated replacing it with copper for easier maintenance, given the difficulty of access. Once we learned it was, in fact, original, we shifted our mindset to replicating as close as possible.
Millwork
We spent months working with our team to reproduce the two-piece crown molding. The molding was very weathered. While we could determine the profile, the top and bottom angles were difficult. We worked with Wood Innovations of St. Louis to cut a custom knife to replicate the molding in Sapele lumber.
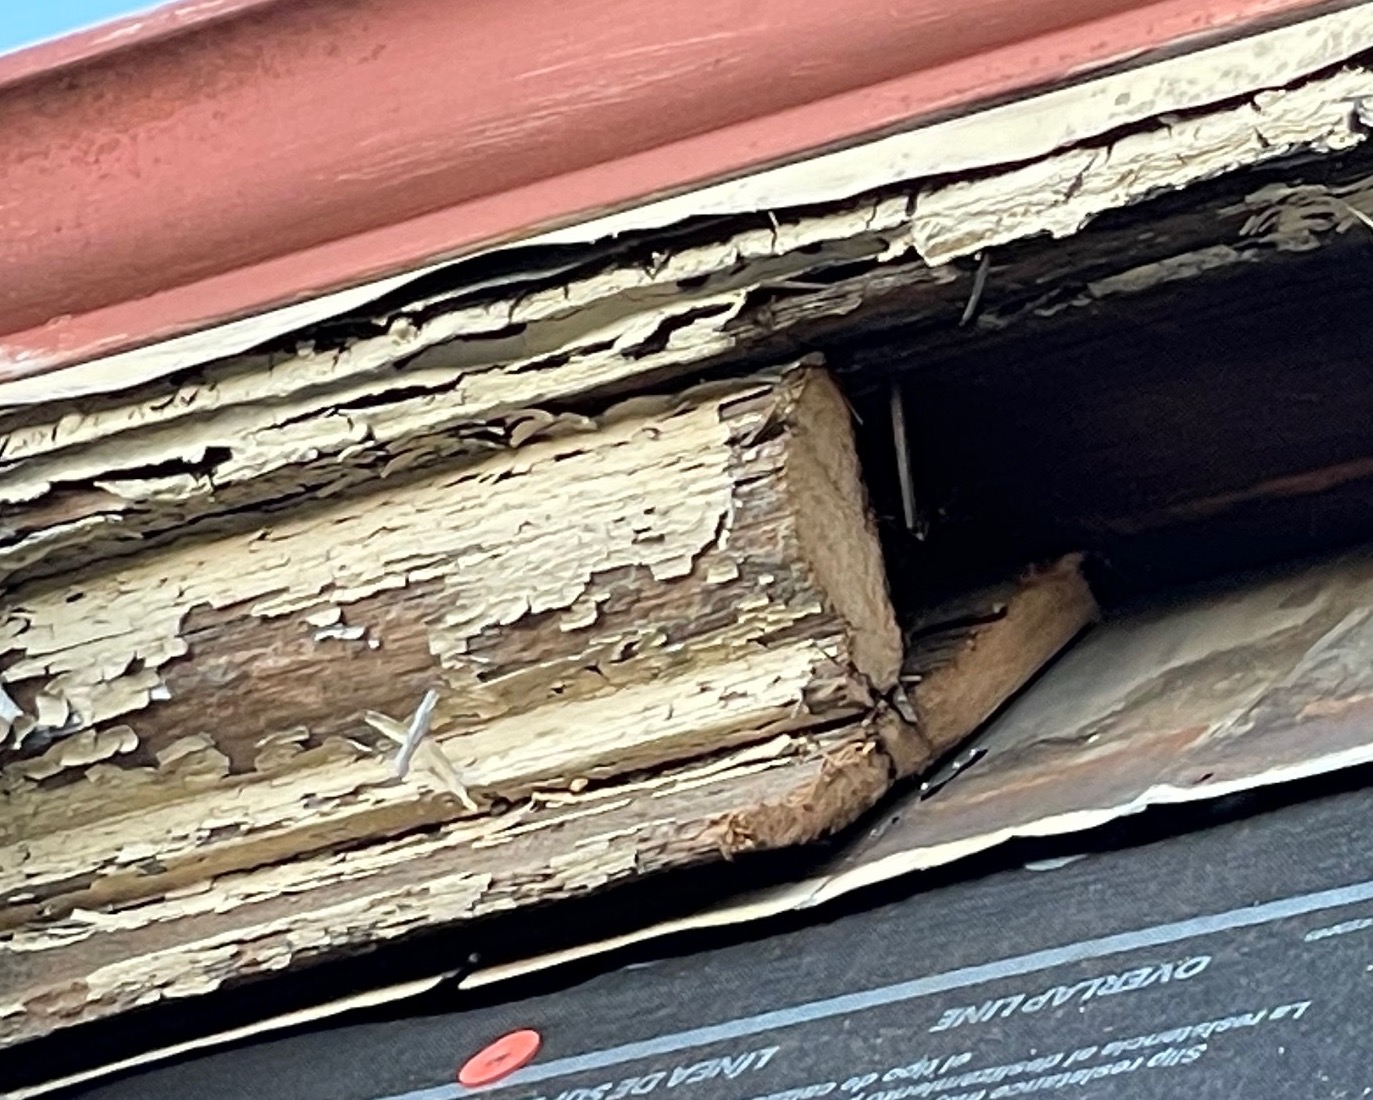
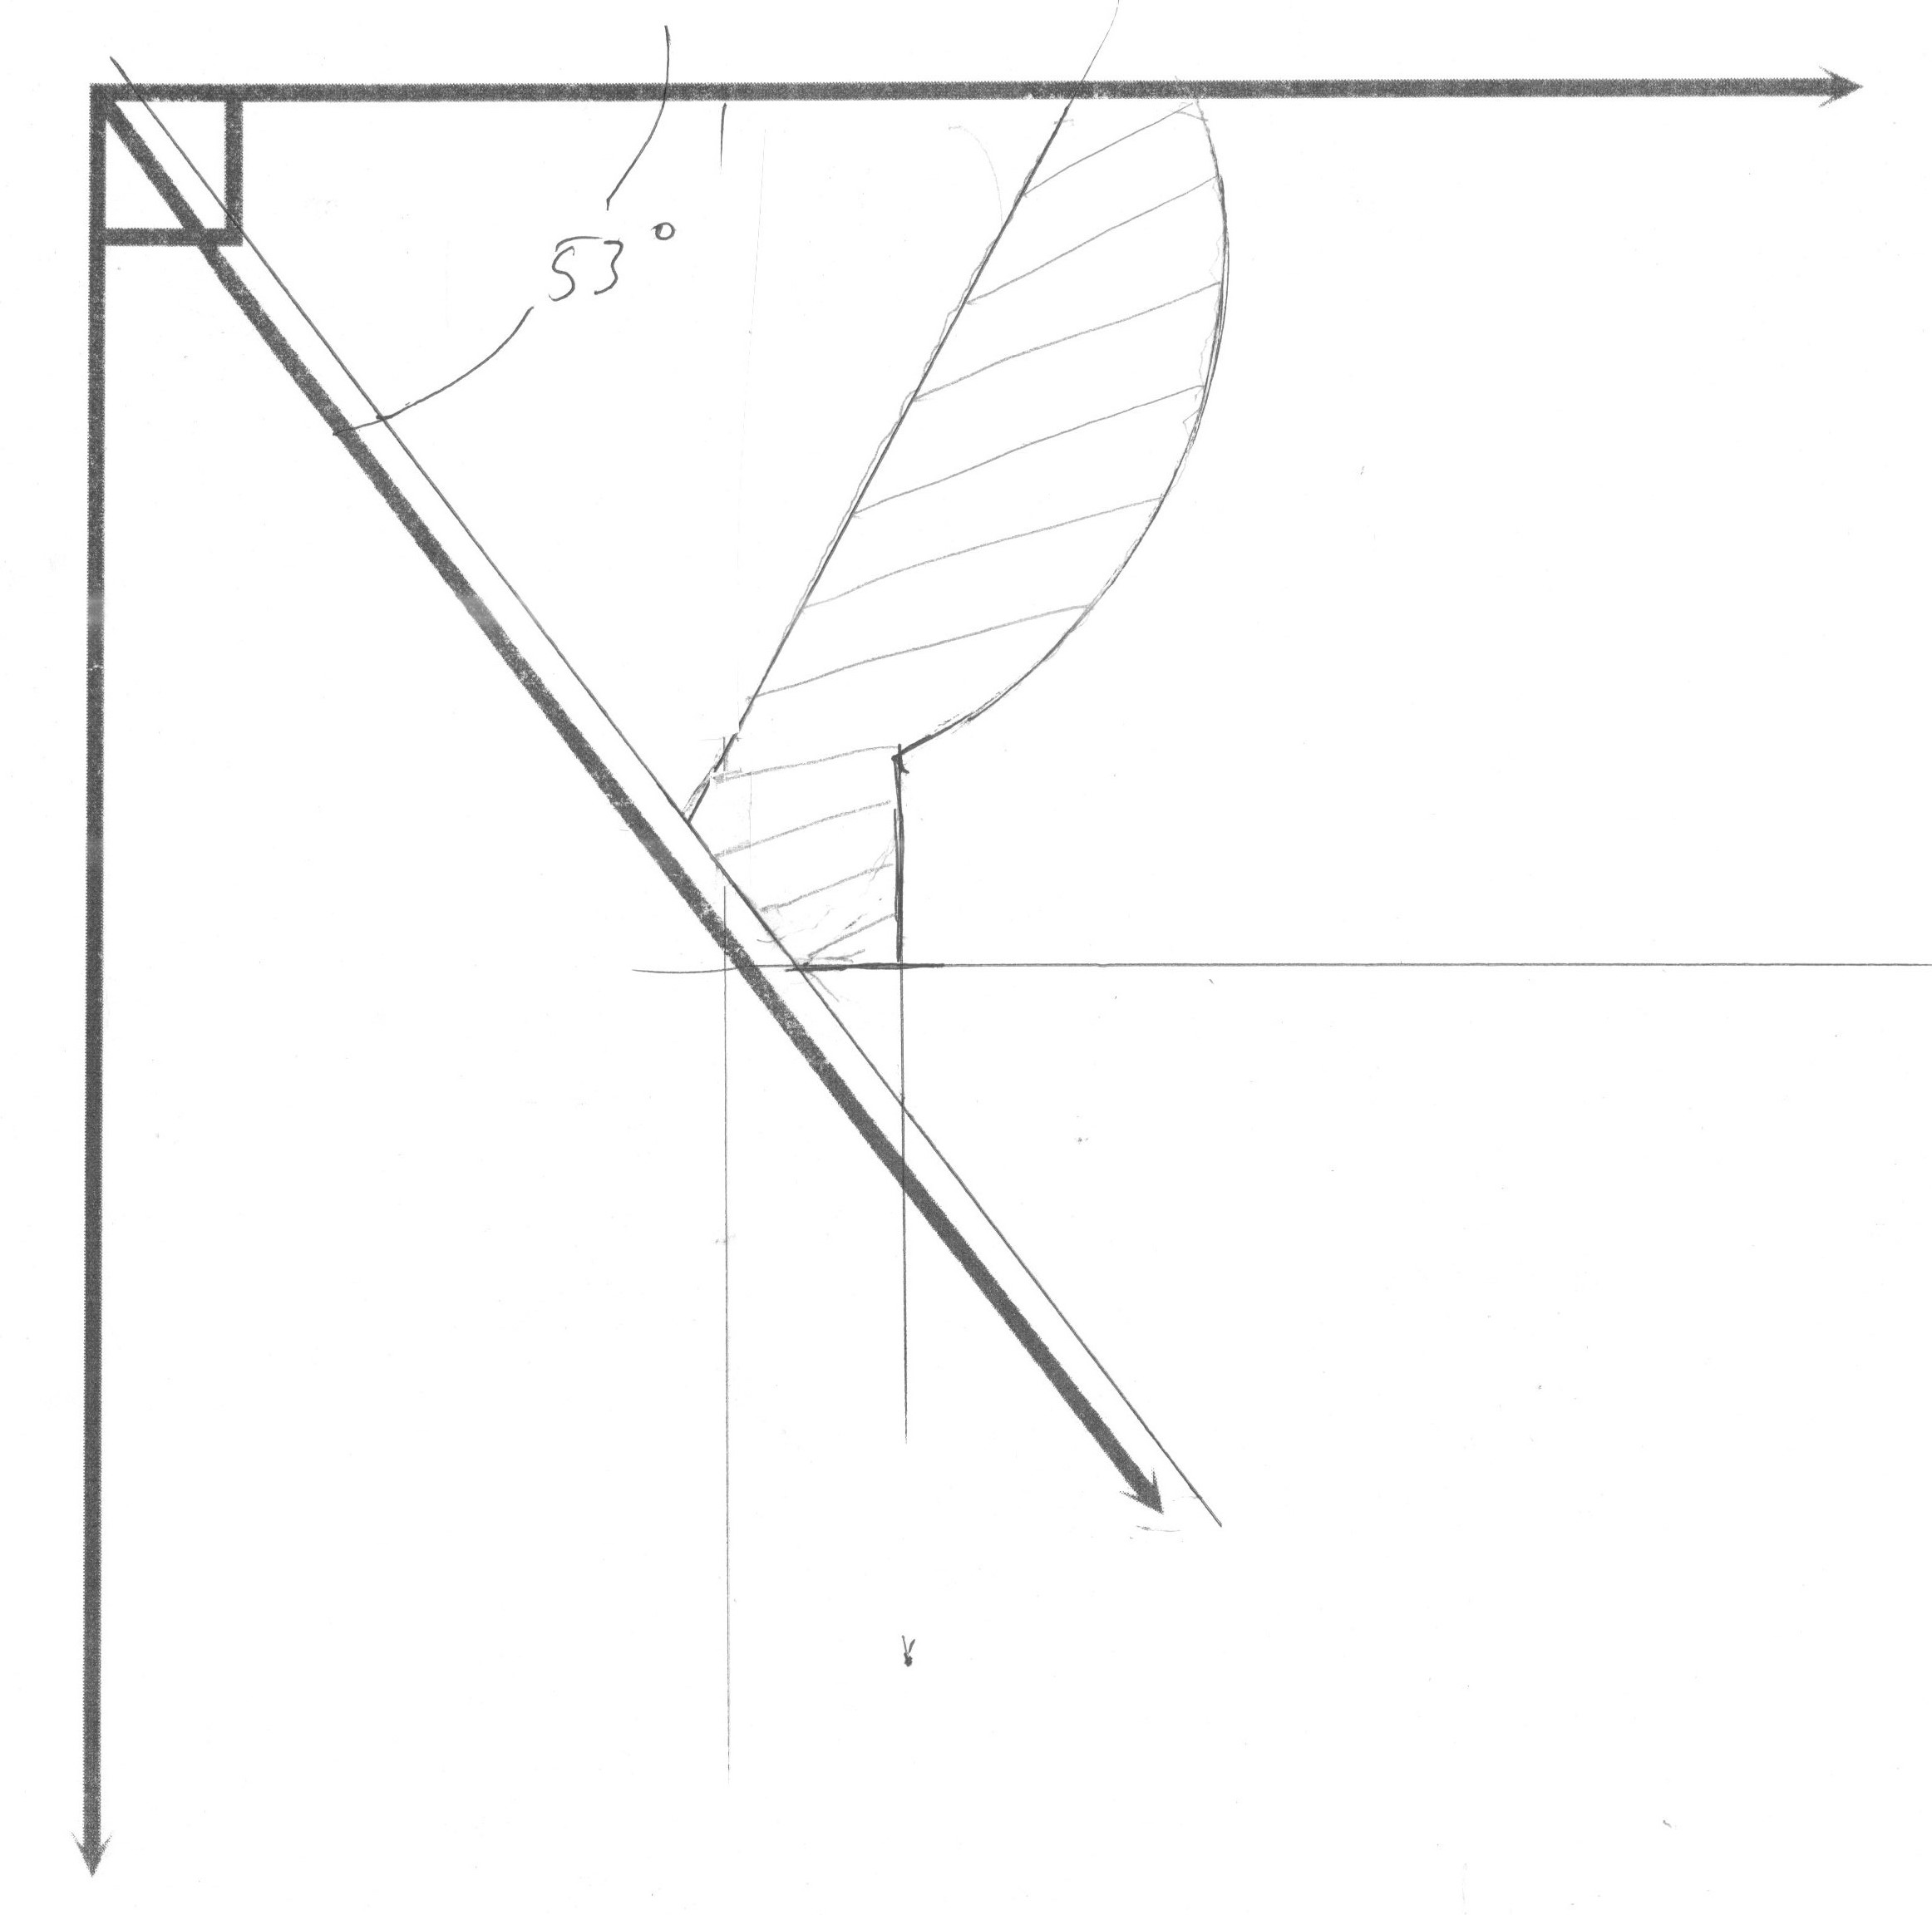
With the crown molding replicated, we turned our sights to replicate the lower board the crown sits atop. This piece is likened to roofing, given that it protrudes out beyond the refuge of the gutter. We chose Western Red Cedar, commonly used for roofing shakes and shingles. The boards were originally tapered by hand. The taper allowed the board to hover above the slate and not apply pressure to the slate during expansion-contraction. I replicated the taper by ripping the nine 16-foot boards vertically on the table saw. As expected, I spent more time creating and testing the jig than pushing the boards through.
oil Paint
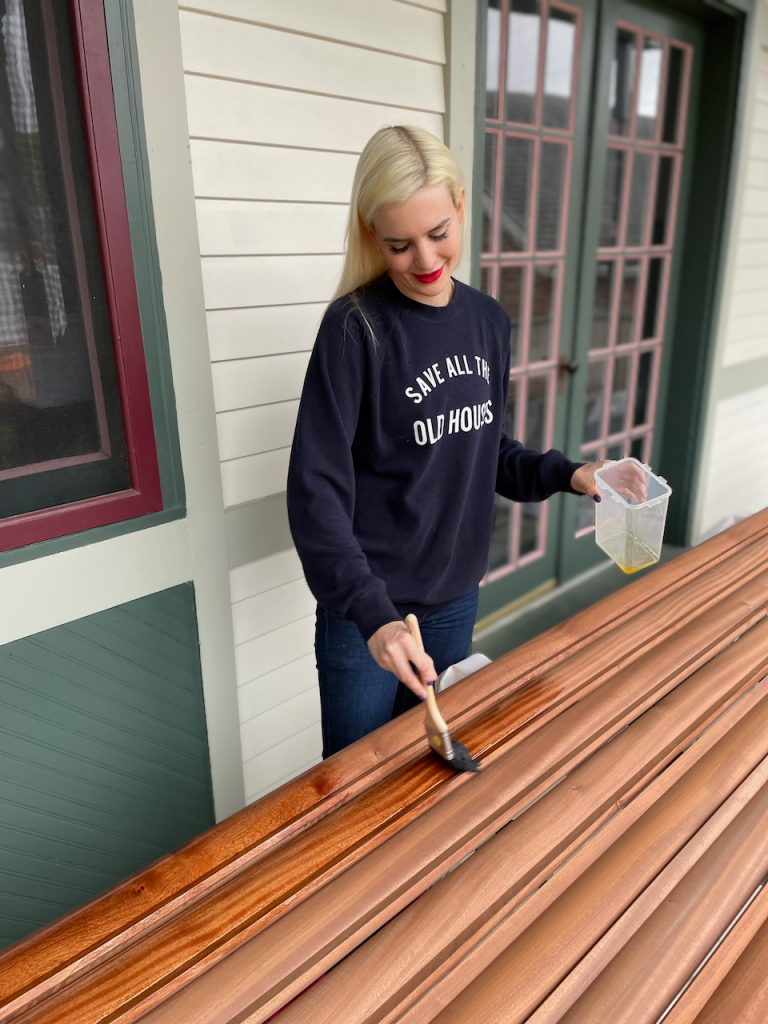
We spent several weeks researching the best option for paint. We knew we did not want a typical exterior alkyd paint. The biggest fear is looking up and seeing cracking paint. This exterior wood trim gets some of the worse exposure to the elements. We decided on the Allbäck linseed oil paint system imported by Sage Restoration. We mixed in zinc oxide 20% by volume to protect against mildew.
Since we were starting with new wood, we began by impregnating it with raw linseed oil. From there, we painted four coats of linseed oil paint.
Installation
There are some subtle differences with the installation, mostly seen with the blocks used for the conductor heads.
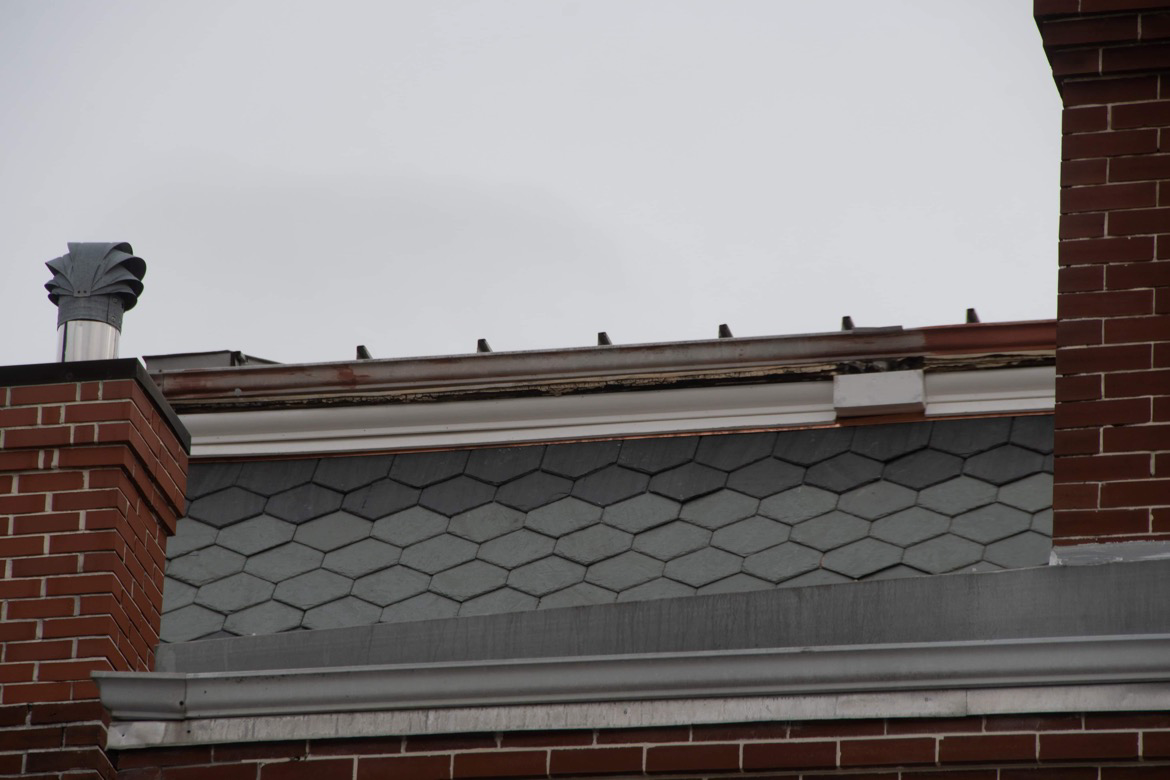
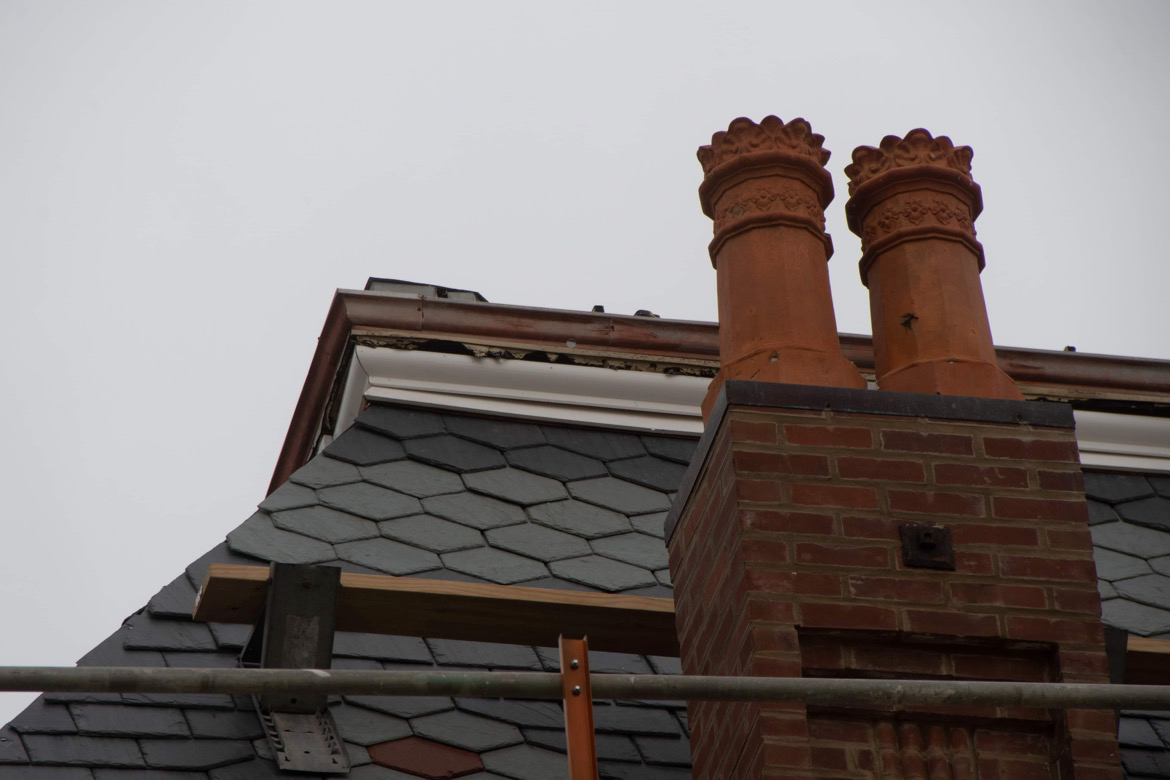
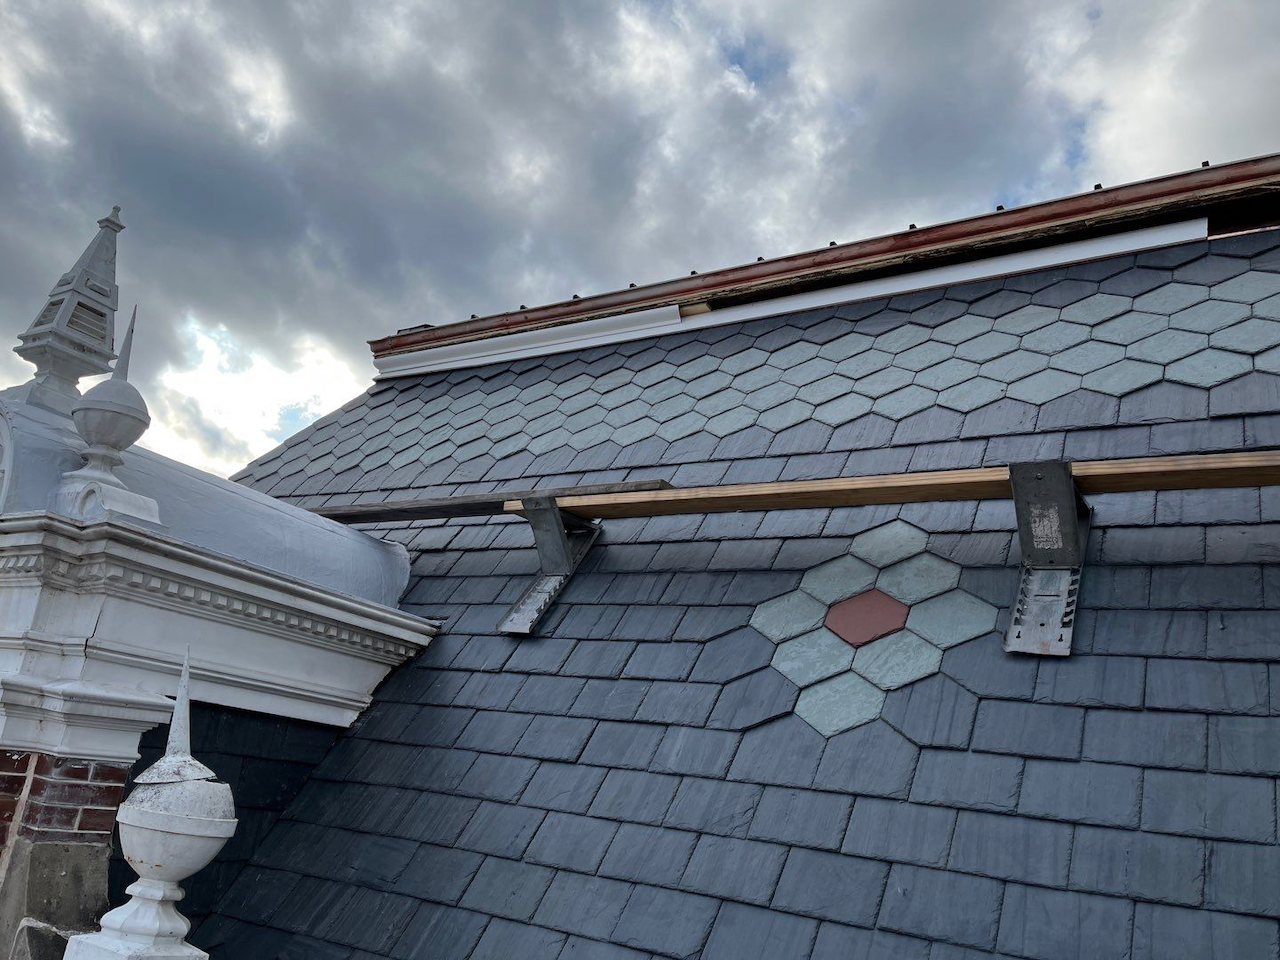

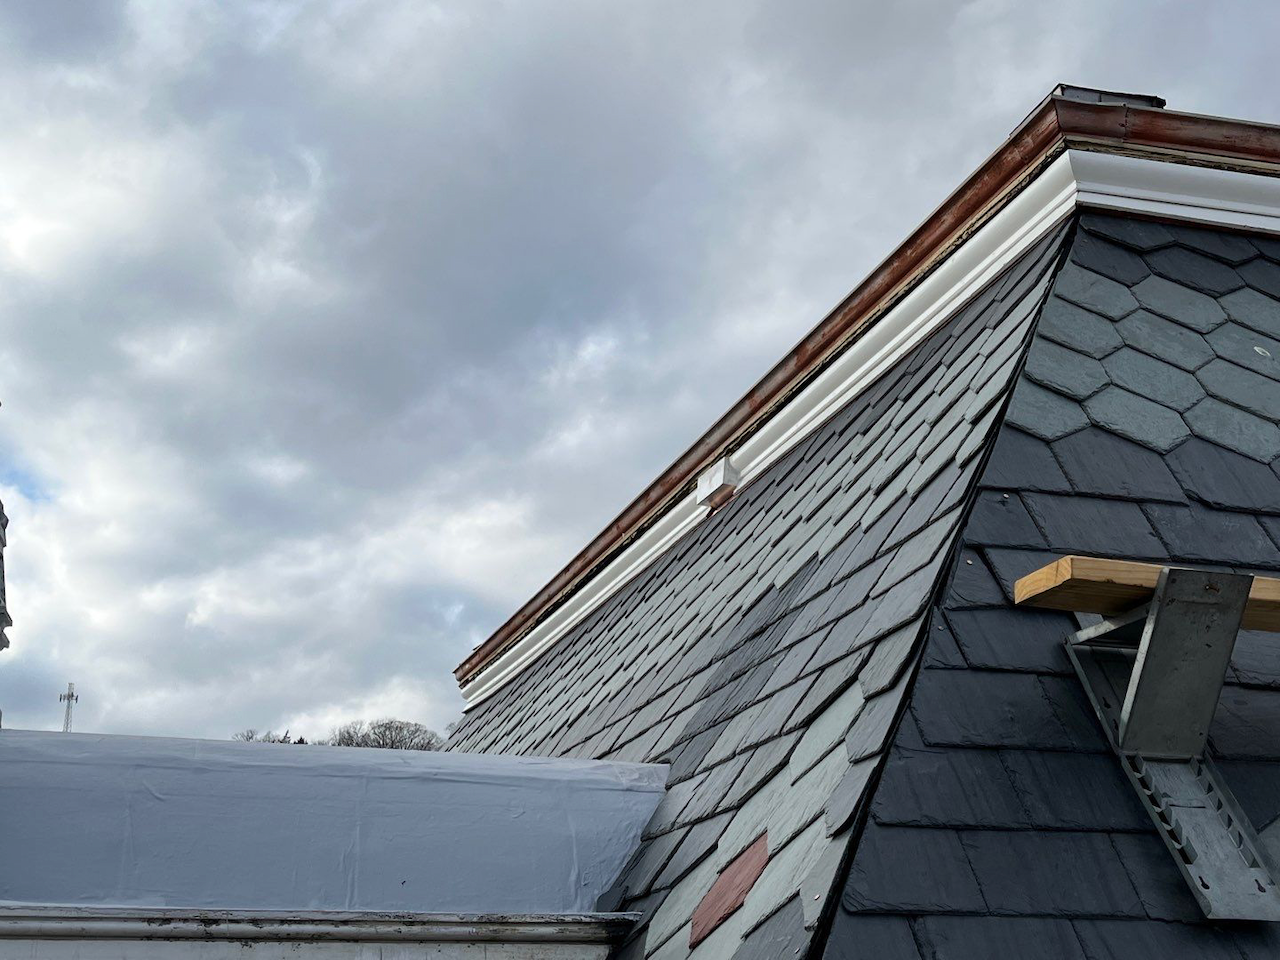
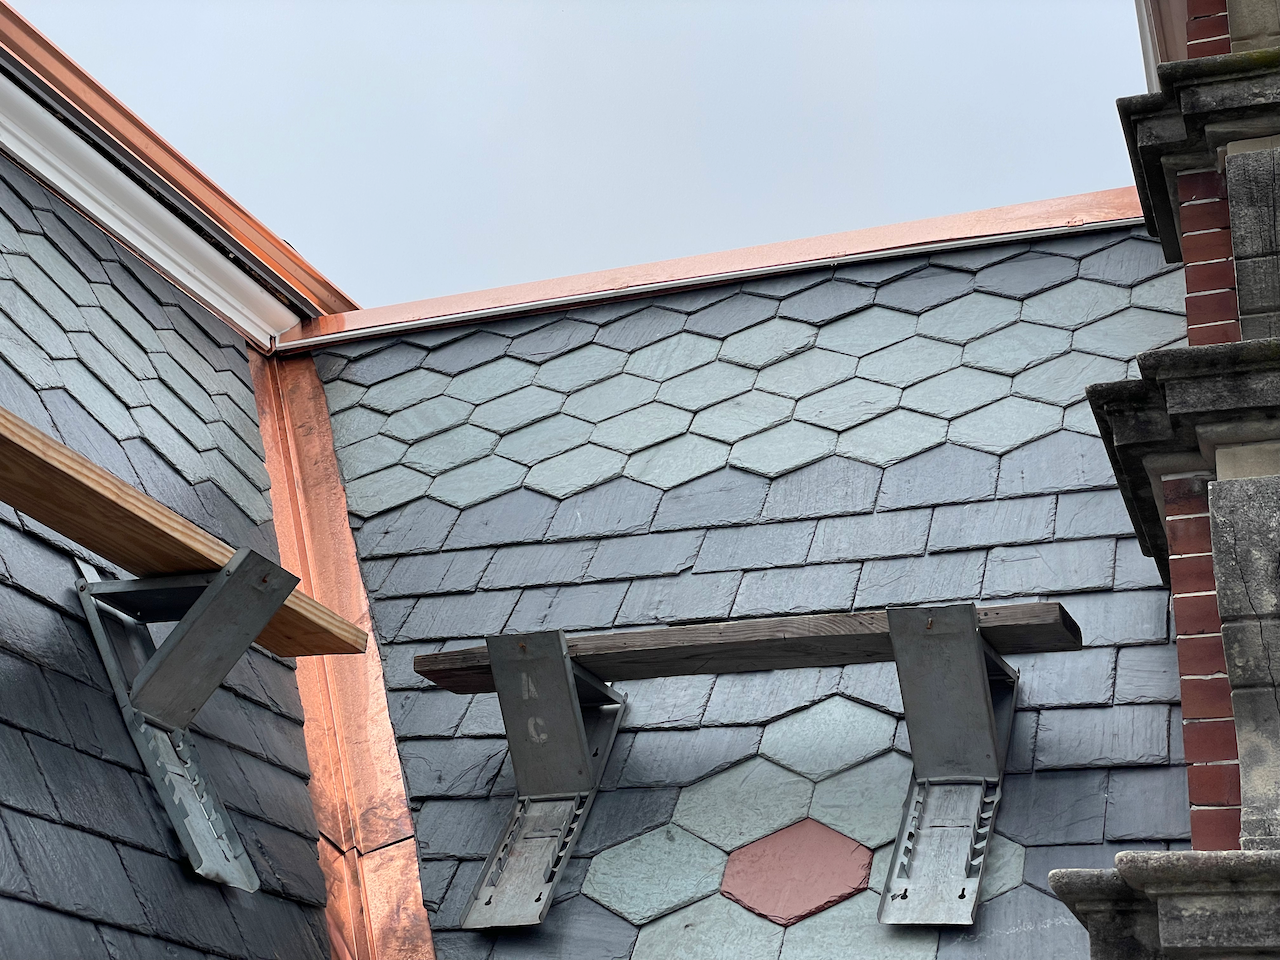
Upper Gutter
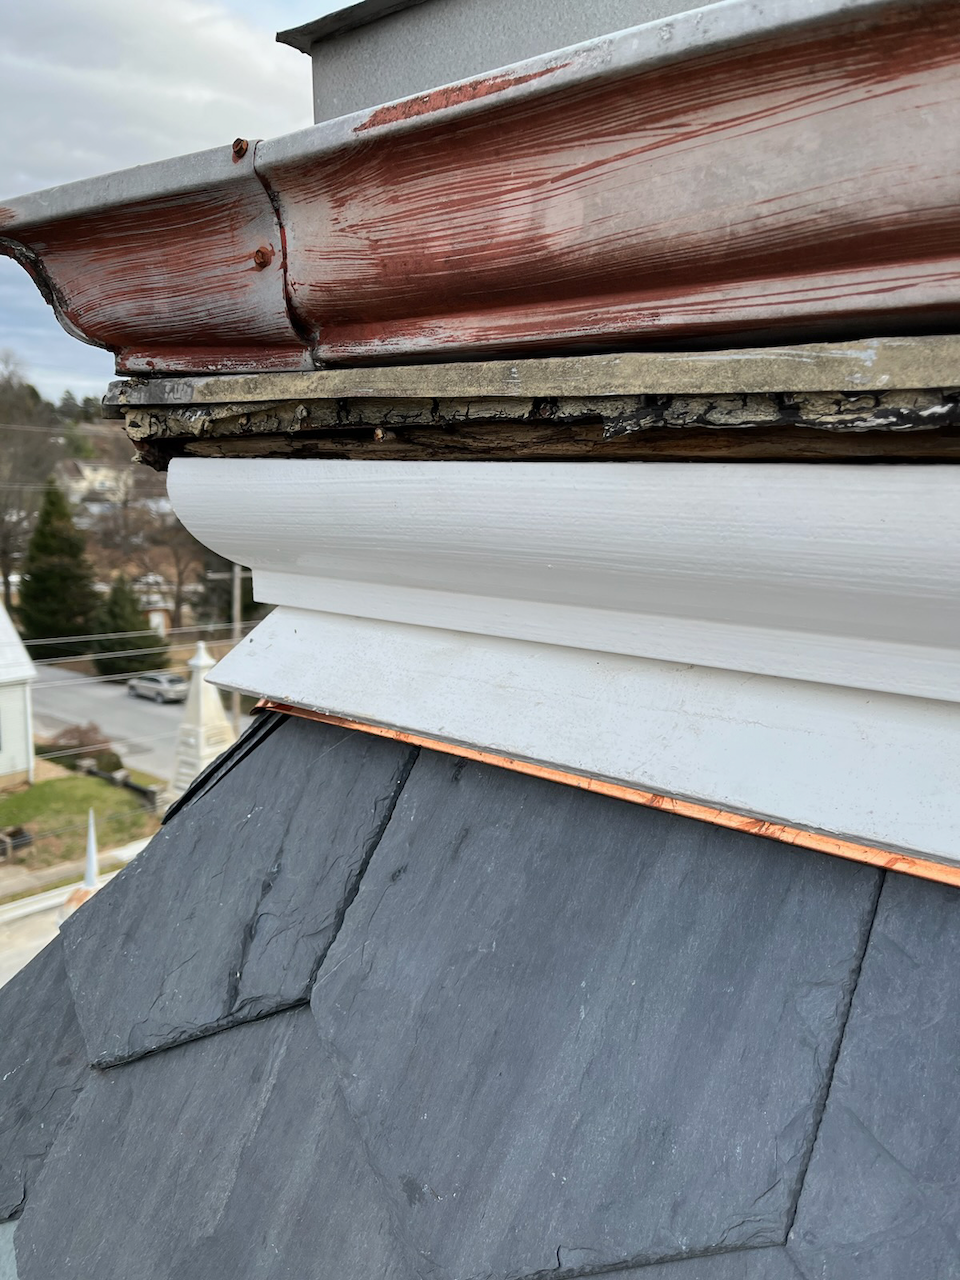
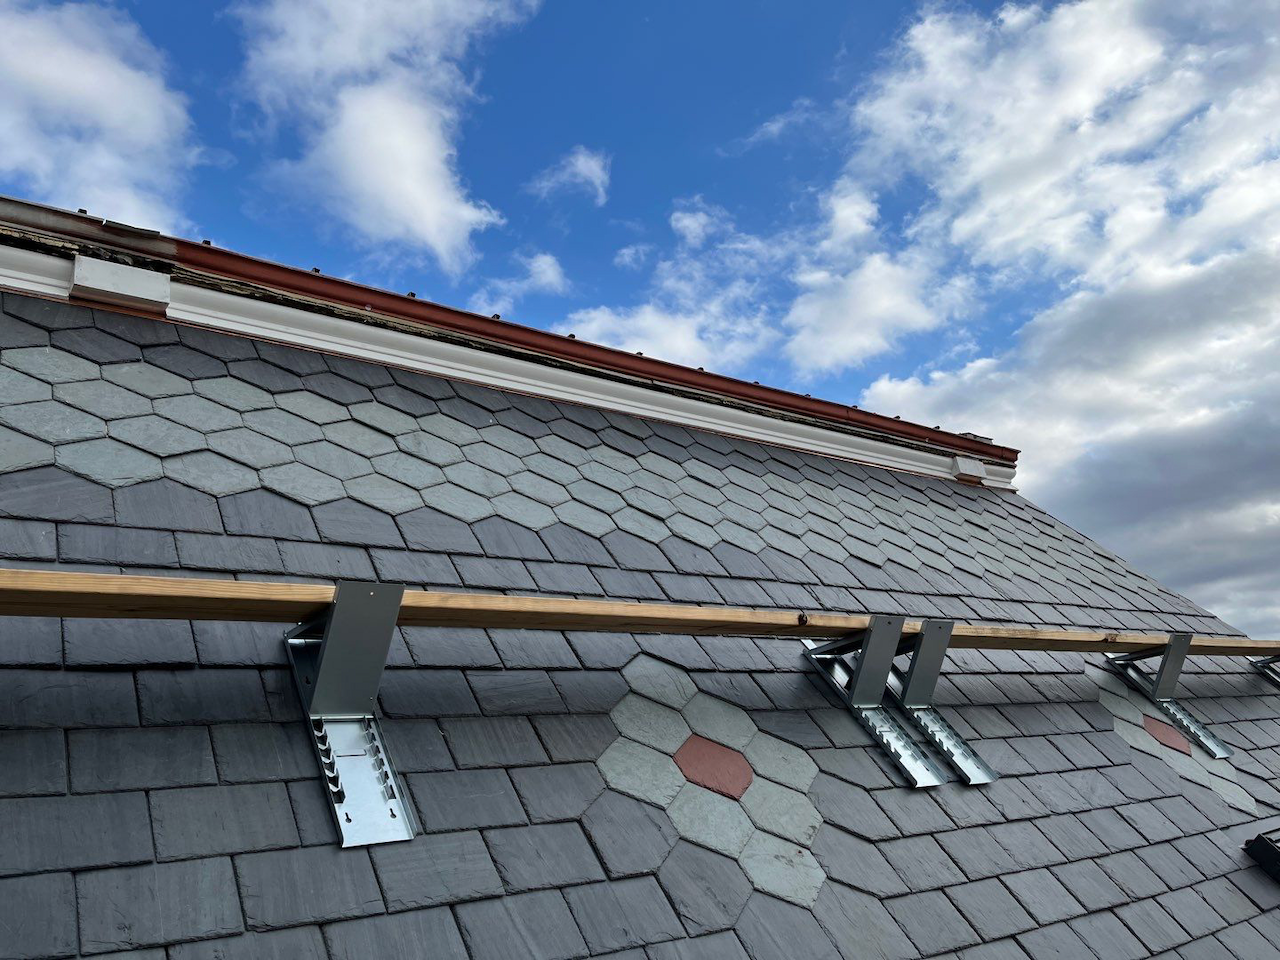
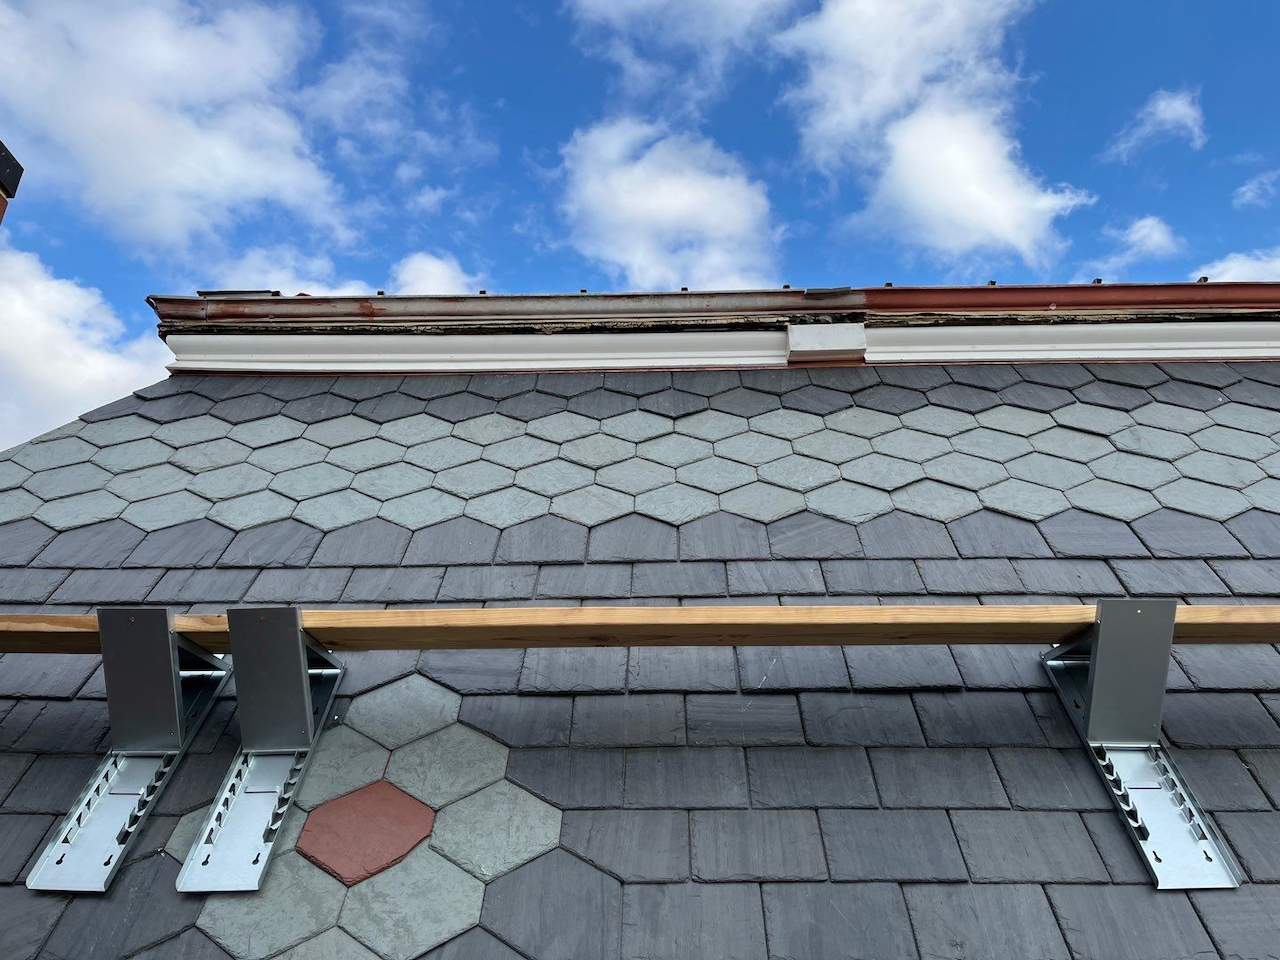
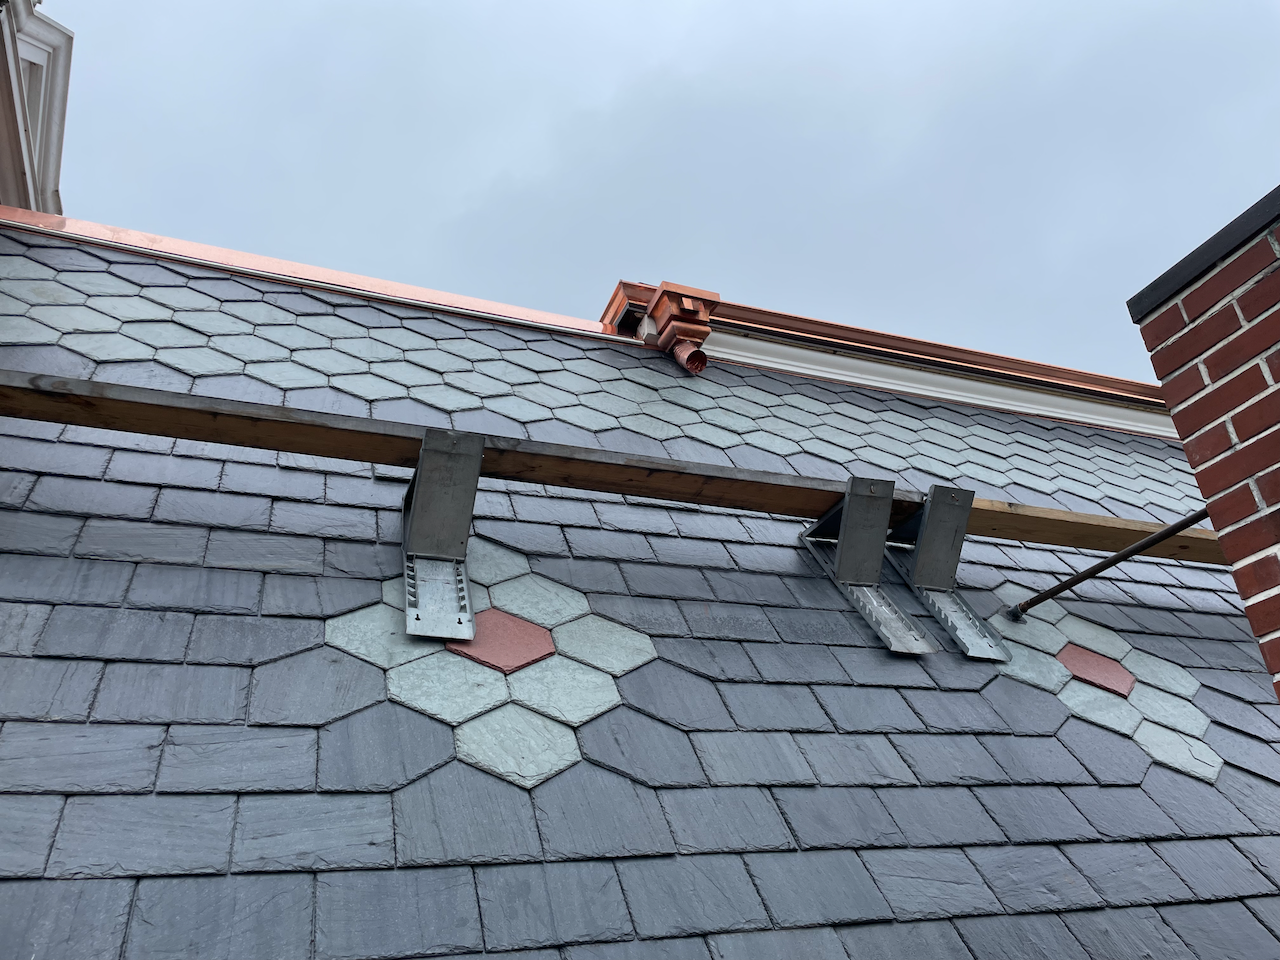
In the 1980s, the upper roof was built up with a steel standing seam and an aluminum gutter installed. The aluminum gutter was painted red. We replaced the aluminum with new copper gutters. The original drip edge was also covered.

More photos of the new upper gutter with the conductor heads next.
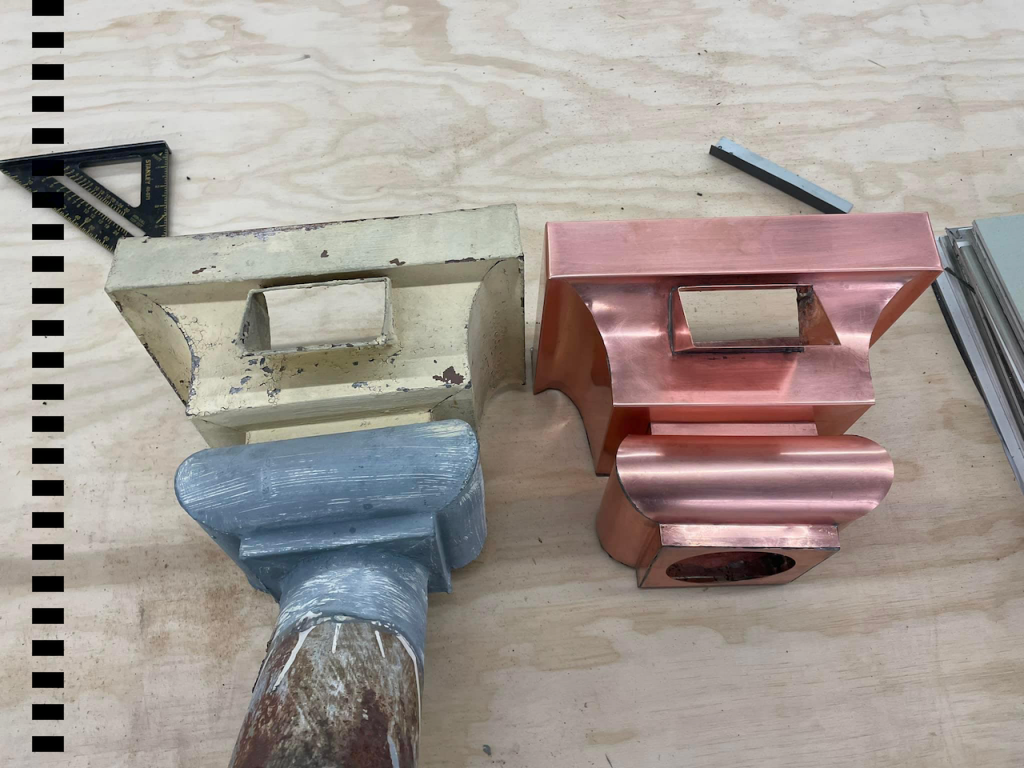
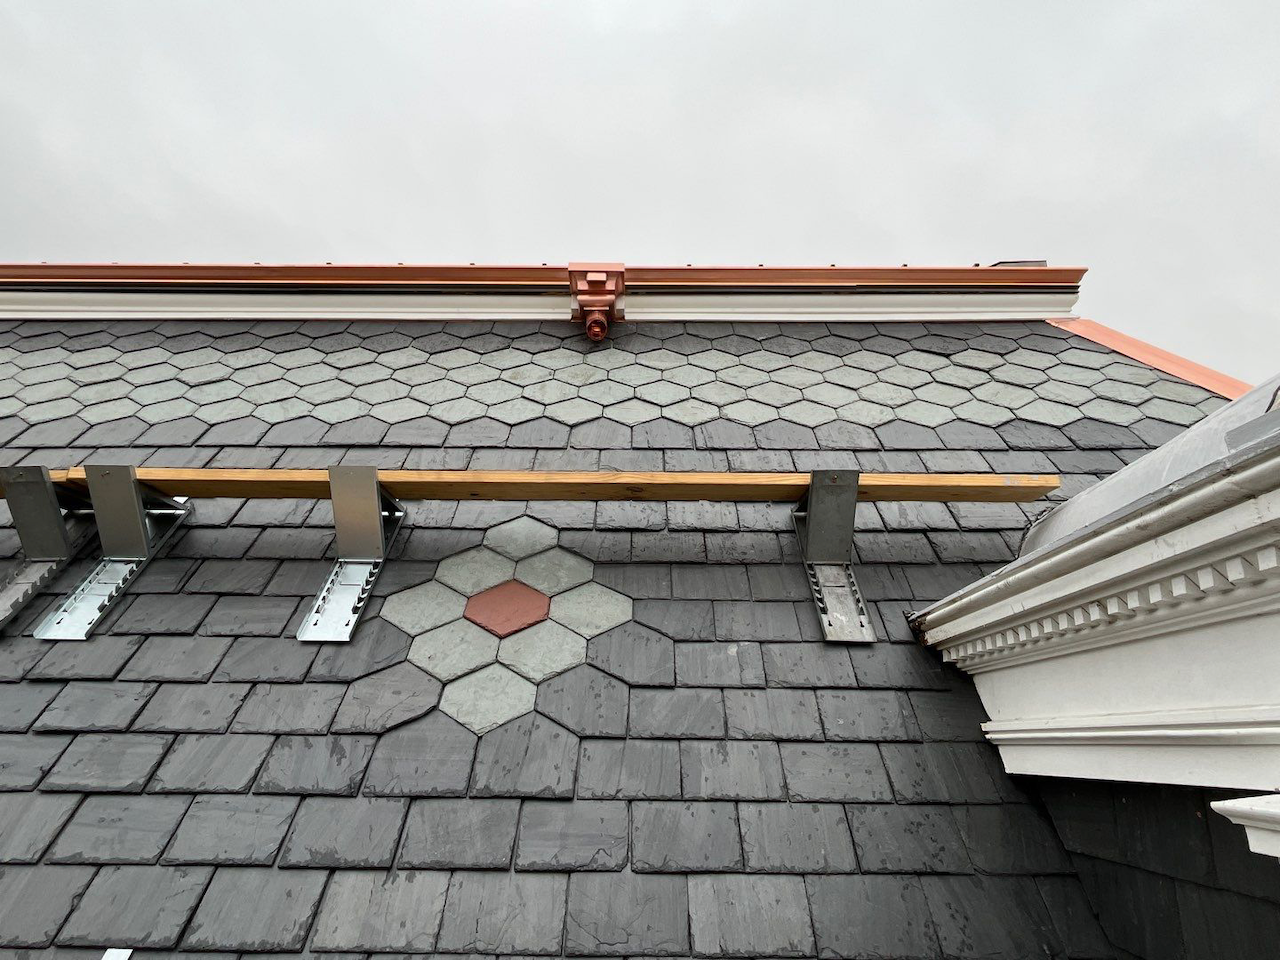
Conductor Heads
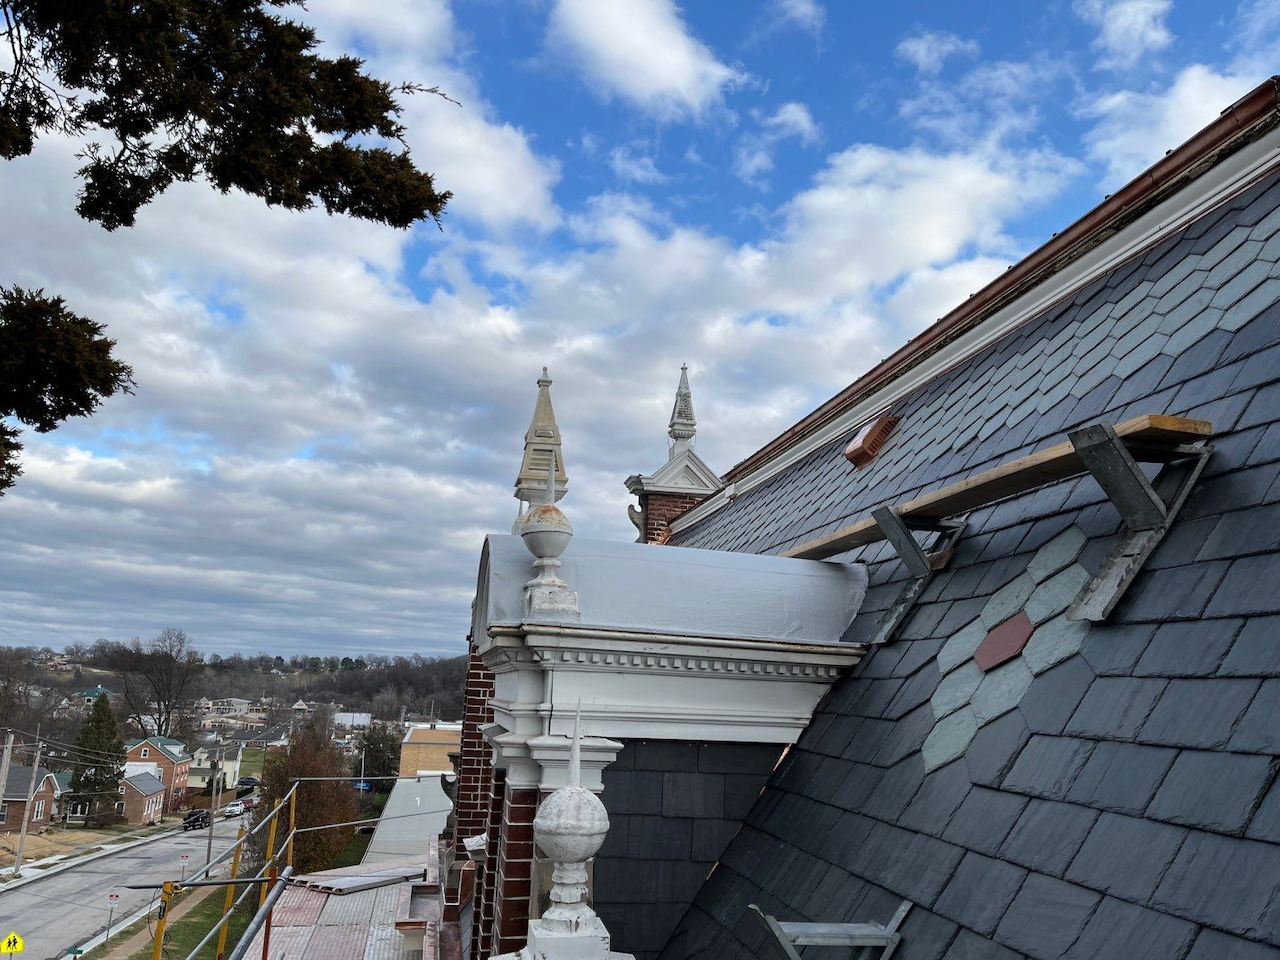
The roof originally had four conductor heads, and only one remained on the west side. The sheet metal crew masterfully reproduced the steel conductor heads in copper.
Originally, there were two conductor heads on the west side and one on the north and south sides. Here is an old photo showing the two conductors on the west side:
Here are the new conductor heads installed on the north, south, and west sides:
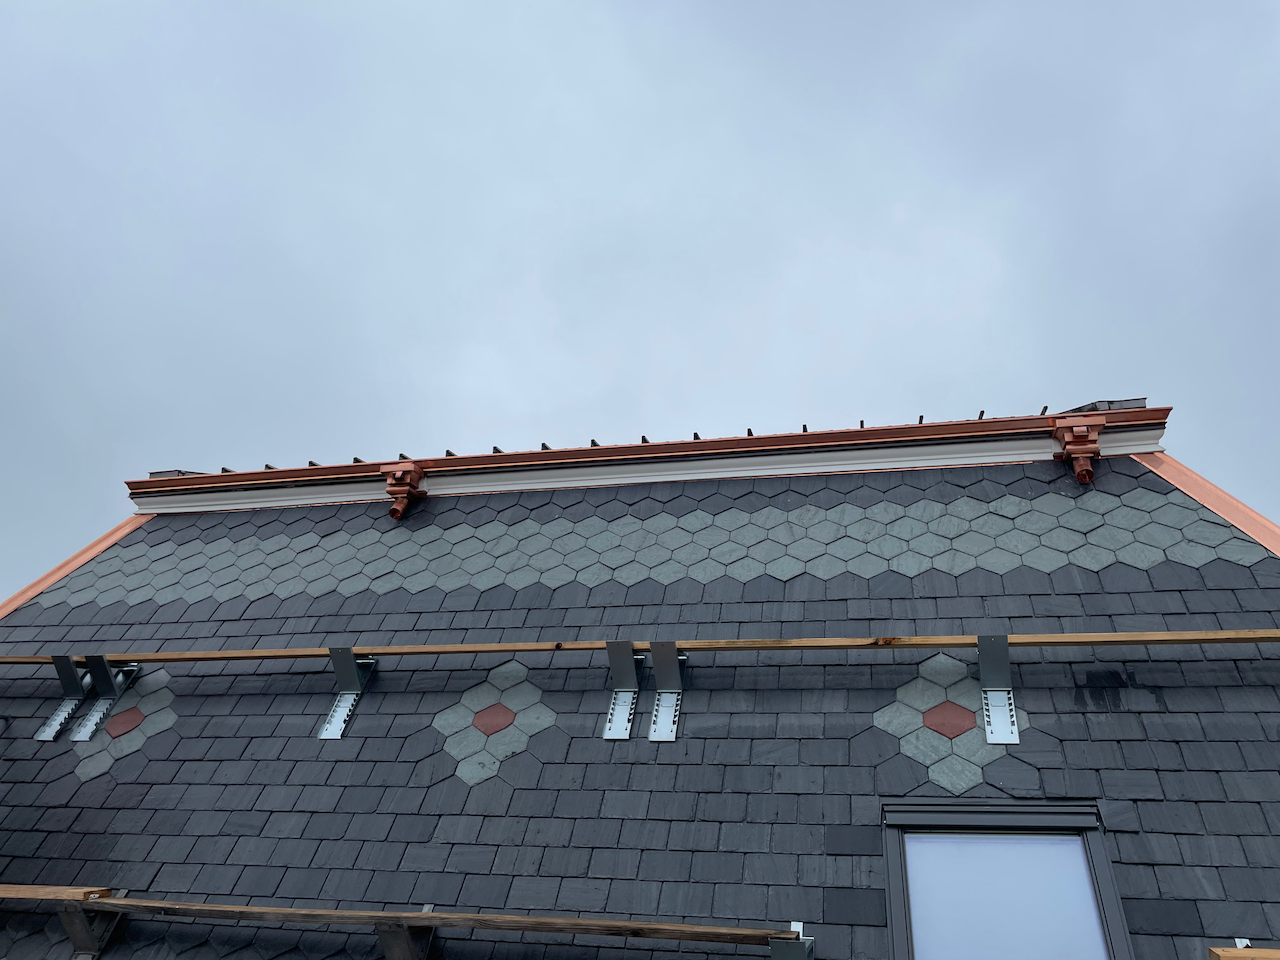
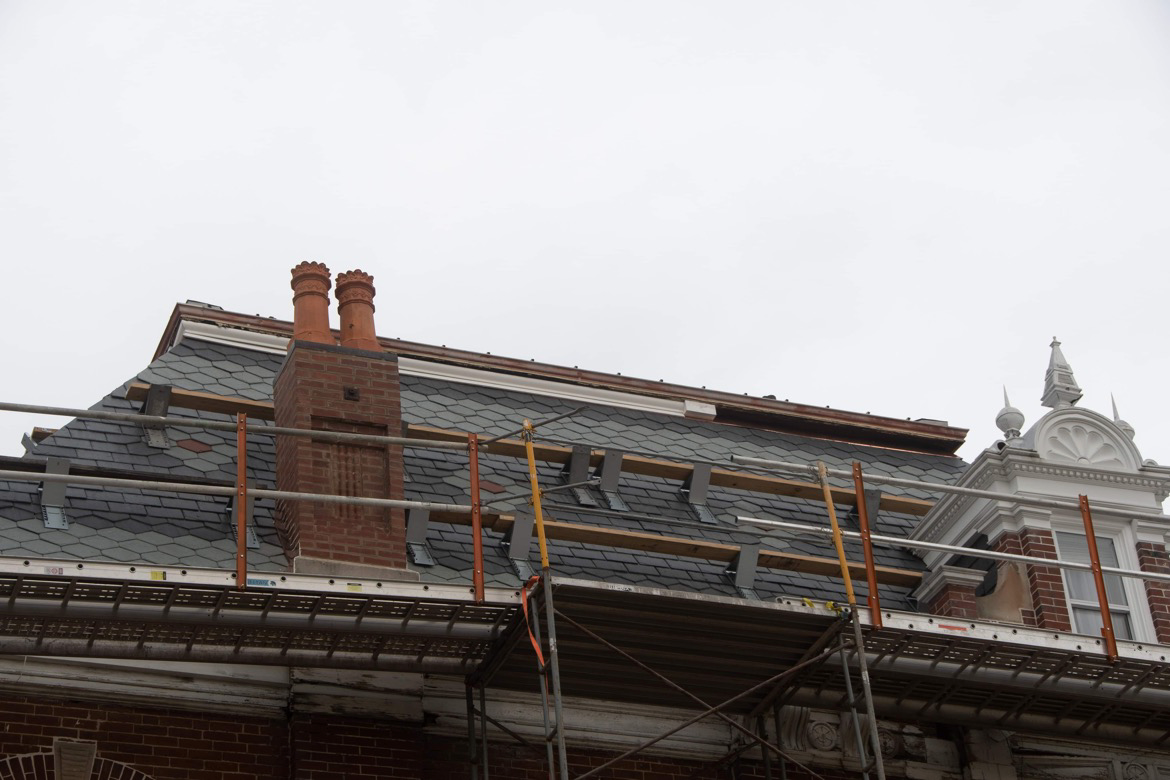
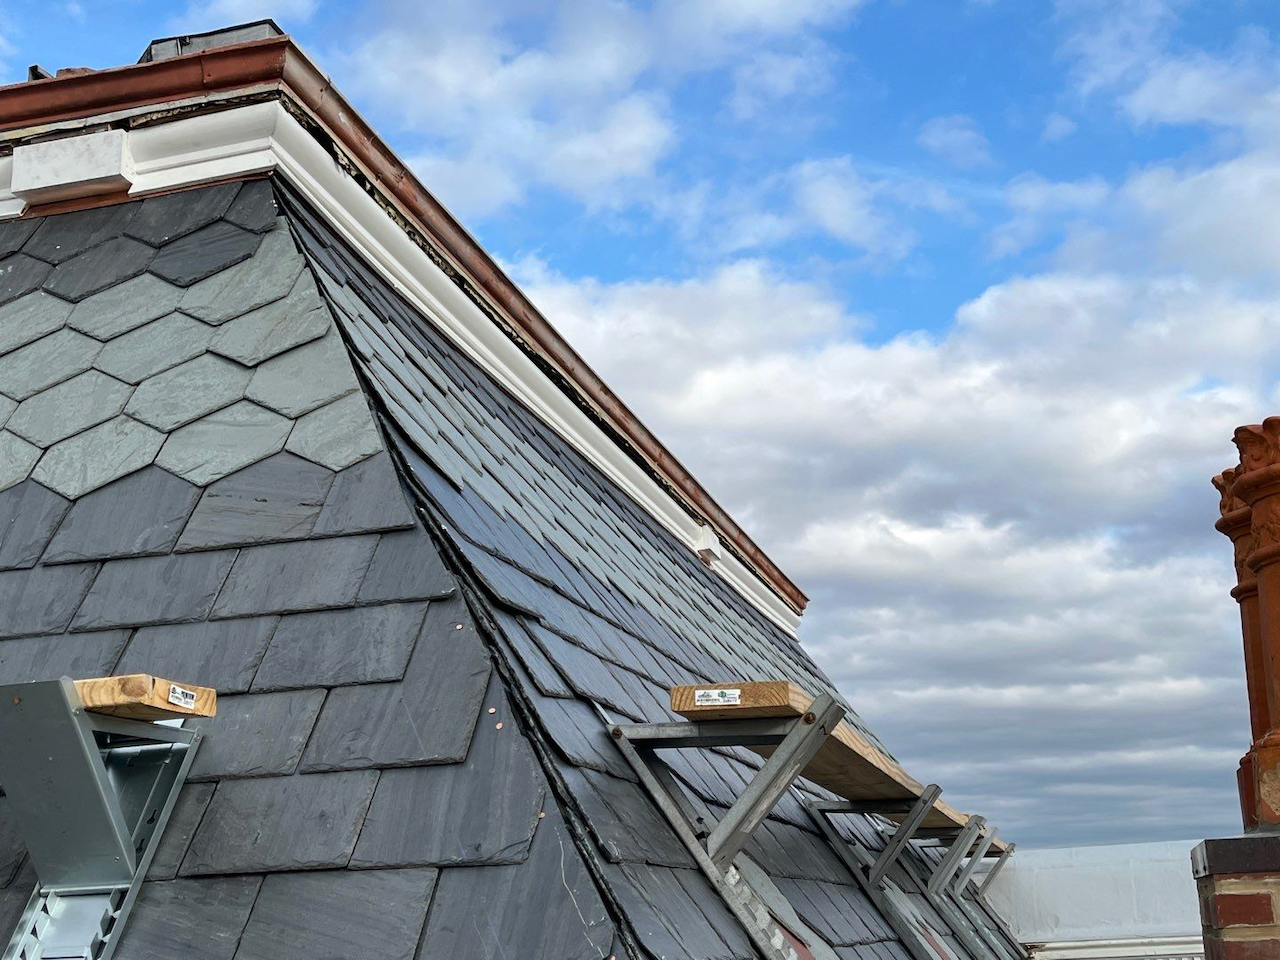
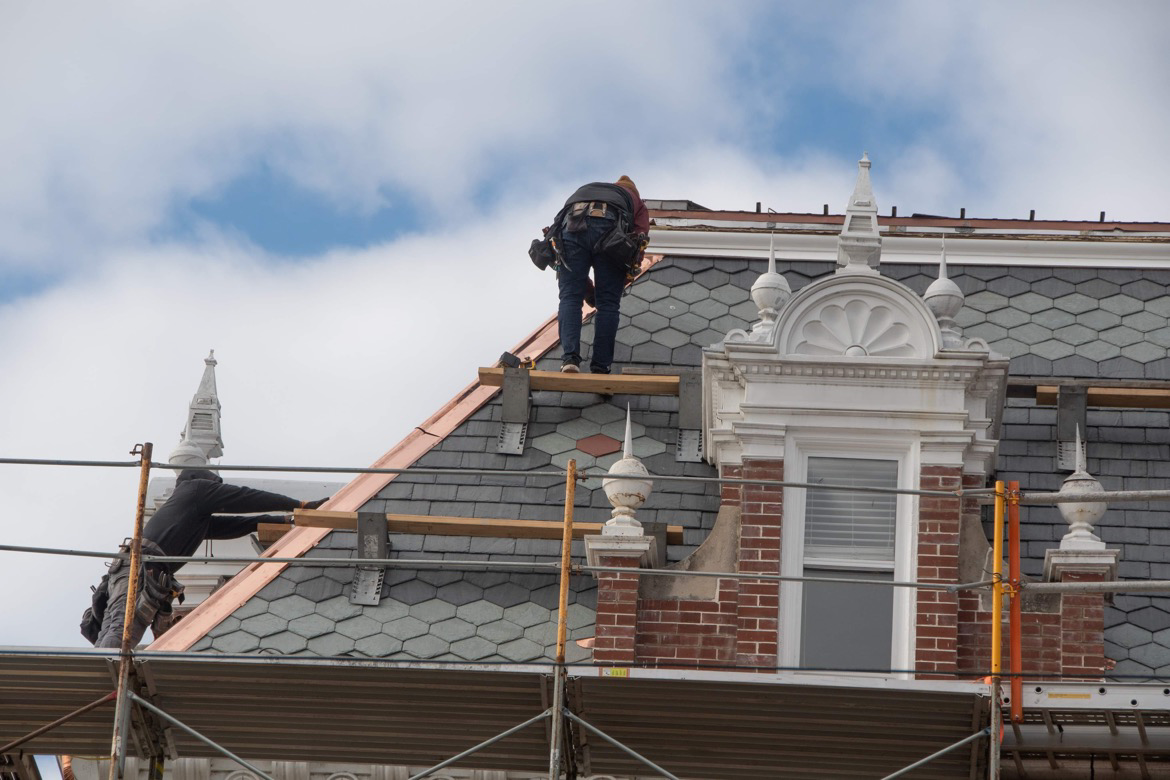
Radius Hips
The original hips were terne-coated steel and had been painted. The team replicated the radius hips using copper.


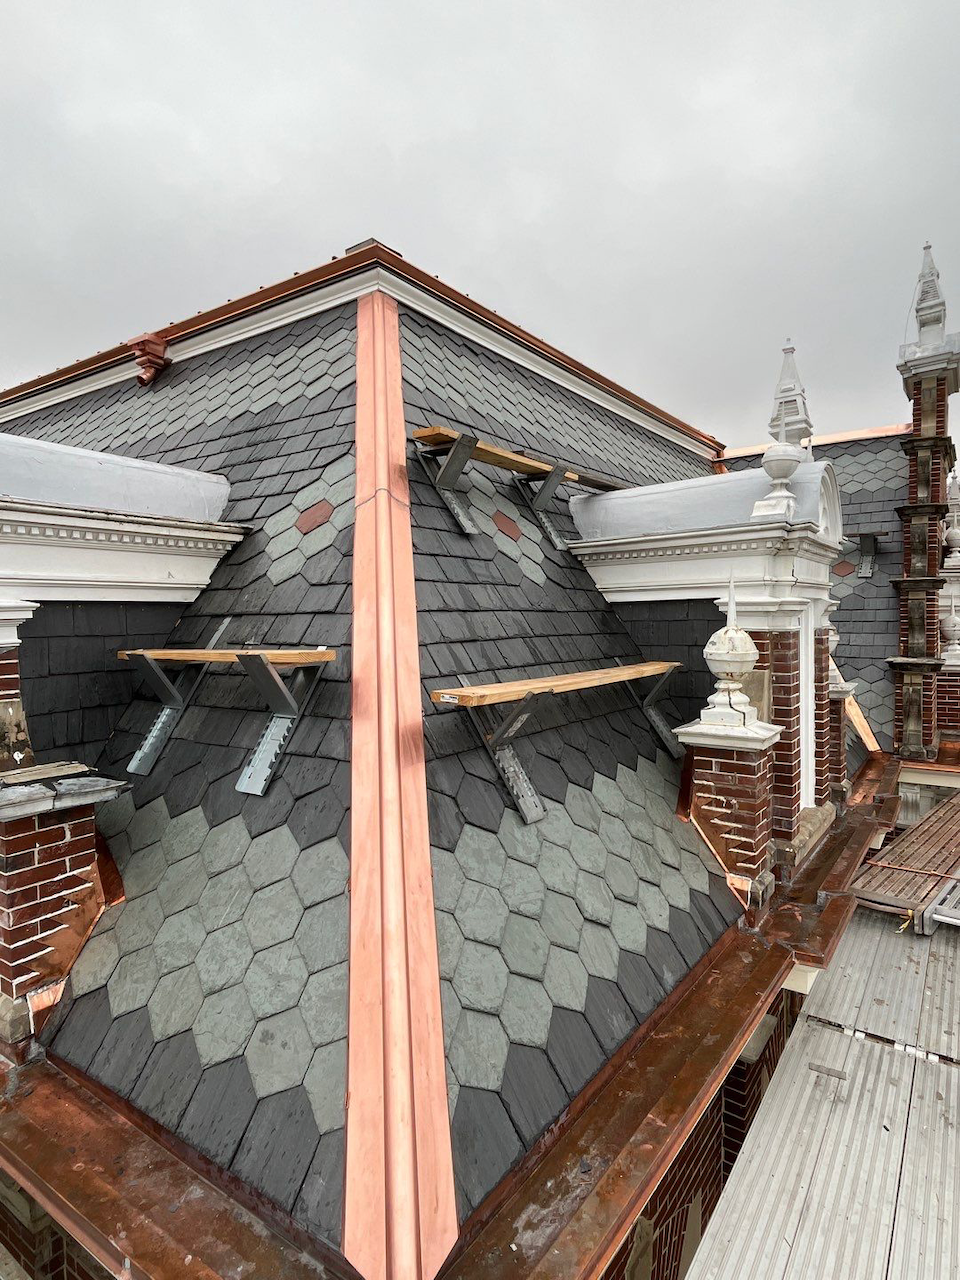
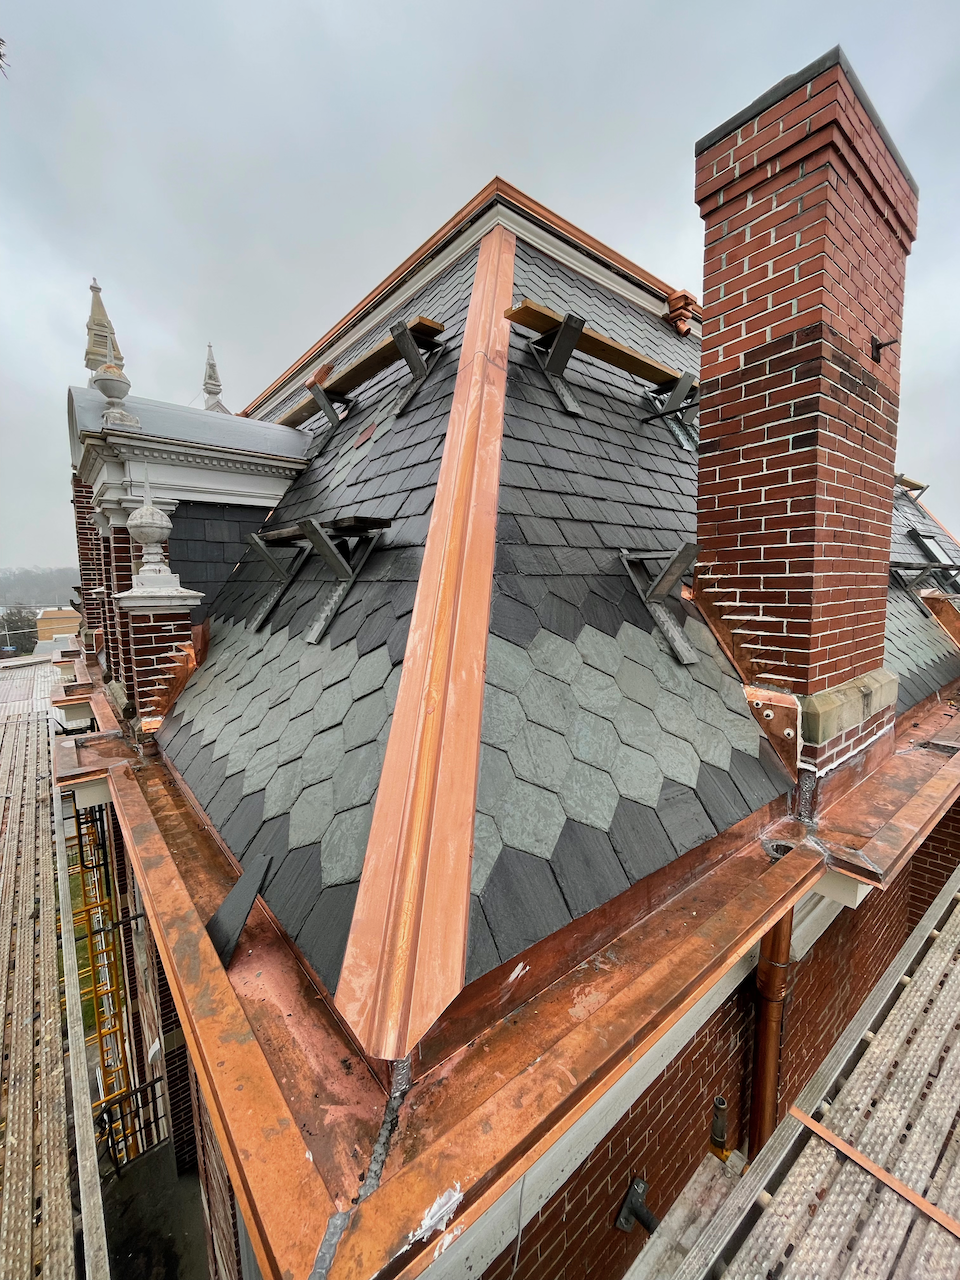

Ridge Cap
Behind the parapet is a ridge that connects to the mansard. It turns out this was the source of an on-again-off-again leak. When the team went to replace the very rusted ridge cap, they found a board underneath that was barely hanging on. Originally, there was crown molding that sat right underneath the ridge cap. For better water management and long-term maintenance, we opted to use only copper for the ridge cap and omit the crown.

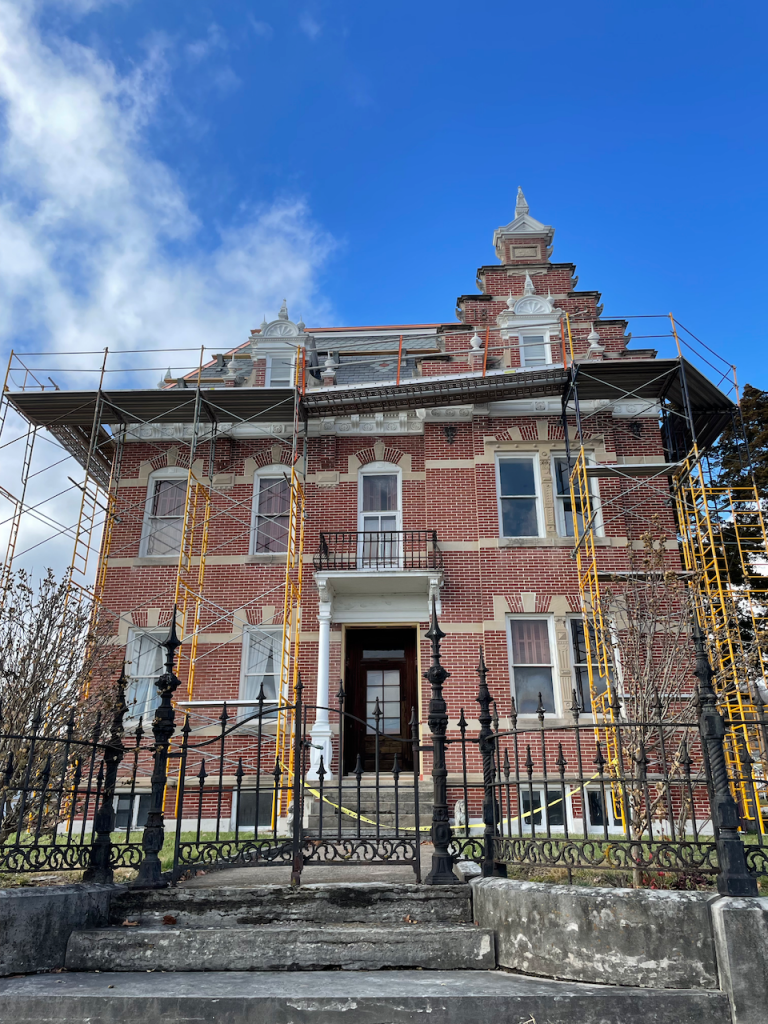
Conclusion
The next steps are working through the final punch list and removing the scaffolding. Stay tuned for a final recap with before and after photos!
One reply on “Mansard Roof – Part 4: Upper Cornice”
The end result is magnificent. It was so interesting looking at all the photos and learning the process. You must be pleased with the beautiful craftsmanship and attention to detail this project required.